
The Most Exhilarating Day Hike in Zion National Park: Angels Landing
The Angels Landing trail is one of the most iconic day hikes in the United States. Located in Zion National Park in Utah, this trail is infamous for the final mile, where hikers must hold on to chains bolted into the rock. With steep switchbacks and sheer drop-offs, Angels Landing is an exhilarating hike that’s sure to challenge your comfort zone, and reward you with some of the most beautiful views in Zion National Park.

General Notes:
Always follow Leave No Trace guidelines.
Leave No Trace is a set of guidelines that helps promote the protection and preservation of wilderness. Find detailed information by clicking here. Pack out all your trash and do not leave your backpack/food unattended.
Always tell someone your plan.
Make sure someone knows your plan to day hike and has an estimated time for your return. Click here for an emergency day hiking form— you can print it out and leave all the important details with someone while you hike.
Make sure you pack your 10 essentials.
Click here to download a printable day hiking checklist.
Check the weather.
Click here to check the weather. Click here to check the park webcam for current conditions.
An advance reservation for the Zion Shuttle is required for travel to the trailhead.
Click here for more information on getting a shuttle ticket.
Exposure warning.
Angels Landing is an extremely exposed hike. A handful of people have died on this trail every year. If you have a fear of heights, you might consider hiking to the lookout and skipping the final chained section. Make sure you wear shoes with good grip and bring gloves for the cable section.
This is a very popular hike, expect crowds!
Angels Landing is arguably one of the most famous hikes in the United States. It’s on a lot of people’s bucket list, and it’s only getting more popular. As such, you should expect to see other people on the trail. It is particularly important to be mindful of other visitors while you’re on the cable section. People go up and down the cables at the same time. Expect to wait for other groups and be courteous.
Trail Stats:
Miles: about 5 miles round trip
Elevation Profile: ~1,500 ft.
Trailhead elevation: 4,284 ft.
Angels Landing elevation: 5,780 ft.
Trail difficulty: Difficult
Time needed: approximately 4 hours
Zion National Park website: Click here
2021 information guide: Click here
AllTrails link: Click here
Trail type: Out and Back
Permit: Not required
Water: Recommend 2 L
No water sources on trail
Best time of year to hike: March-October
This hike is not recommended in winter without previous winter hiking experience.
Dogs: No
Trailhead Information
The Grotto Trailhead amenities include restrooms, picnic tables, a water fill station, and trash cans. There is no cell service at the trailhead.
To get to the Grotto Trailhead: From March through fall, visitors must take the shuttle bus to access the Grotto trailhead. Click here for a complete overview of the Zion Canyon Shuttle system.
Maps and GPSx links:
Trail Overview:
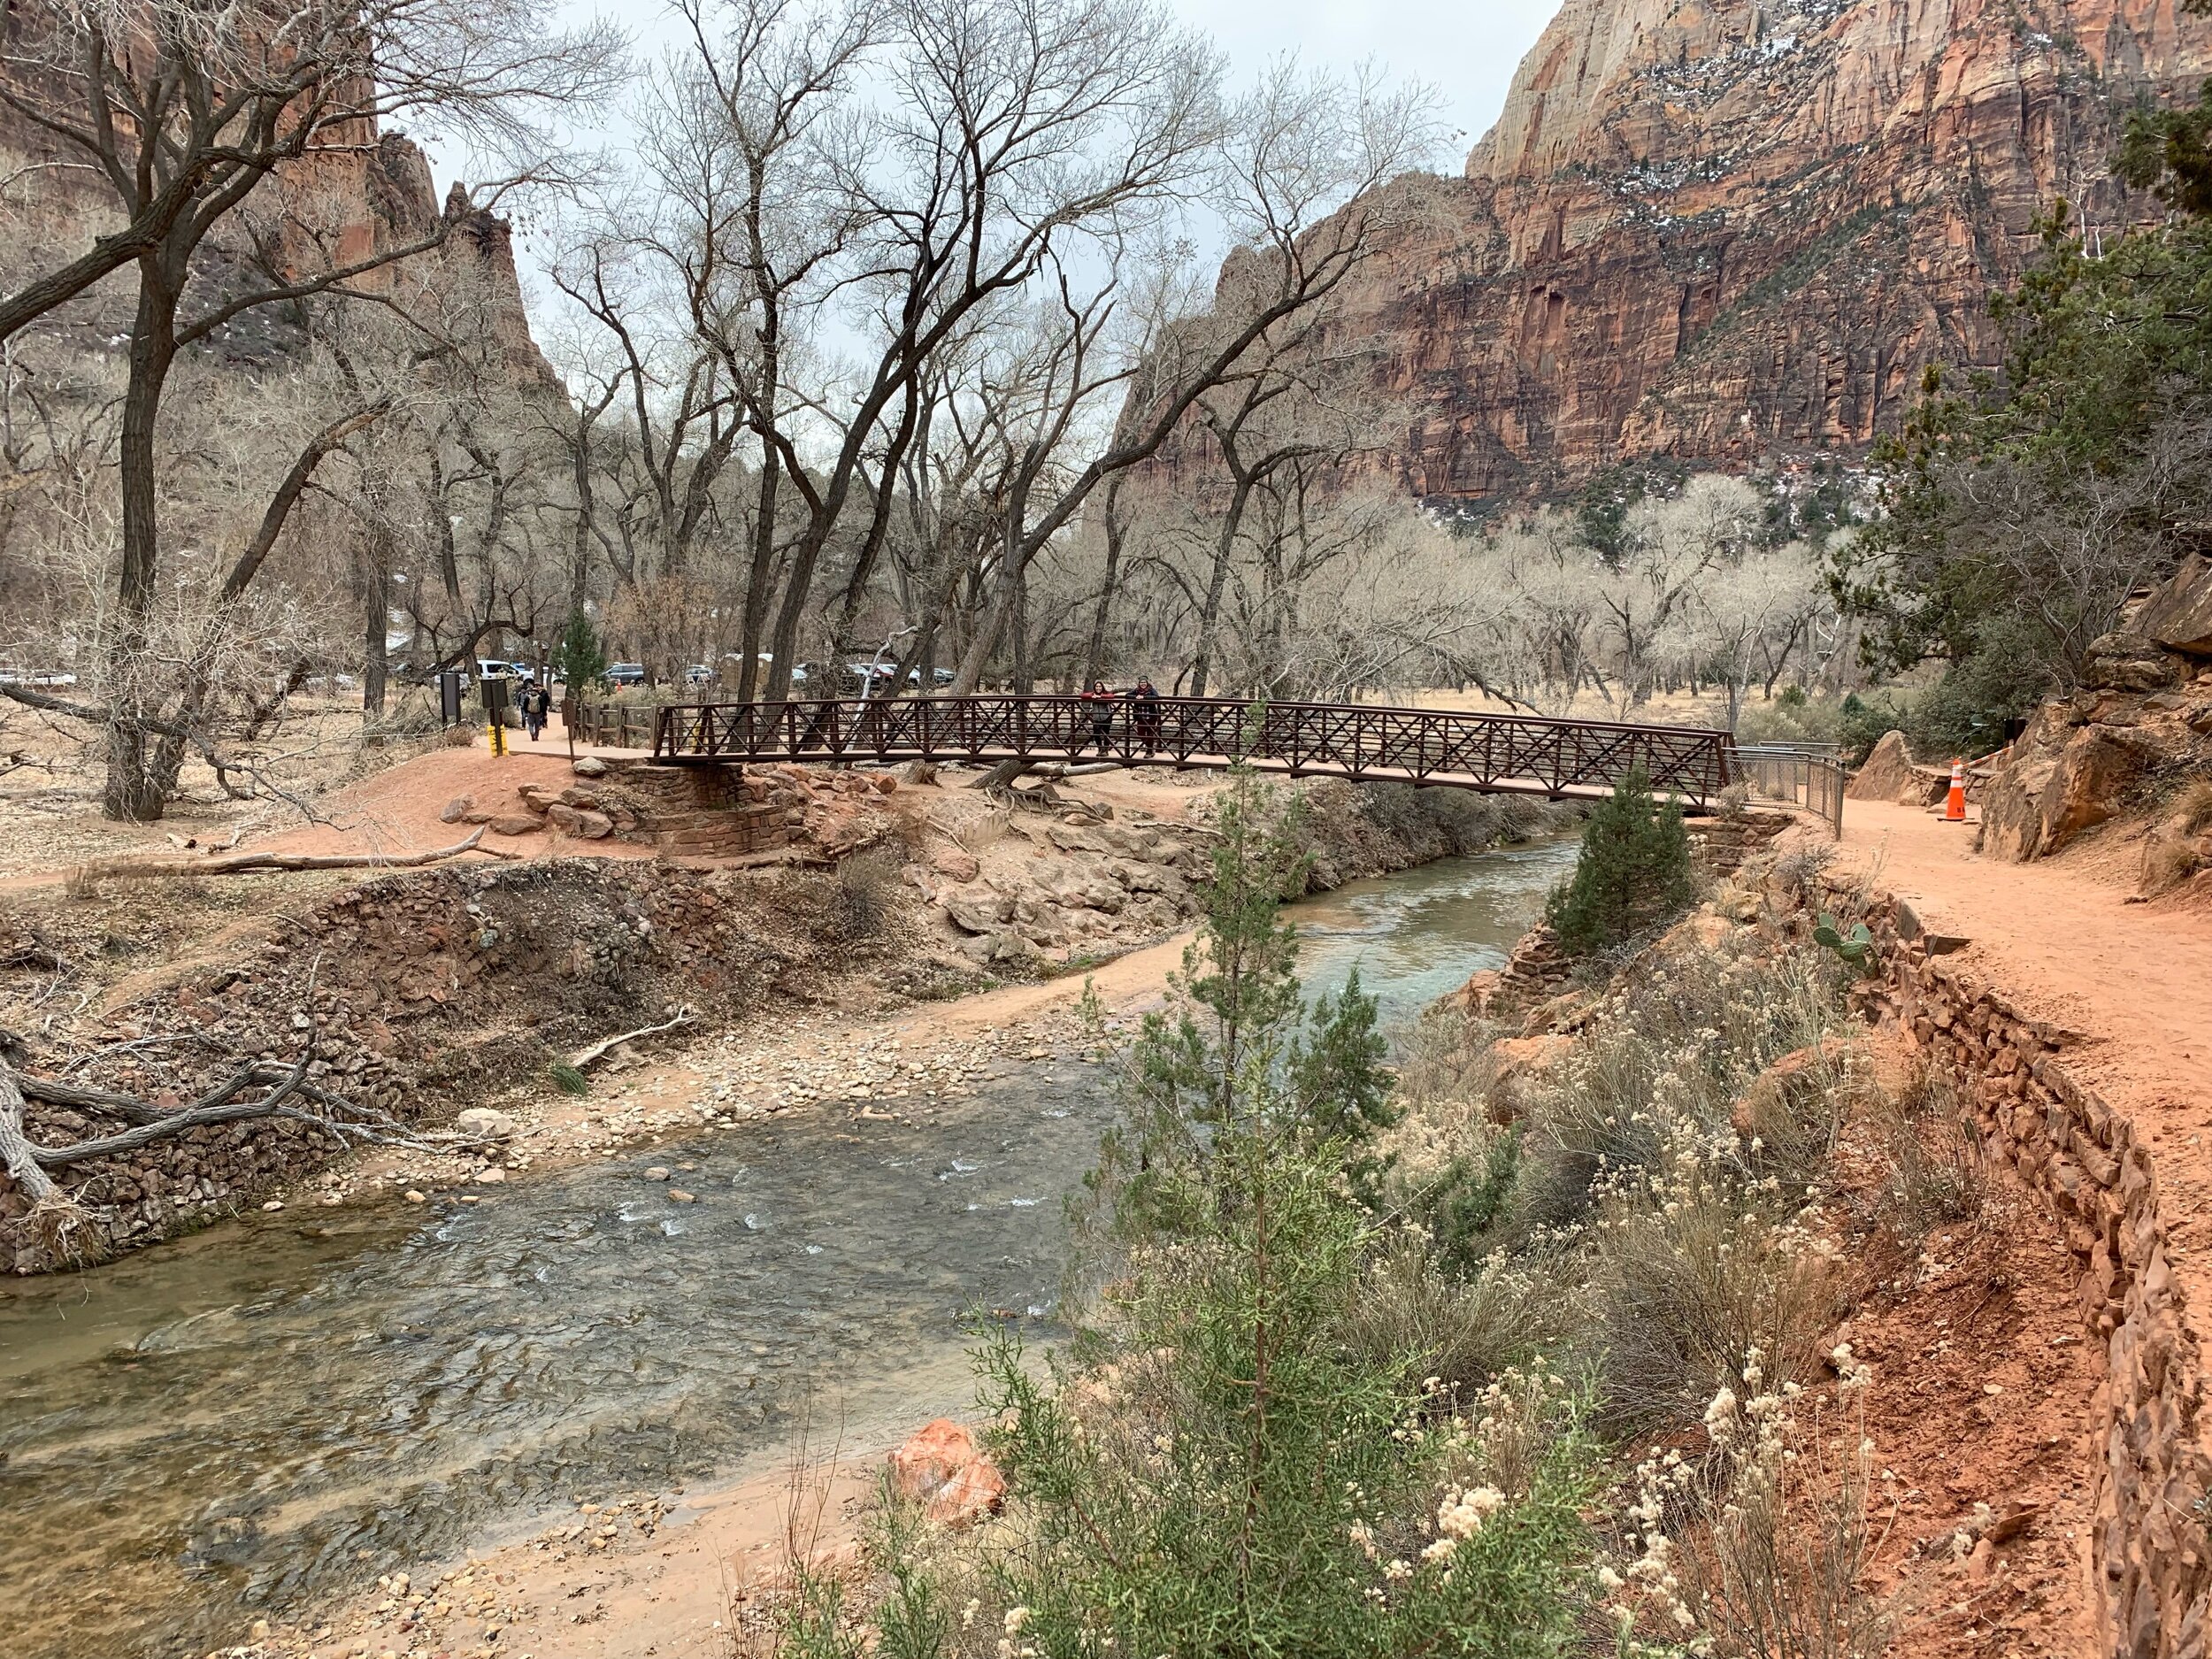
Once you’ve jumped off the shuttle at stop #6 for the Grotto Trail, you’ll immediately cross a bridge over the Virgin River. The hike begins on a paved trail along the west side of the canyon on the West Rim Trail.
You’ll continue along the paved path up some strenuous and long switchbacks until you arrive at Refrigerator Canyon.

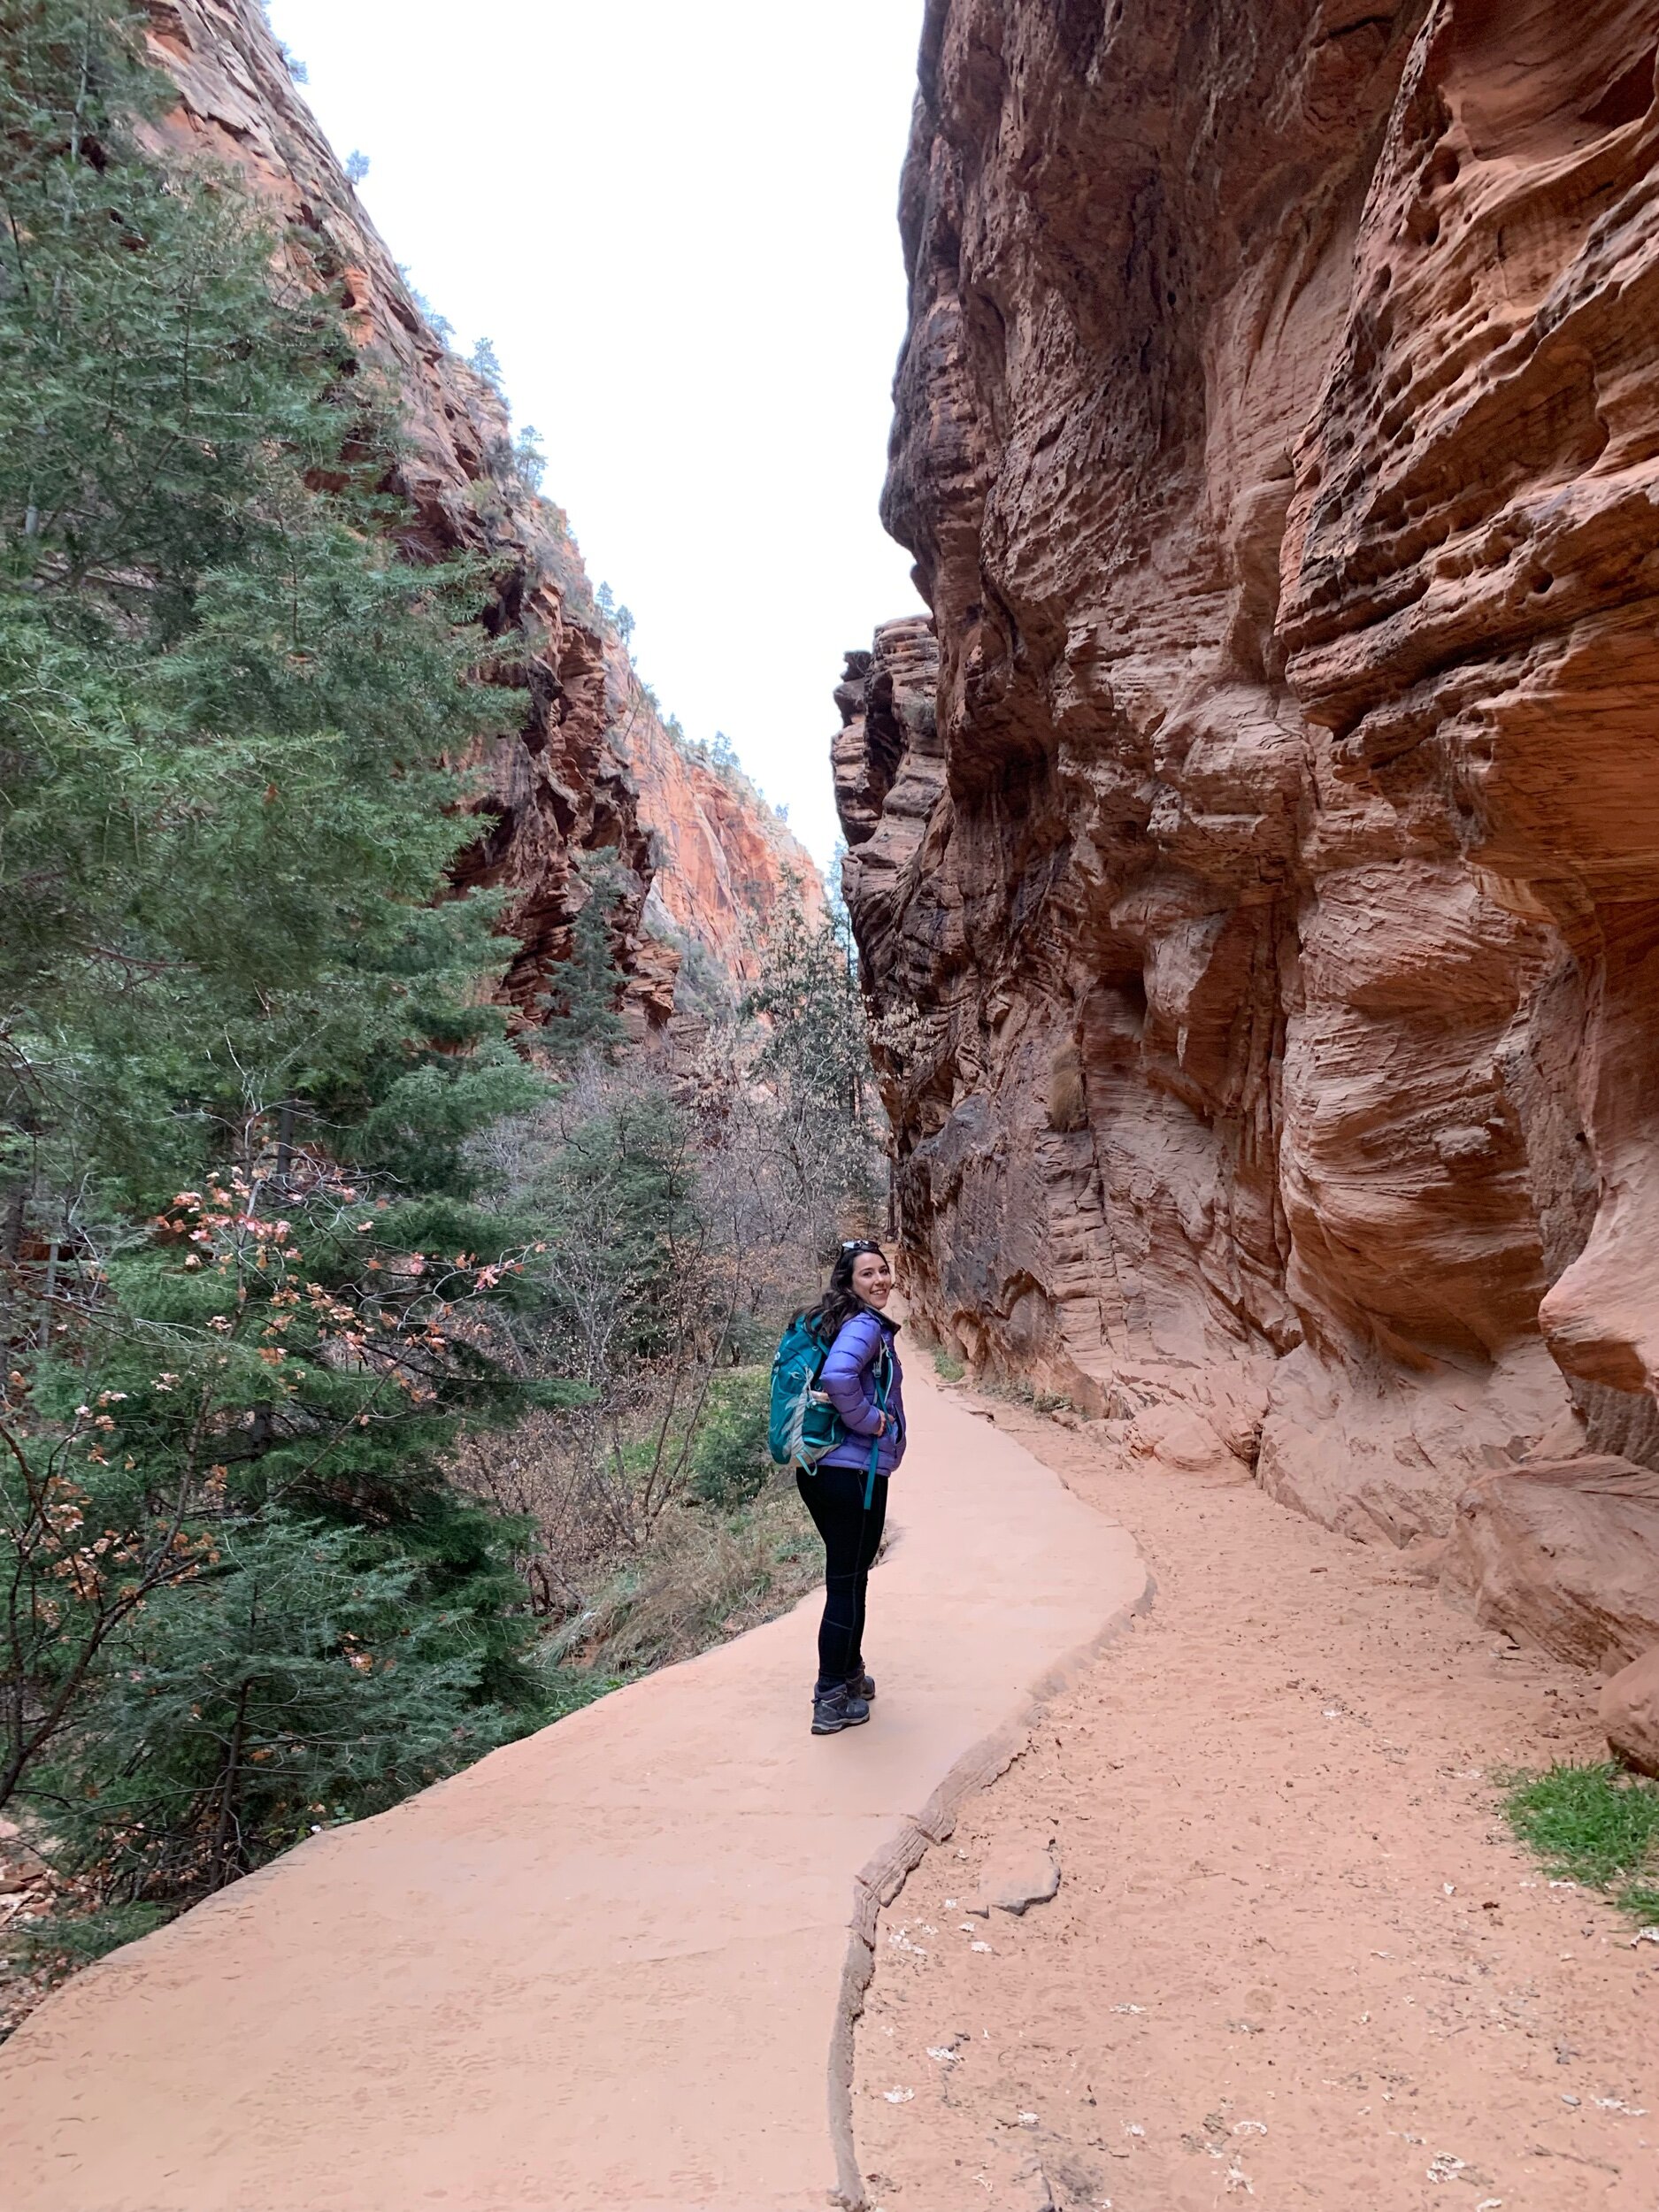
This small canyon got its name due to the consistently cooler temperatures found here. In warmer temperatures, this is a great place to take a little break. This is the only shady part of the hike. After moving through the canyon along gradual switchbacks, you’ll see a series of 21 compact switchbacks known as Walter’s Wiggles.
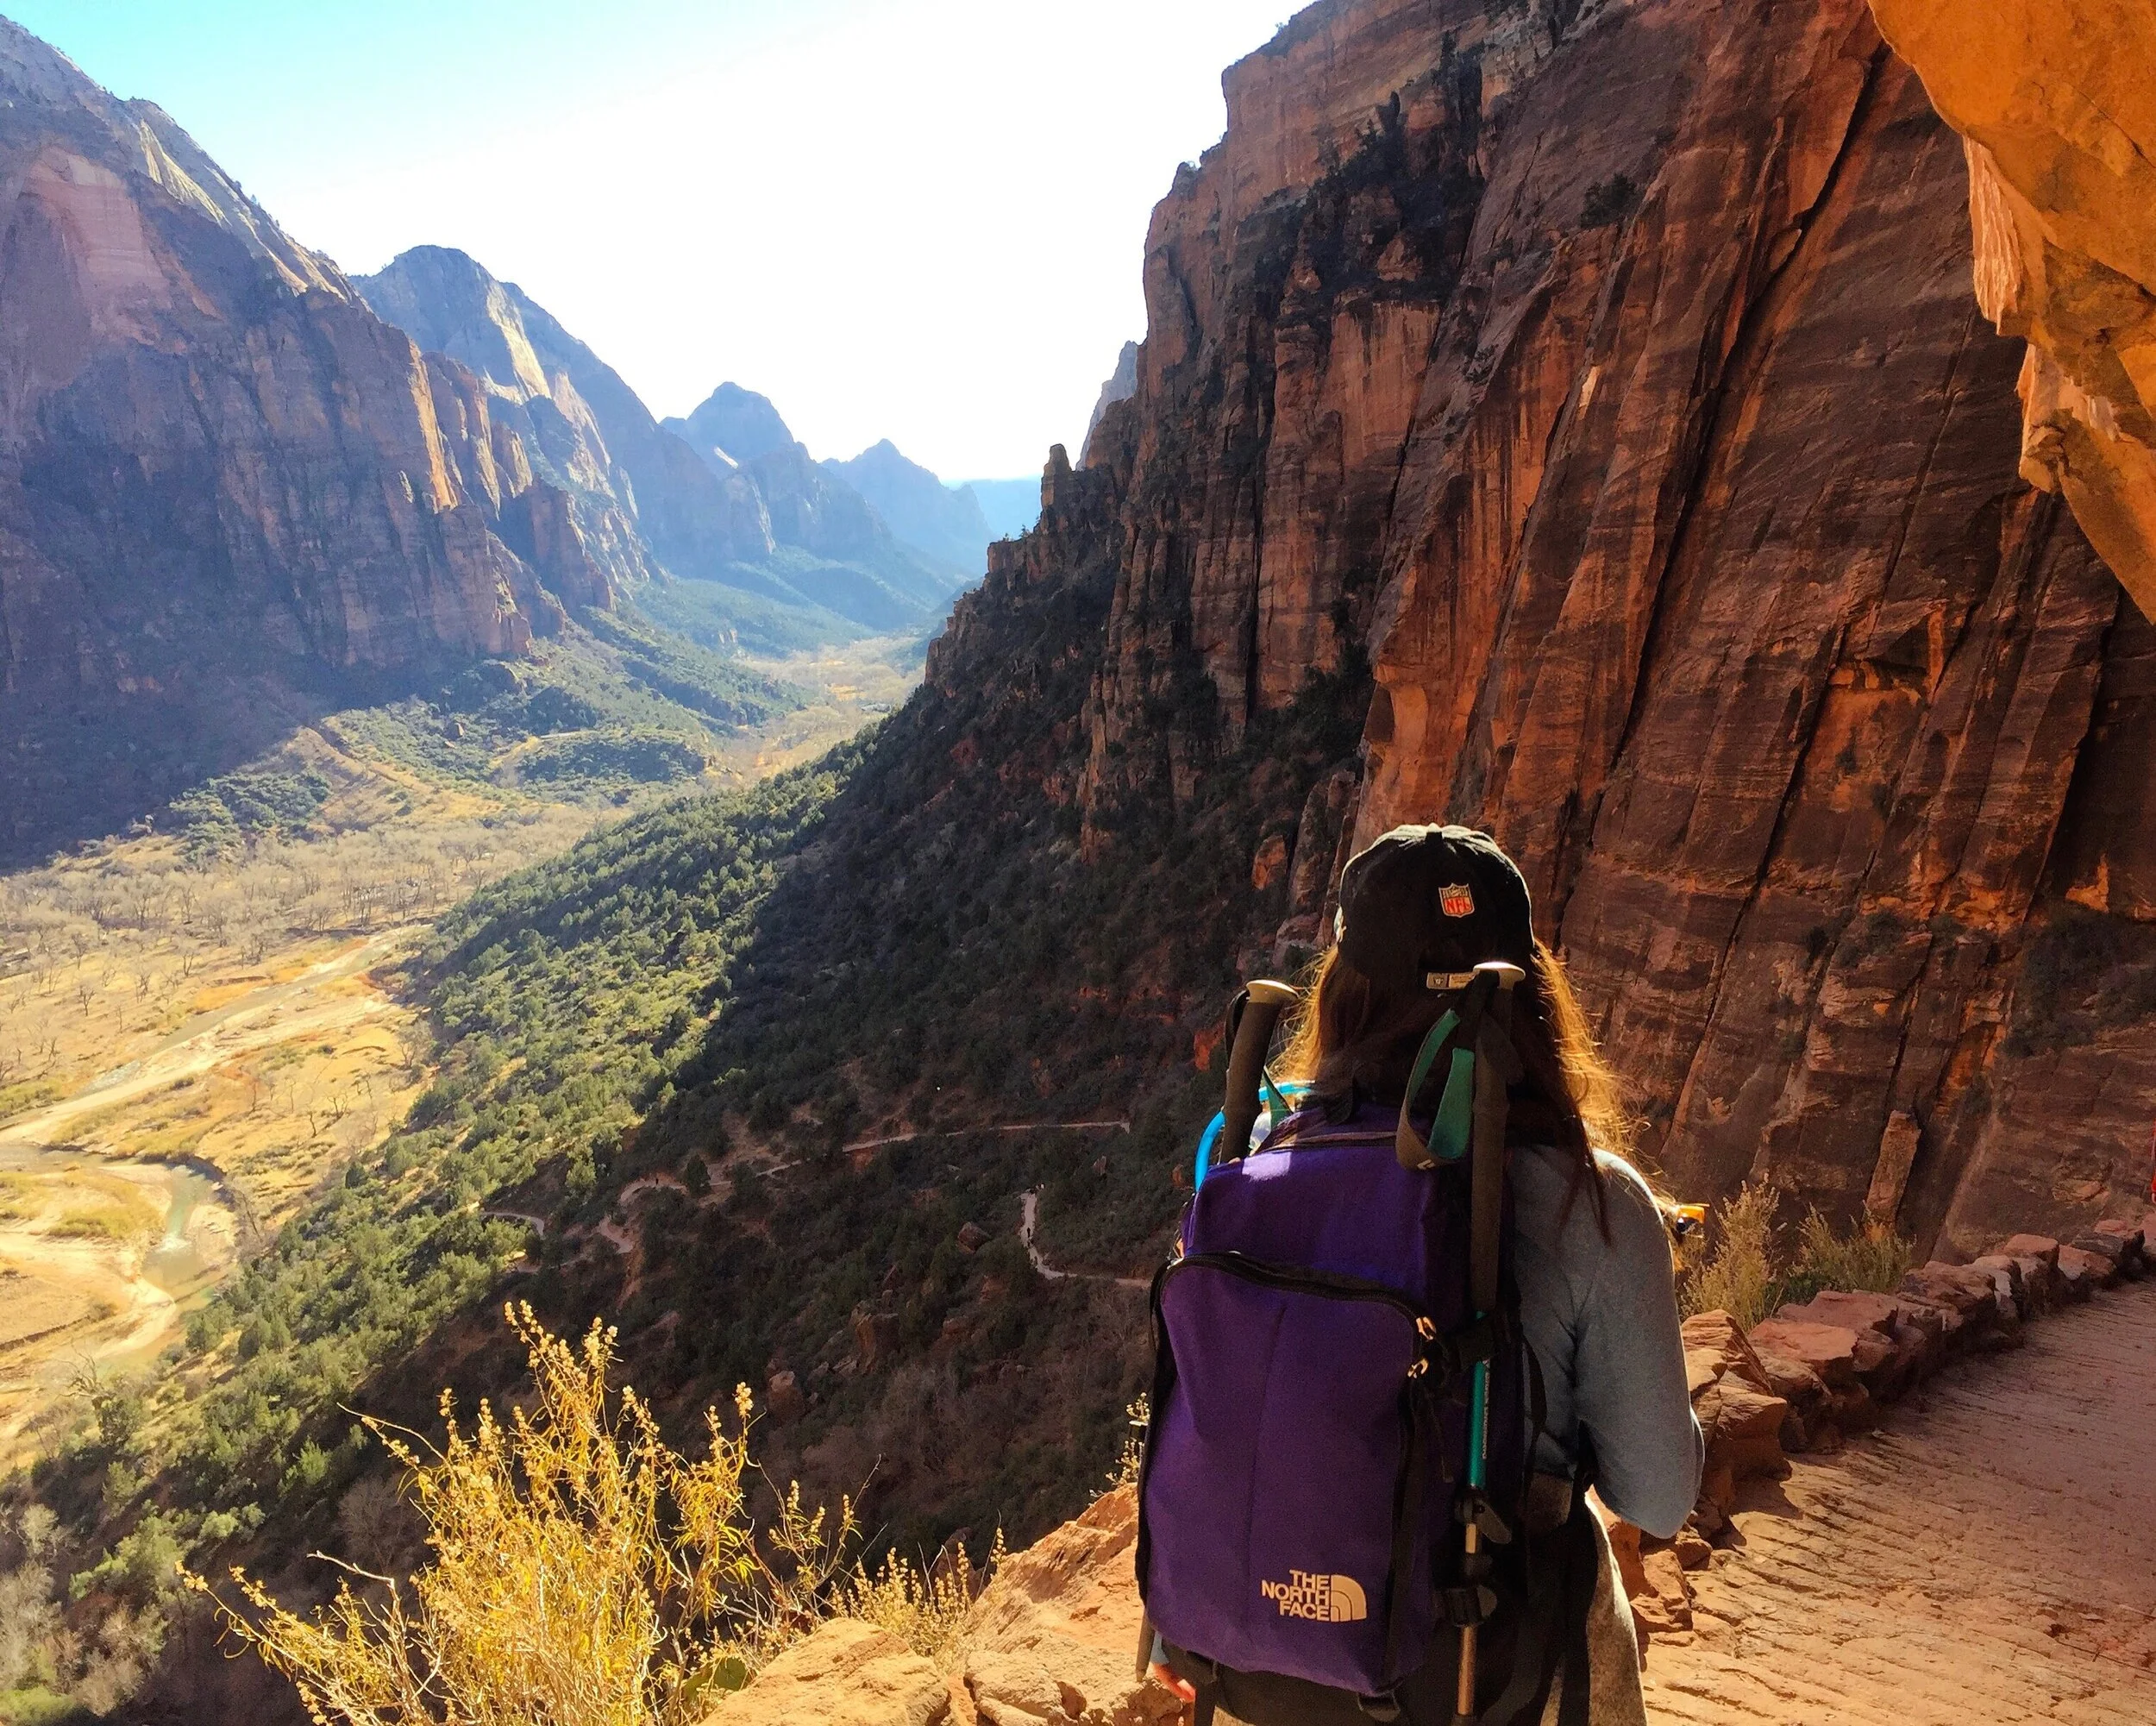
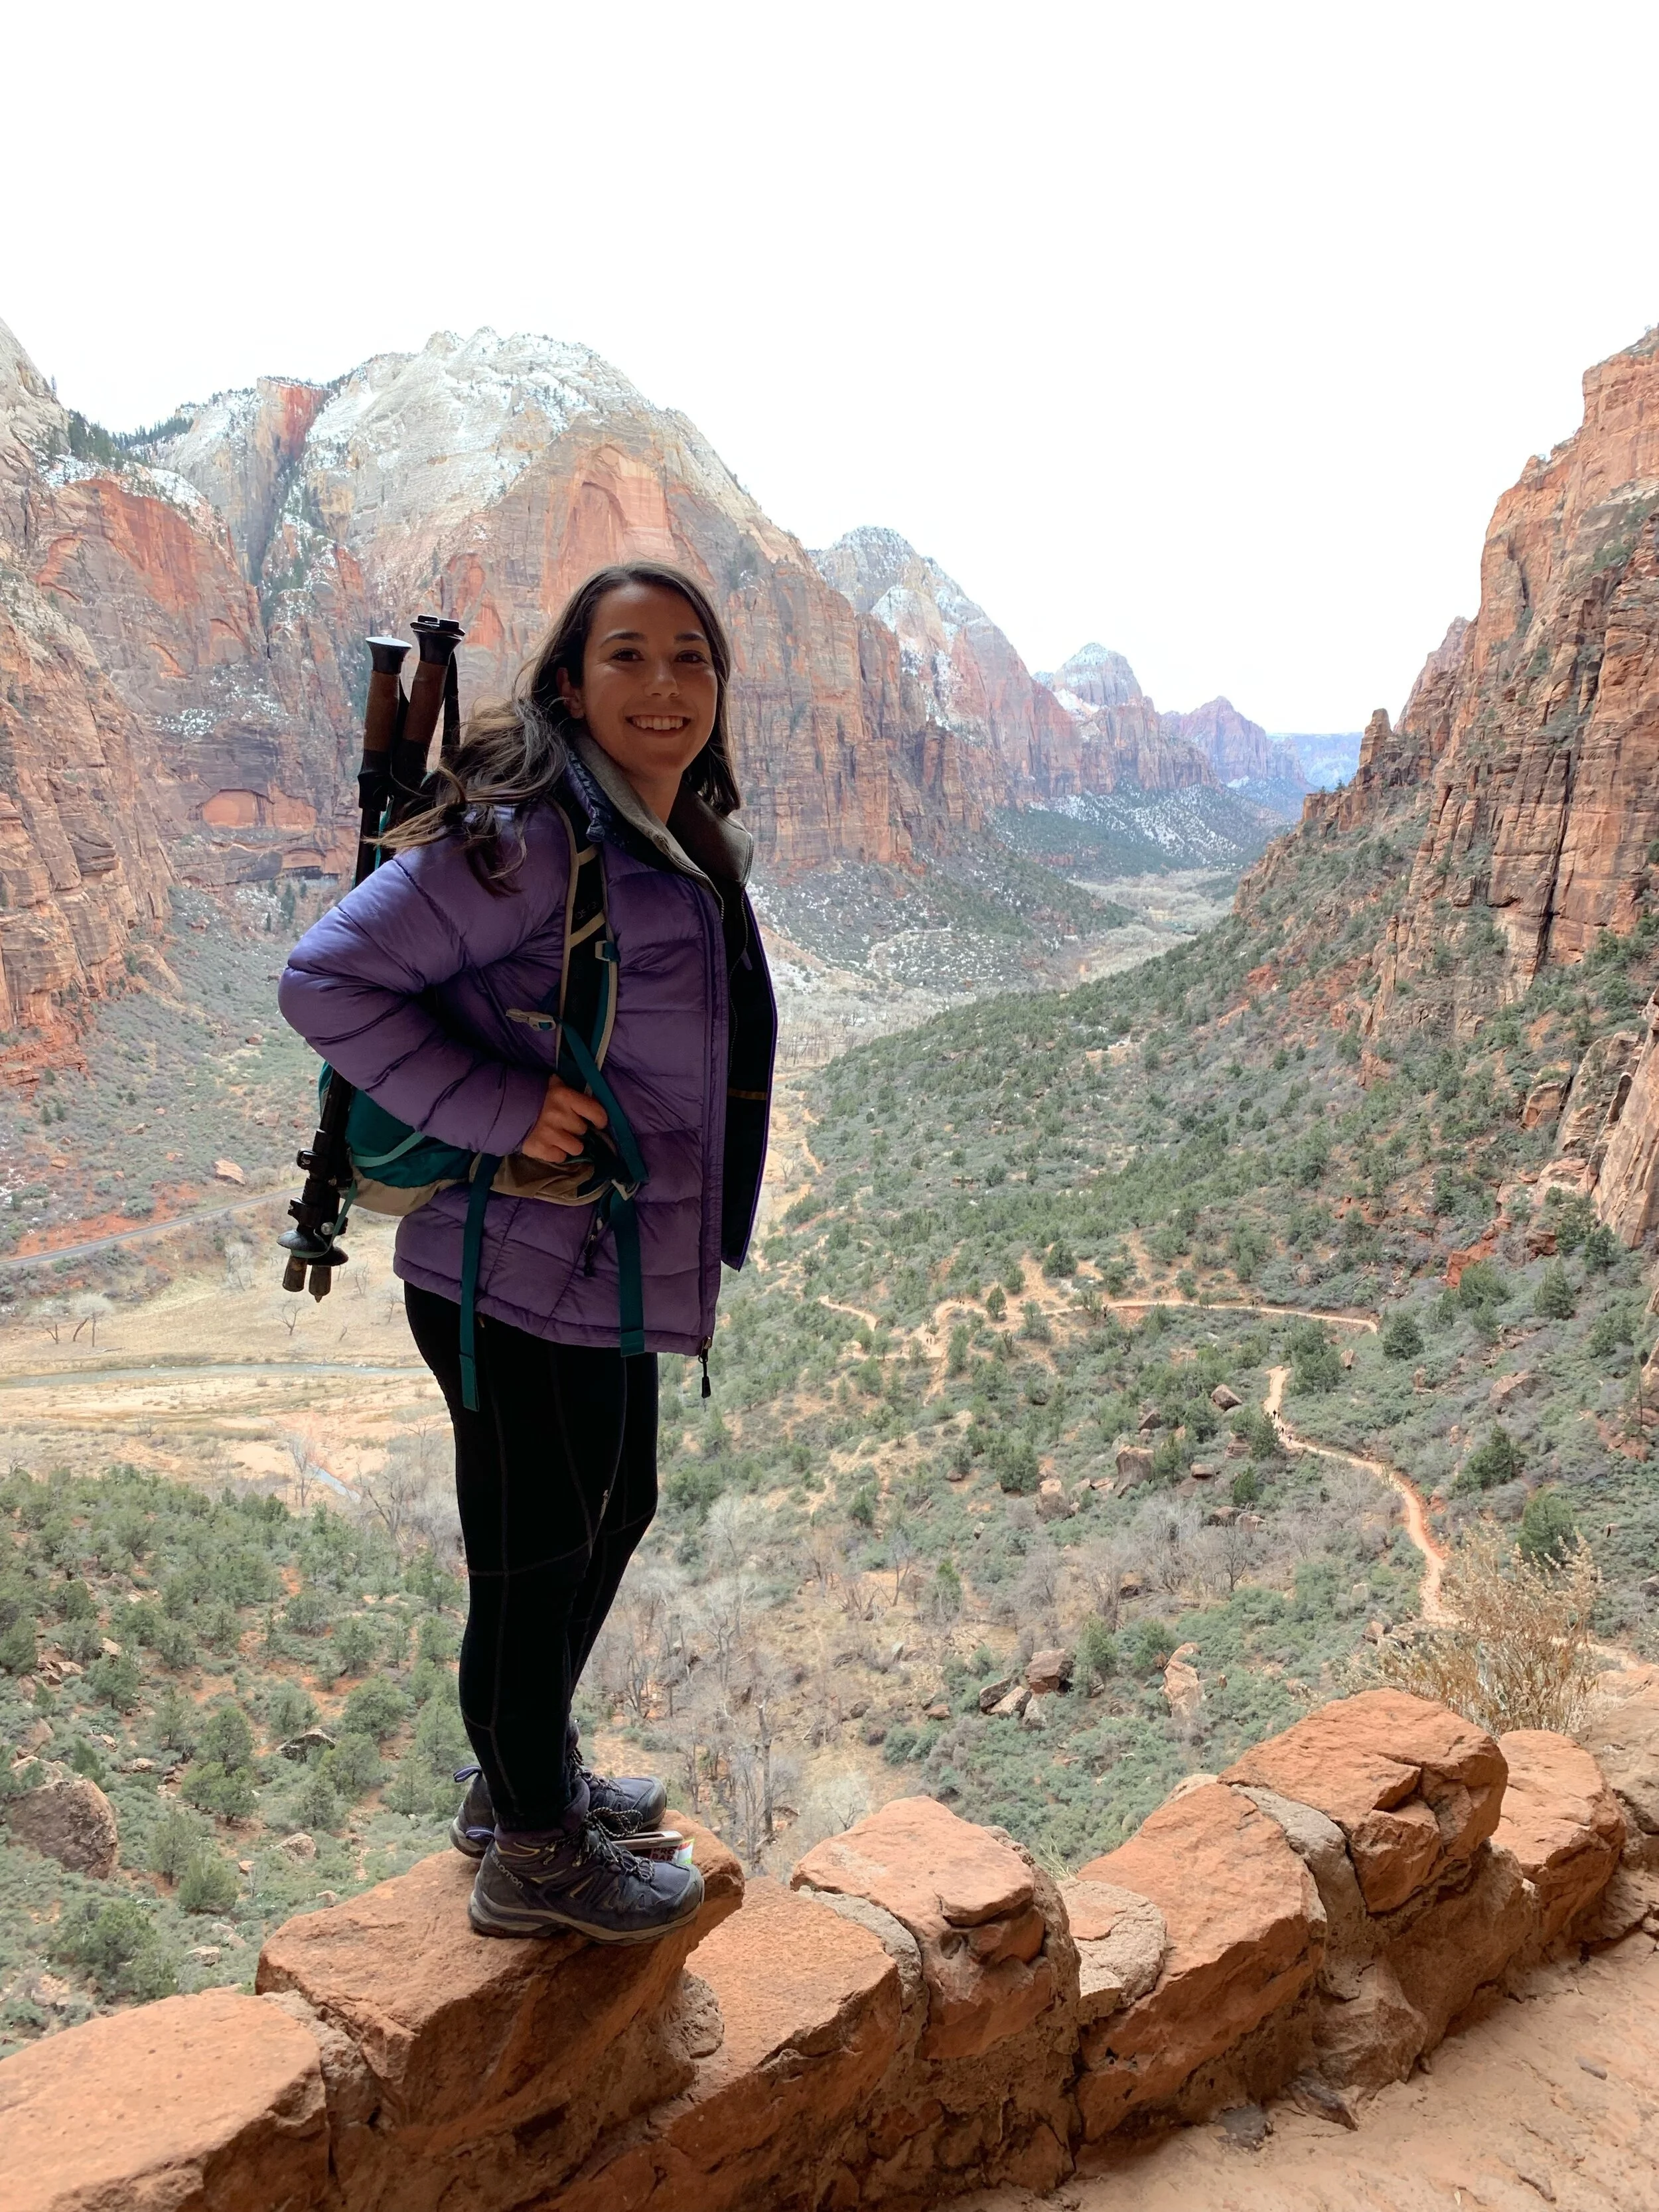
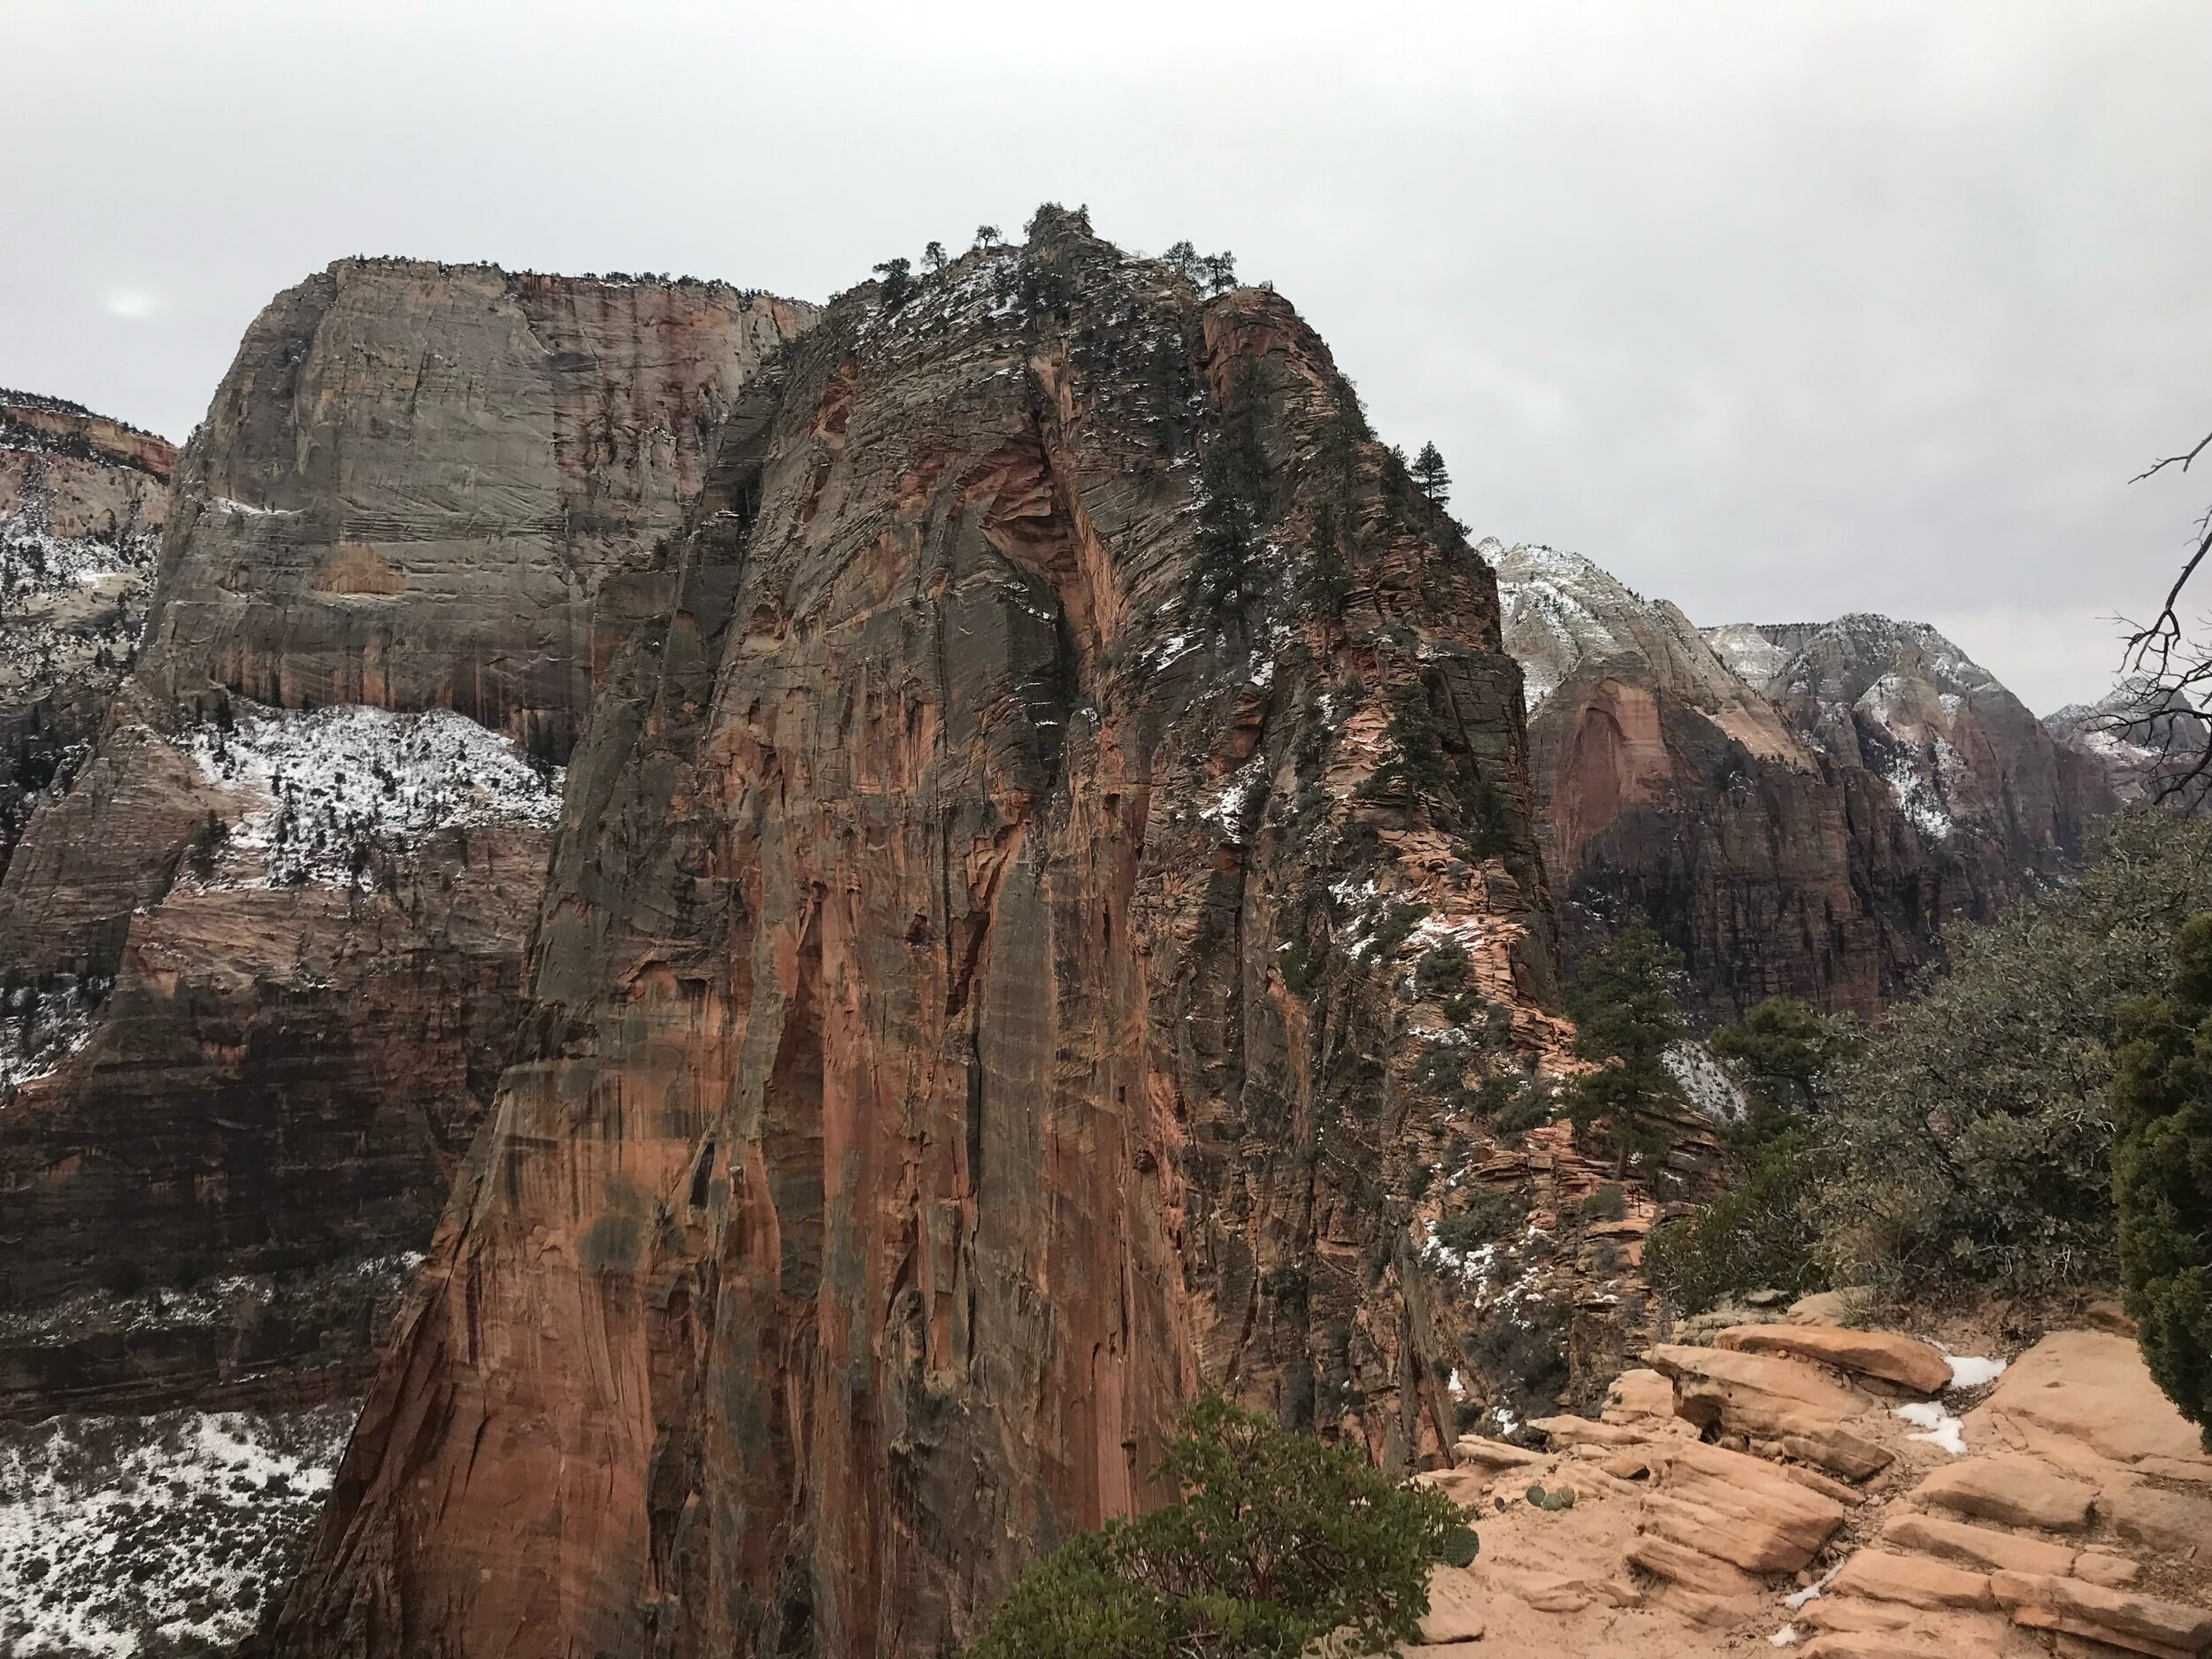
After you’ve reached the top of the switchbacks, you’ll arrive at Scout Lookout, with a beautiful view of the cables of Angels Landing and the main canyon below.
I recommend taking a little break at Scouts Lookout before you head onto the final cable section of the hike. This way you can drink some water, eat a small snack, and take a moment to secure everything in your backpack.
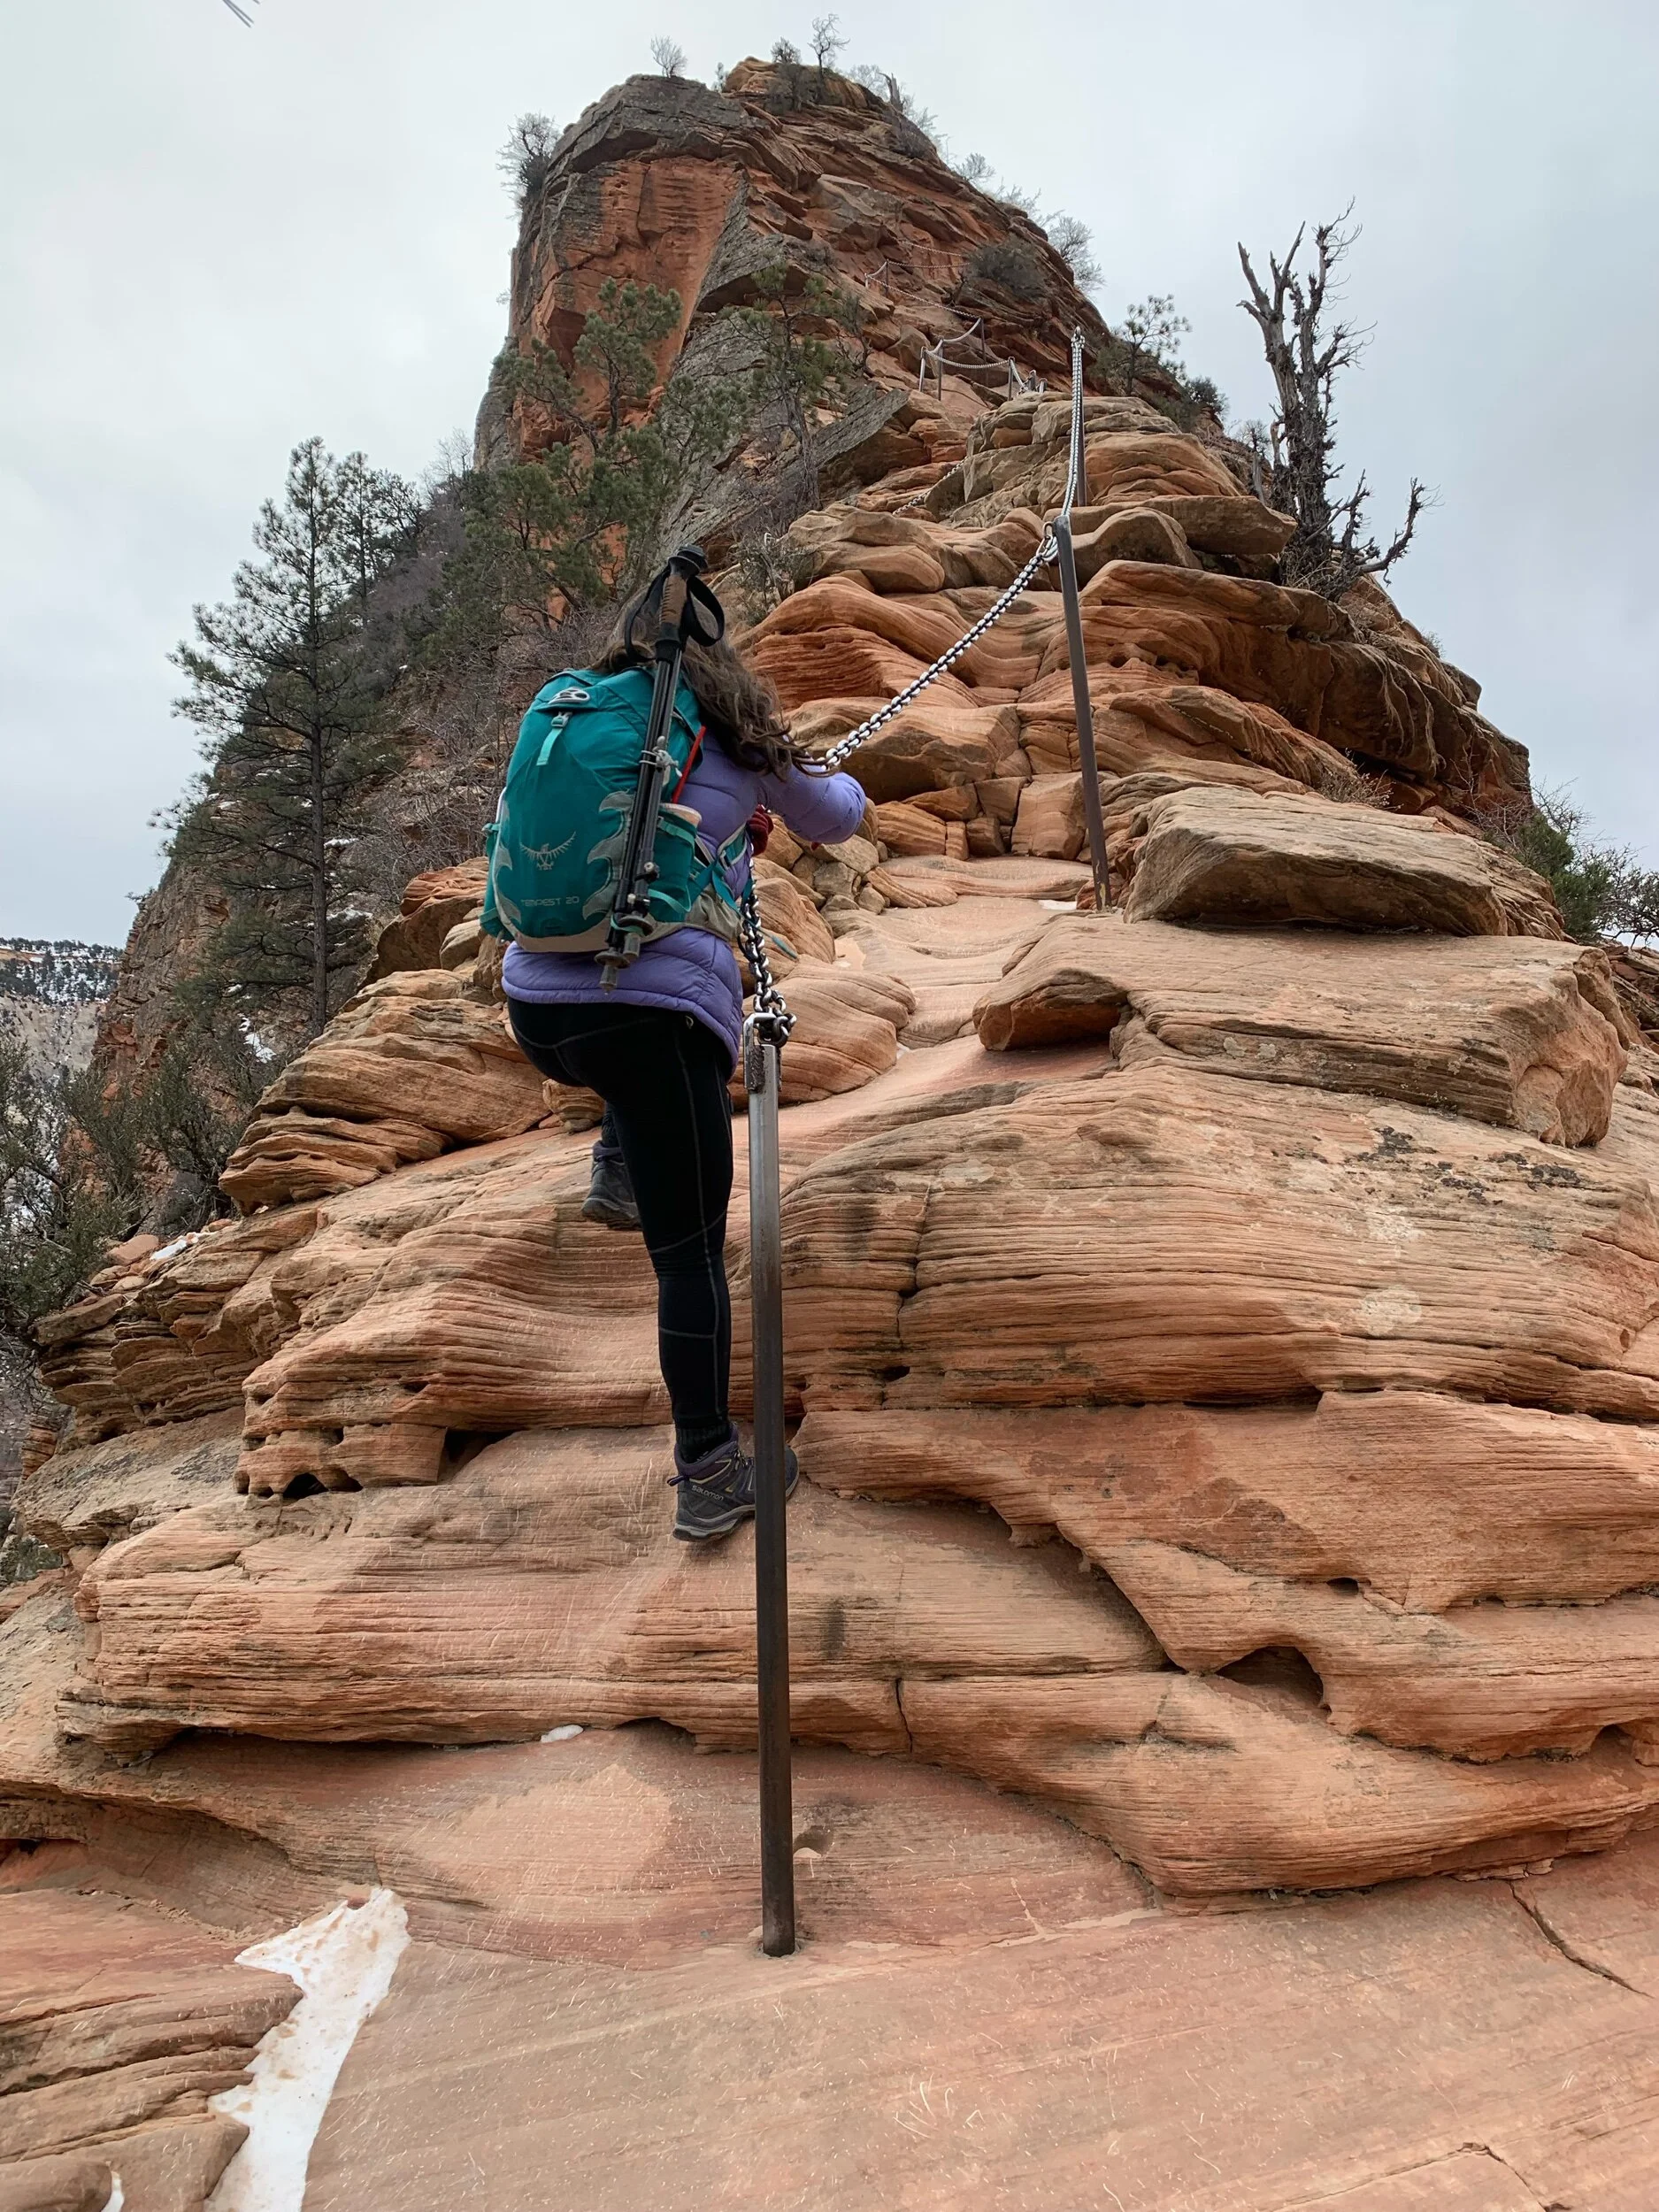
The final section of the hike is an exhilarating experience. You’ll be walking along a narrow carved footpath, lined with chains, and an approximate 1000-2000 foot drop on either side. The trail is very well maintained, and remains very level, with only about 500 feet of elevation gain between Scouts Lookout and the end of the hike. While most of the chain section is narrow, there are a few places along the way that give you enough space to take a break.
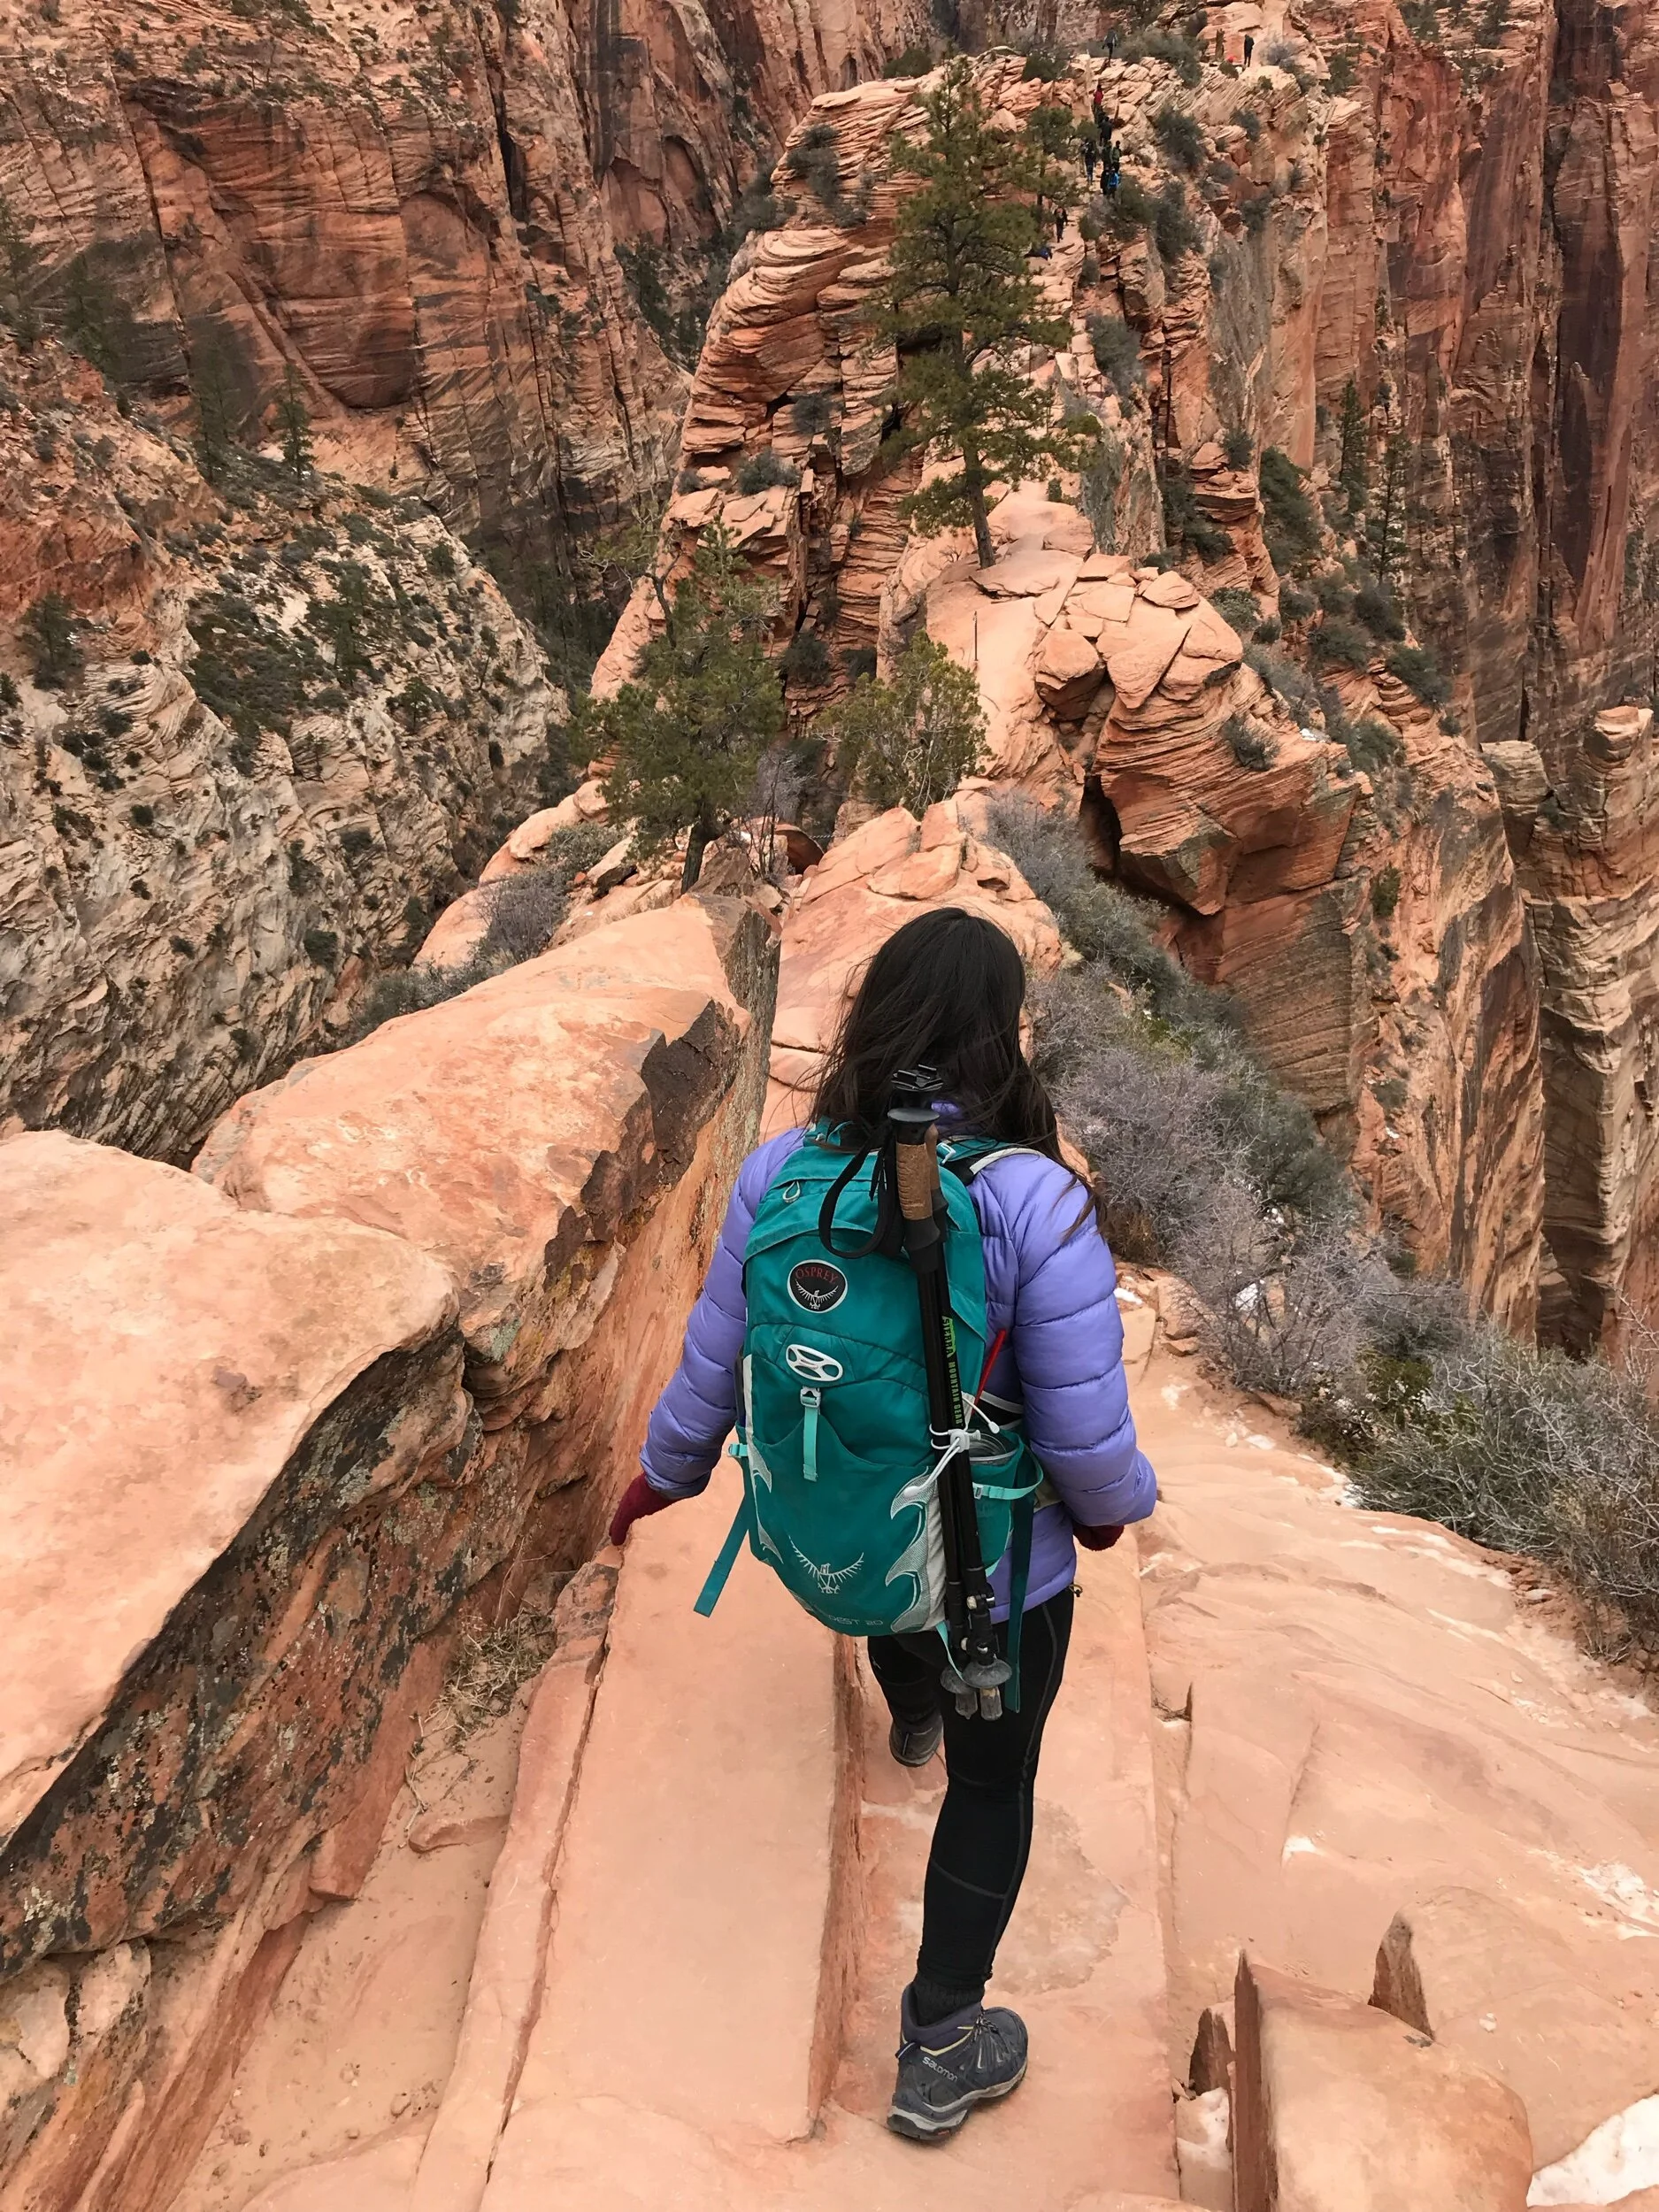
Most of the final section has chains for you to hold on to, but it’s important to note that there are a few places where there are no chains for holding. It’s narrow in the spaces still, but if you keep your balance and solid footing, you will feel okay without the chains.
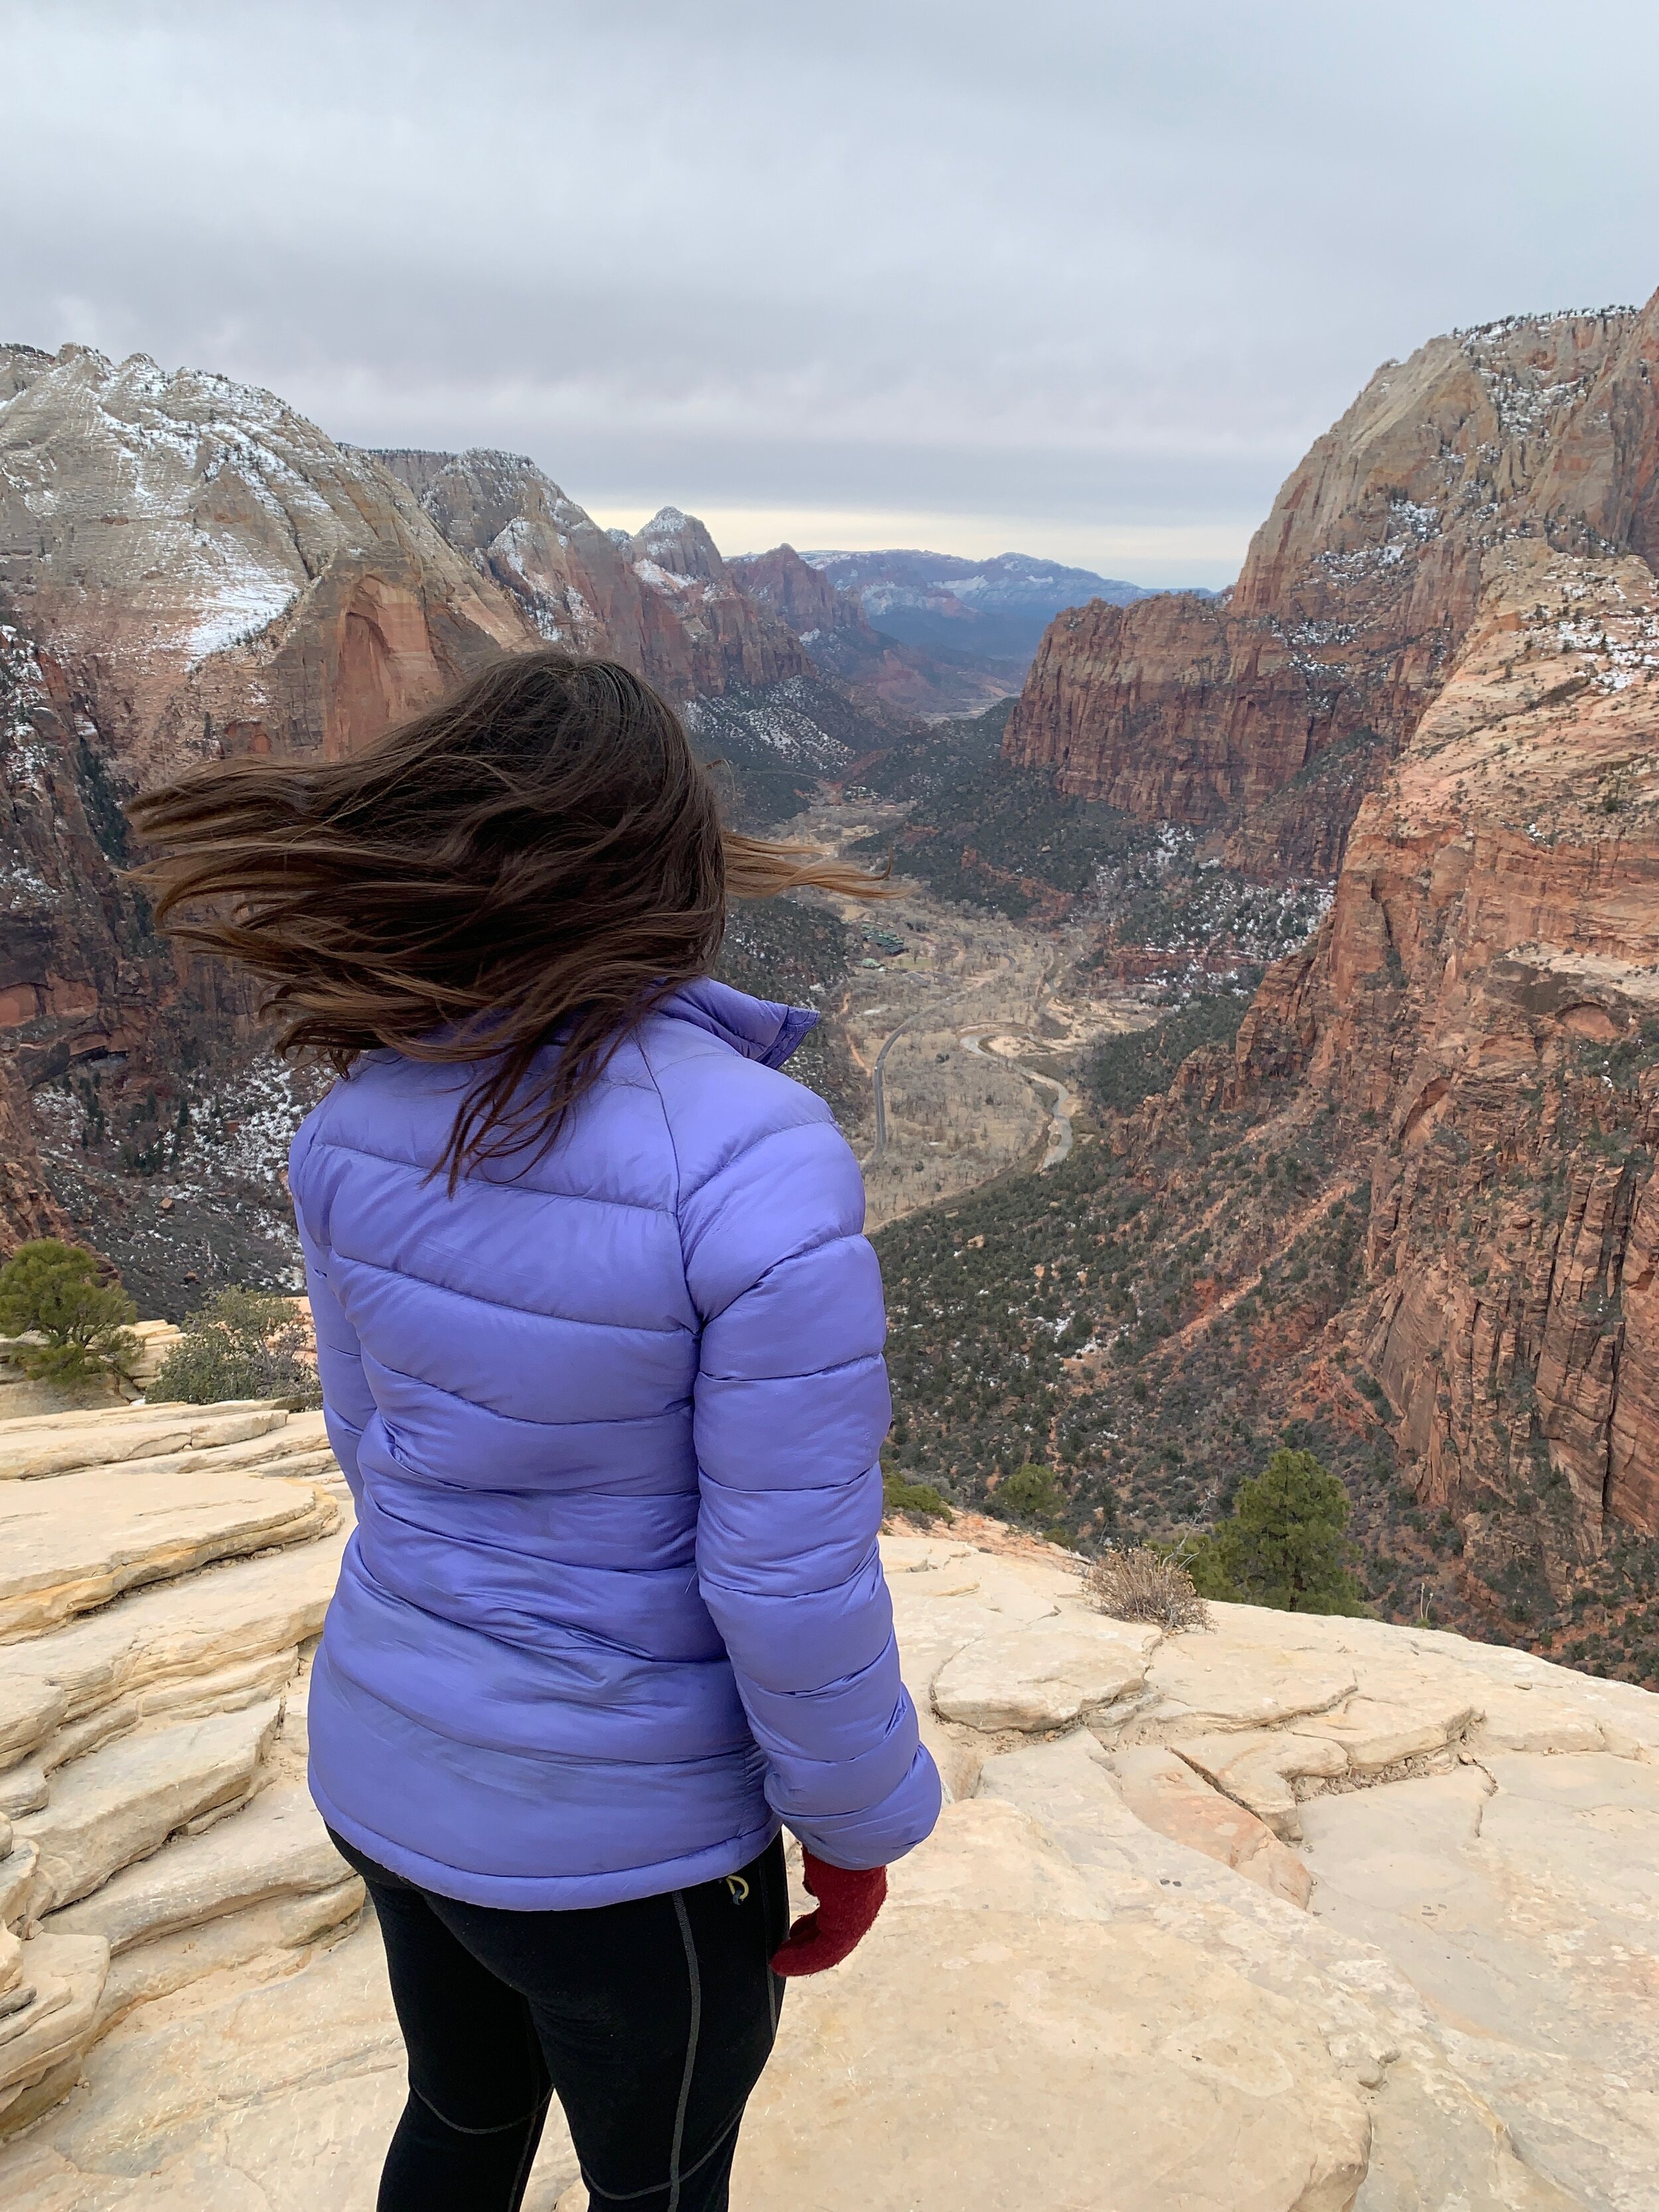
Once you’ve taken your time soaking in the views, snapping a few photos, and eating breakfast or lunch, simply return the way you came. Descending is generally easier than ascending, except for a few spots where there’s a big step down.
If you still have energy after your summit, you may consider continuing up the West Rim trail a bit more for beautiful views of what you just climbed!


