John Muir Trail Women’s Clothing Guide
In summer of 2017, I spent 23 days hiking 211-mile John Muir Trail.
One of the most frequent questions I get asked about my time on trail is what clothing I wore.

When I purchased my JMT clothing I kept three things in mind:
Price
Functionality
Weight
I’d also recommend:
Having one set of designated trail clothes & one set for camp
Wearing your clothes on a training trip before
To download a general packing list, click here.
Trail Clothing:

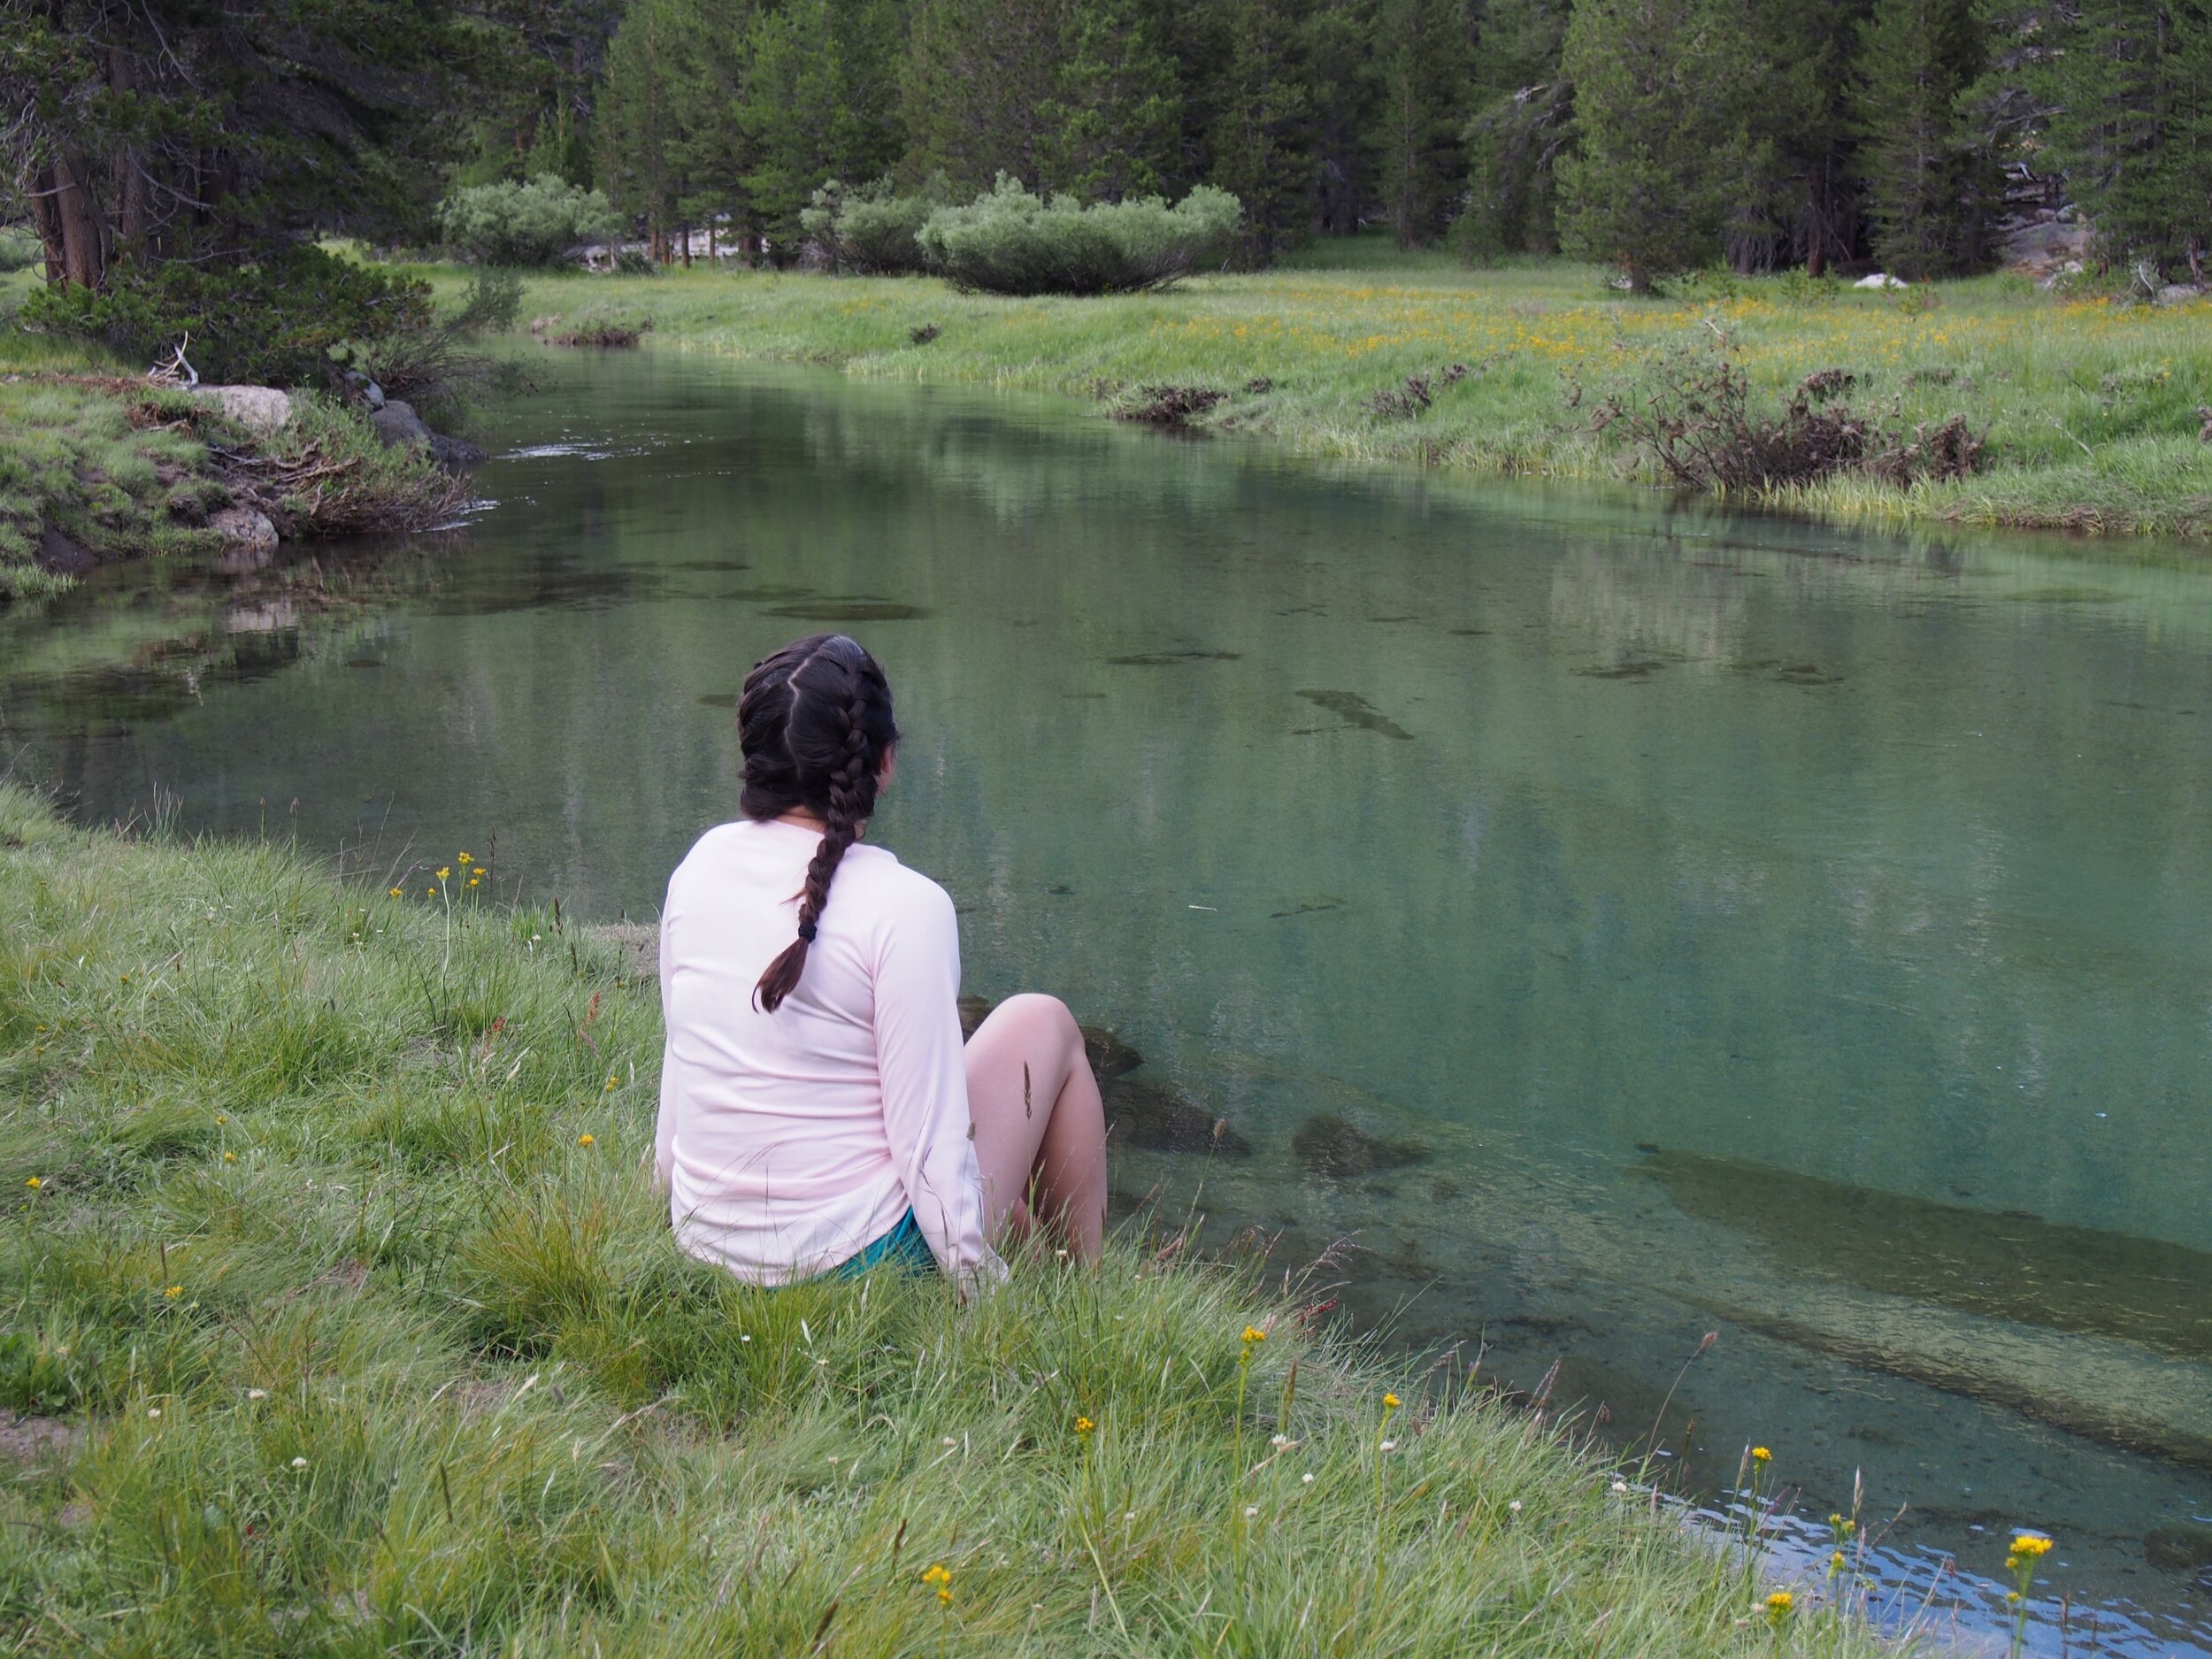
Vapor Apparel Sun Shirt- UPF 50
This was my main hiking top. A sun shirt is important to help protect you from UV rays and is a better alternative to wearing tons of sunscreen.
Cost: $22
Nike Tank Top
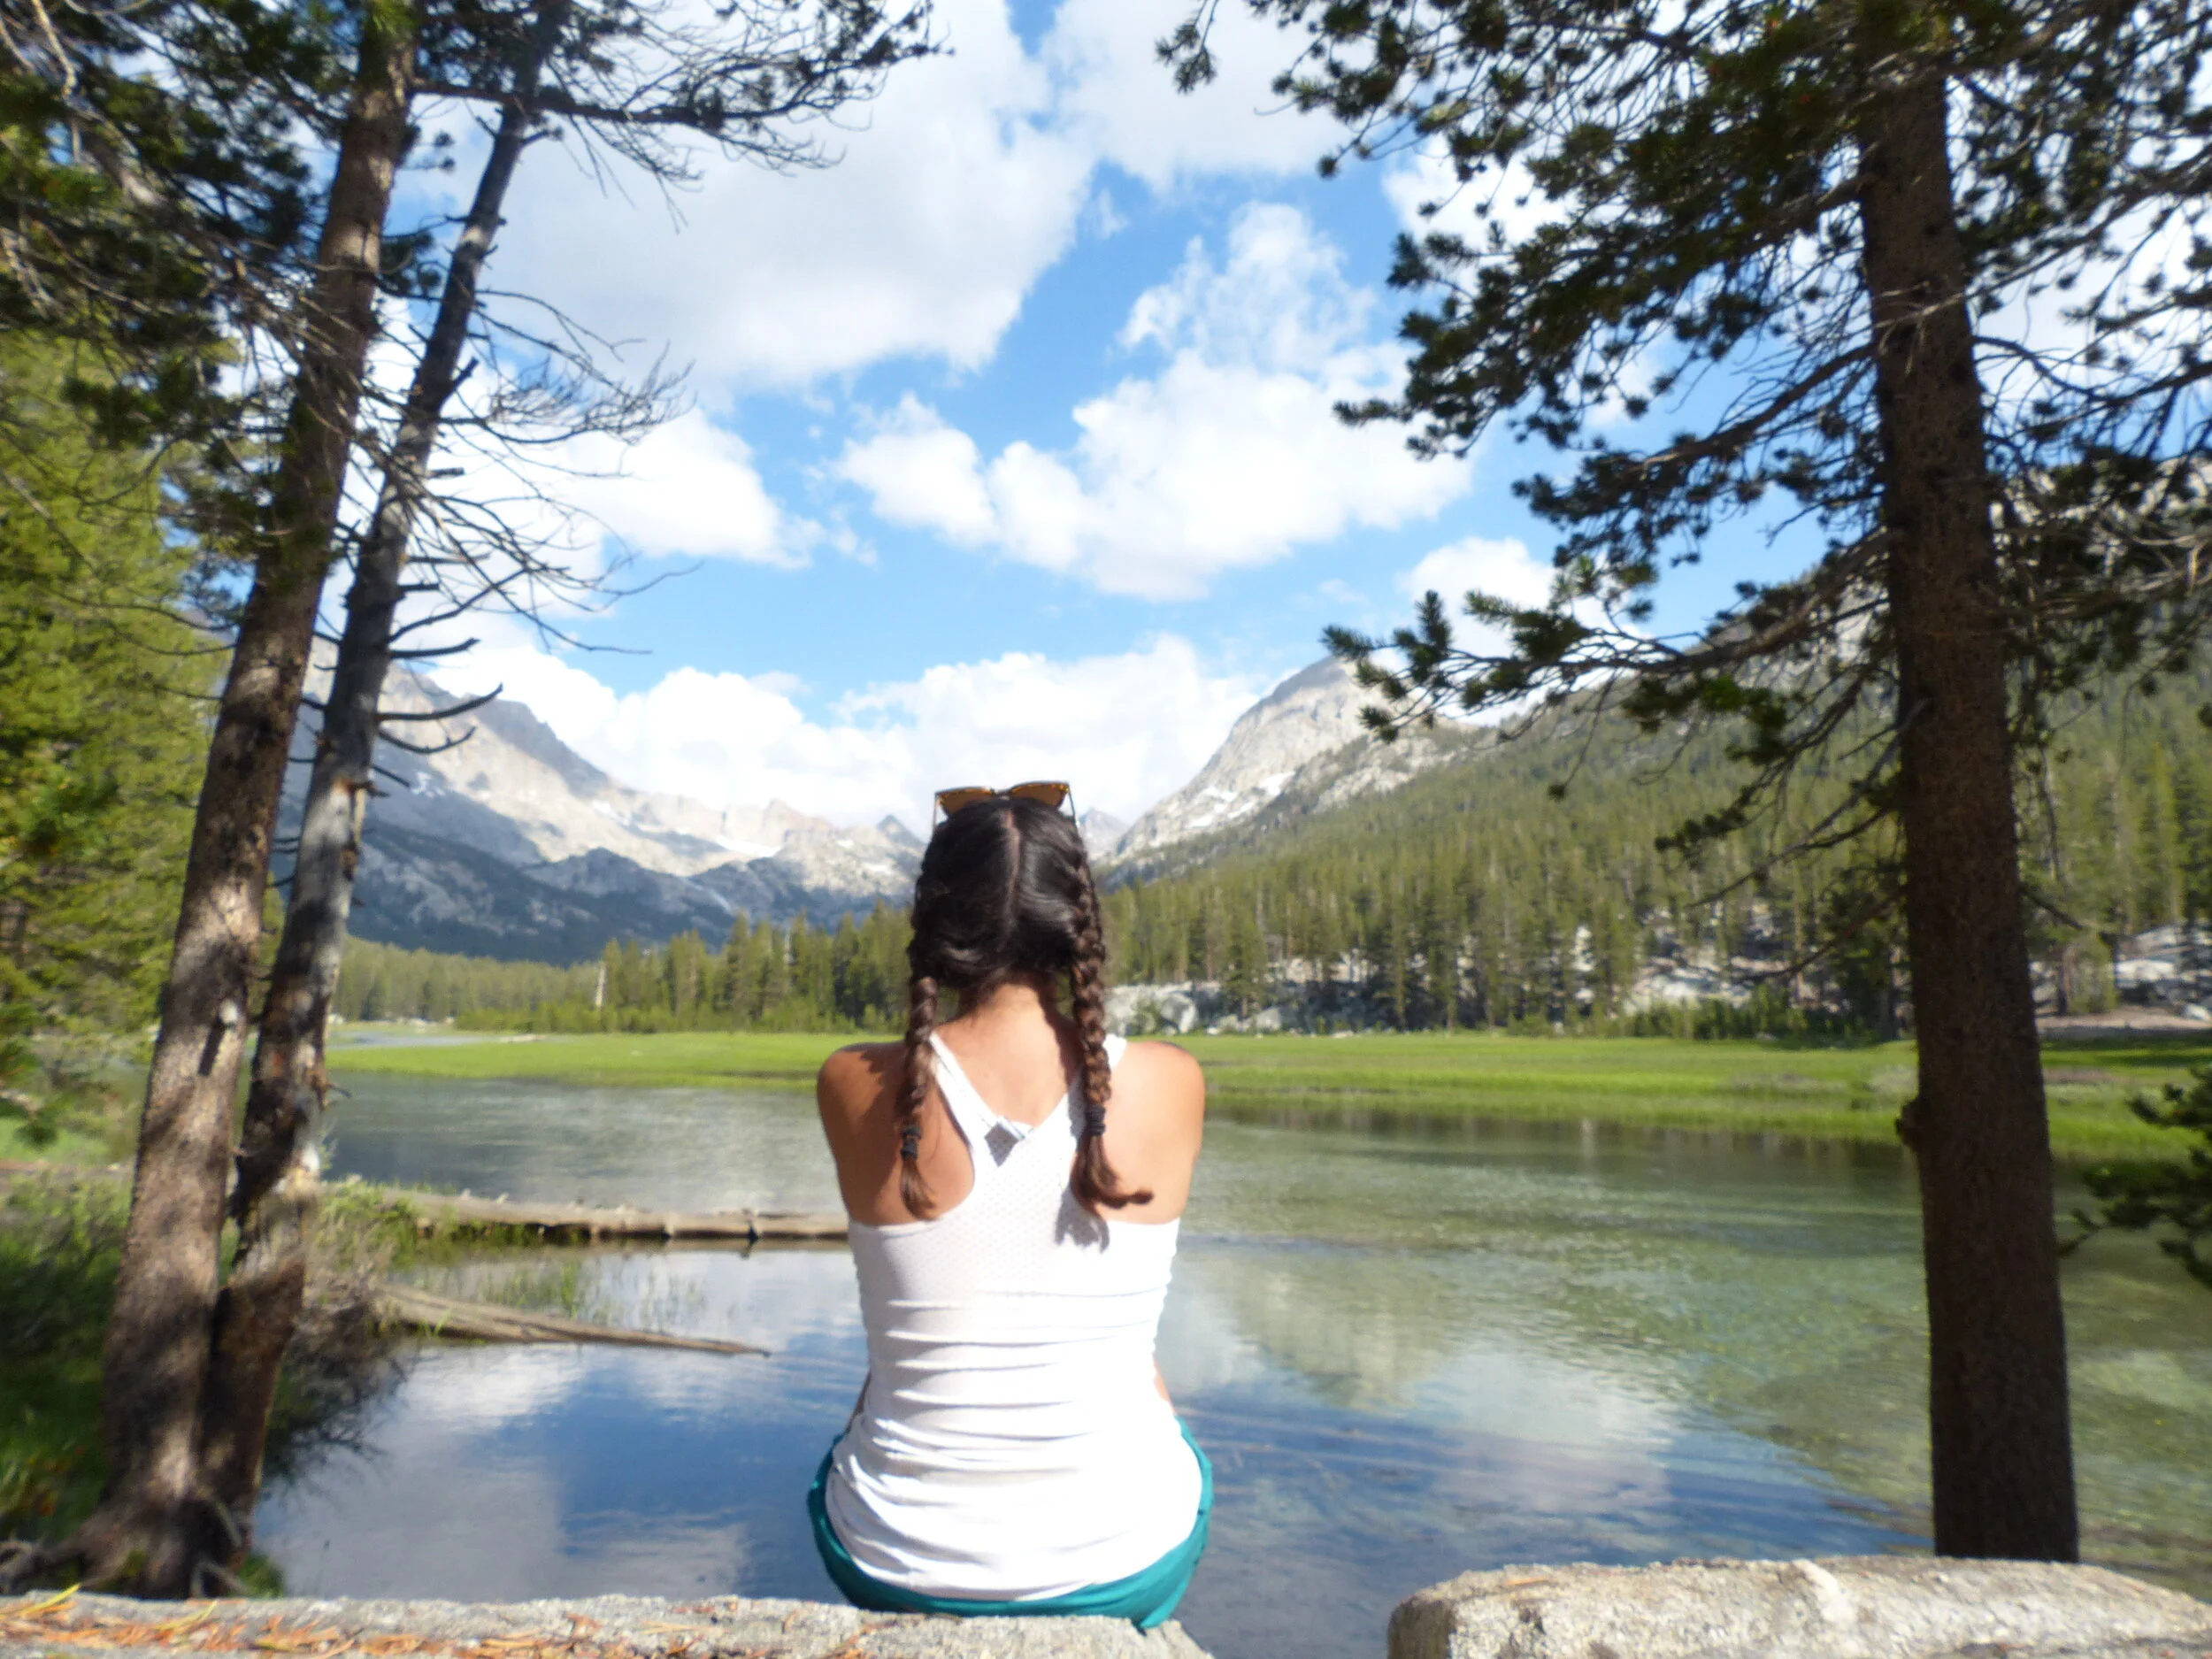
It was nice to have the versatility of a trail tank top for days I was tired of wearing the same long sleeve & for when I did laundry on the trail.
Nike dri-fit pack down extremely small, are very lightweight, and obviously dry quickly.
You can also use a dri-fit t-shirt in replace of the tank.
Cost: $10-30
Hiking Pants- Yoga Pants

For pants, most women choose between traditional hiking pants or yoga pants. I love the comfort and flexibility of yoga pants, but make sure to field test your pants before you go out. Sometimes they do lose their elasticity in the waistband or the material they’re made with rips easily. I ended up taking a pair of 90 Degrees by Reflexology pants.
Cost: $20
Nike Running Shorts
I tried on SO many pairs of hiking shorts in my preparation for the JMT. In all honesty, I never found a pair of solid hiking shorts that fit my smaller waist and larger butt/thighs.
Having shorts was also vital for me with the significant number of river crossings. My only warning with wearing shorts while hiking is to be mindful of chafing between your legs.
Cost: $27
Sports Bra

Okay: I have to admit, I’m a member of the itty bitty titty committee. For the JMT I opted for something lightweight and comfortable. Even though I actually hiked most days without wearing it, I still found the sports bra to be worthwhile, since it doubled as a swim suit.
If you need an actual recommendation for a sports bra and this talk just made you angry that some girls can go braless, you should check out the Ladies of the JMT Facebook page for recommendations.
Rain Jacket

A rain jacket is a requirement for the Sierra as afternoon thunderstorms are common. I’ve had the Marmot Precip for a few years now and have been pretty happy with its performance and packing size. In particular, I like this rain jacket because it has armpit zippers under the sleeves, a movable hood so you can lower it for more protection during heavy rainstorms.
Cost: $70
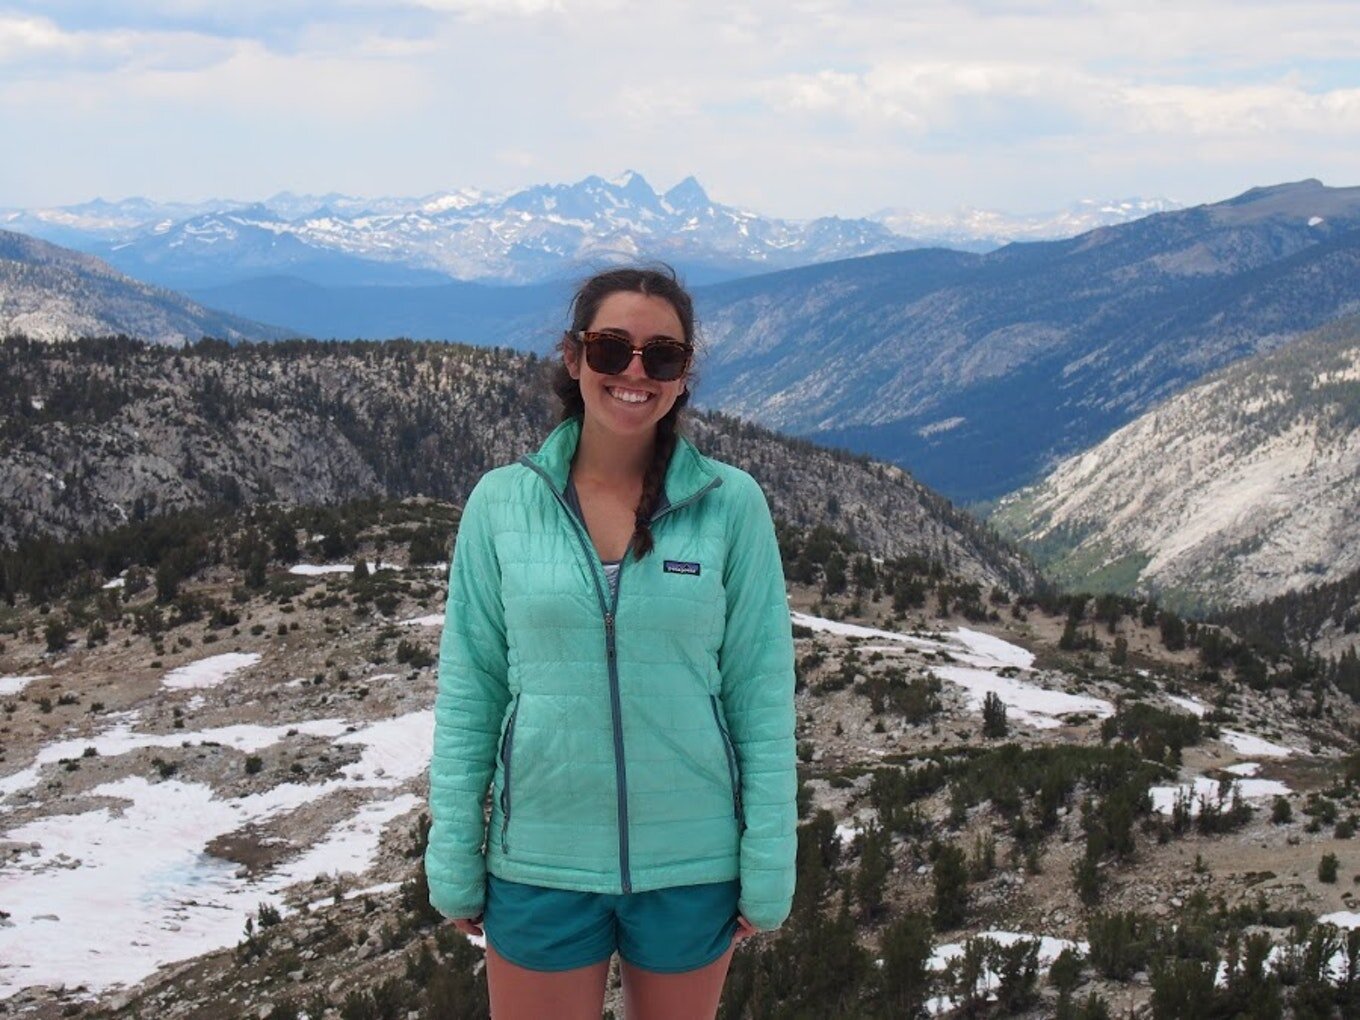
Down Puffy Jacket

From chilly mornings to stargazing at night, it is vital to have a puffy jacket in the Sierras any time of year. I chose the Patagonia down for it’s combination of price and performance.
Cost: $200
Nike Baseball Cap

Hats are another essential item to help with sun protection. The choice of wearing a baseball cap meant I did need to put sunscreen on my ears and neck daily. If you are going to go for a hat with more coverage, I would highly recommend trying on the hat with your backpack on. One hiker I met had a lot of trouble with his wide brim hat and very tall backpack.
Cost: $20
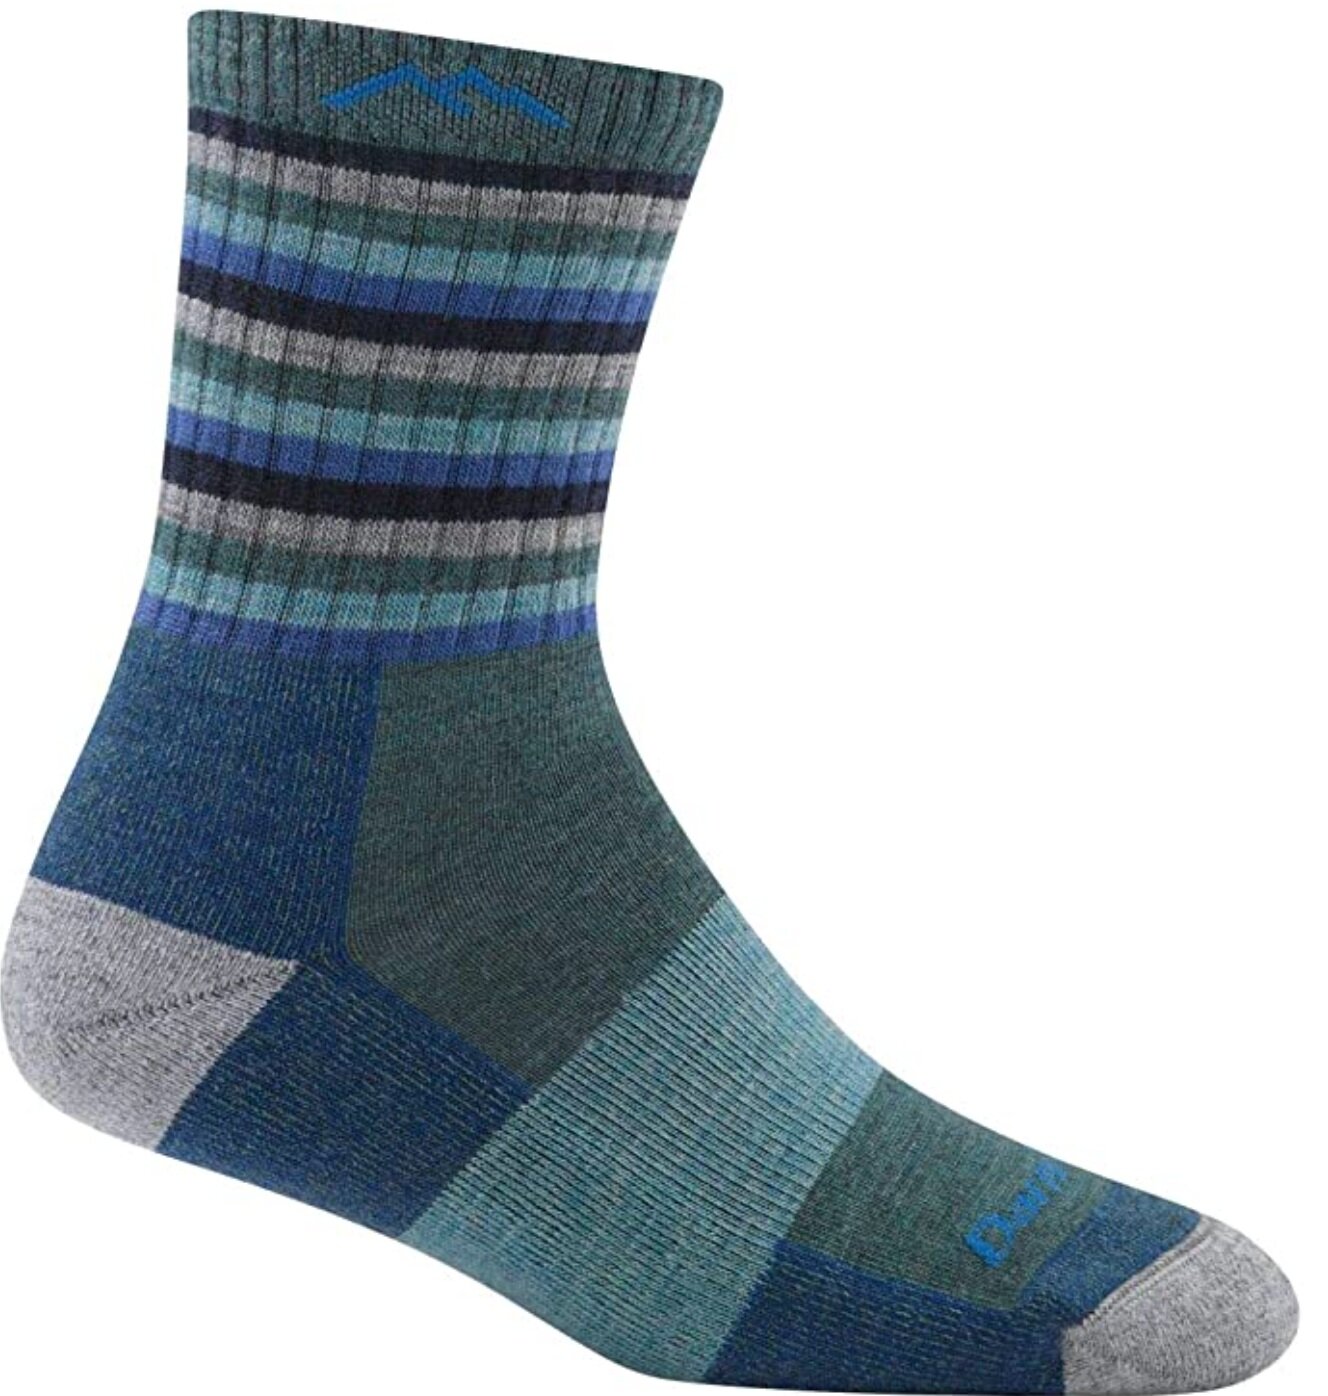
1 pair Darn Tough Socks for Trail

So, Darn Tough socks really are Darn Tough. I had one pair of socks for 23 days of hiking, and it was one of the things I was most worried about. I thought I would be utterly disgusted by my socks within a few days, but I was actually pleasantly surprised with how well the socks held up.
These socks are made from Merino Wool, which means they dry quickly and keep sweat out. As a result, I never got a single blister on the trail, a god-send for thru-hikers.
Cost: $20
Solomon X Ultra Mid Calf Boot

Most JMT hikers struggle with the debate of boots or trail runners. After hiking in numerous boots and trail runners, I opted to go with the Solomon X Ultra Mid Calf Boot.
From the moment I put on the Solomon X Ultra’s I was in love. I have never gotten blisters in them, the Gortex material withstands water, and they offer great support for long distance hiking. You can read my full review of the Solomon X Ultras by clicking here.
Cost: $165
My big recommendation with boots is to ensure that you train in your boots, with a weighted backpack on, before you begin thru-hiking.
Outdoor Research Gaiters

To be honest, I’d never really worn Gaiters before I hiked the JMT. Gaiters were a great way to get a little more protection from the elements and they truly helped keep my one pair of socks clean. Making one pair of socks last for 23 days on the trail truly would not have been as doable without Gaiters for protection.
Cost: $33
Camp Shoes/Water Shoes

Having a camp/water crossing shoe isn’t required, but I would recommend them. I brought the Speedo Hybrid Watercross. The pros of these water-shoes are: light weight (7 ounces), real shoe like feel, solid grip for water crossings, reasonable price, and they serve as a closed toed camp shoe that can be worn with socks. The cons: do not dry quickly and would not recommend for long distance hiking in replacement of boots.
Cost: $40
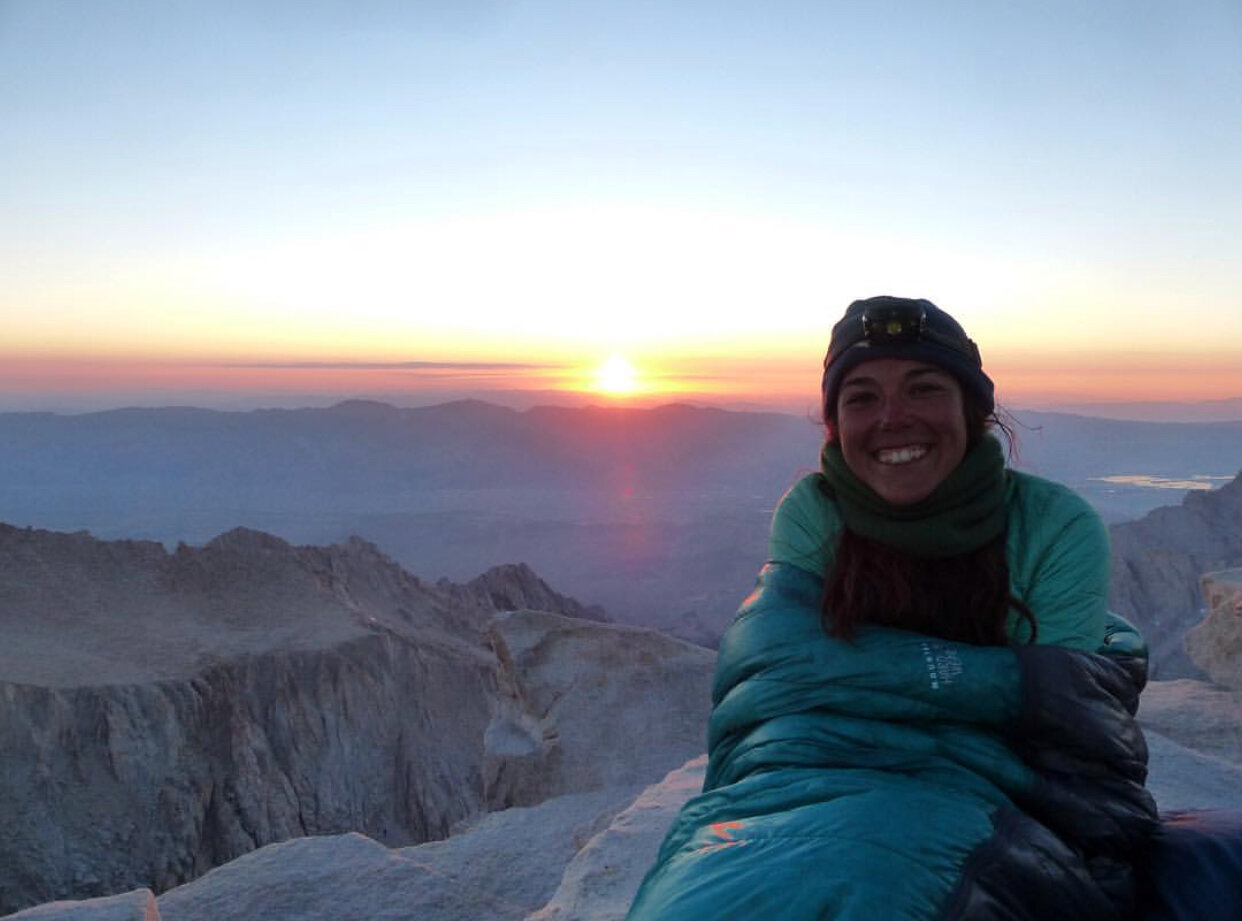
Don’t forget a beanie + buff + sunglasses of your choice!
Camp Clothing:
Long Sleeve Fleece Lined Shirt
The temperature’s at night in the Sierra tend to be a little chilly. Sleeping in base layers kept me warm so I could sleep throughout the night. I loved this fleece lined shirt because it was a bargain compared to most other base layer tops. I chose to go cheap on my top knowing I could always add my puffy jacket if I got cold.
Cost: $16
Thermal pants
I love how lightweight and simultaneously warm these pants were. I personally purchased the mid-weight thermals from SmartWool. If you’re a warm sleeper or you have a sleeping bag that’s rated lower (I have a 32 degree bag), I would potentially recommend a lighter base layer. Similarly, if you run really cold, you may want to consider the heavier base layer.
Cost: $100
Nike Pro shorts

I brought Nike Pro shorts in replacement of underwear. They pack down to an equivalent size of underwear, but they give you a lot more coverage and act more like real shorts than an undergarment. These are also extremely lightweight and quick drying.
Cost: $30
1 pair Darn Tough Socks for camp!
Honestly, few things felt better than washing my feet in a stream at night and putting on a fresh, clean pair of camp socks. I chose to bring two pairs of Darn Tough socks, so in case of an emergency I would have a backup pair of reliable hiking socks. However, I really made a concentrated effort to keep one pair for the trail and one pair for camp.
Cost: $20
All together, my clothing weighed 3.69 lbs. If you were to buy each item at full price, it would cost you approximately $780.
Before you hit the trail, test drive your clothing to ensure that everything fits well and is comfortable while being active and wearing your pack!
To download a general packing list, click here.

To check out my latest adventures, connect with me on Instagram!