
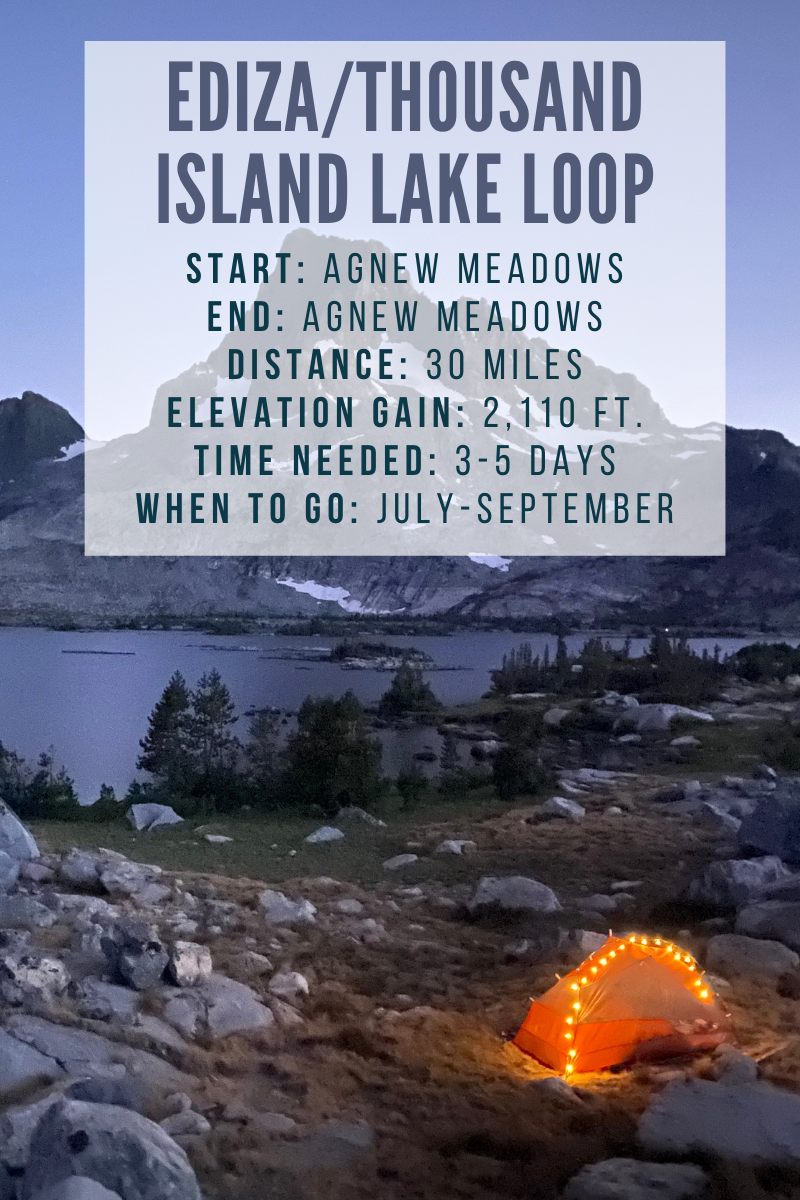
Backpacking the Ediza/Thousand Island Lake Loop
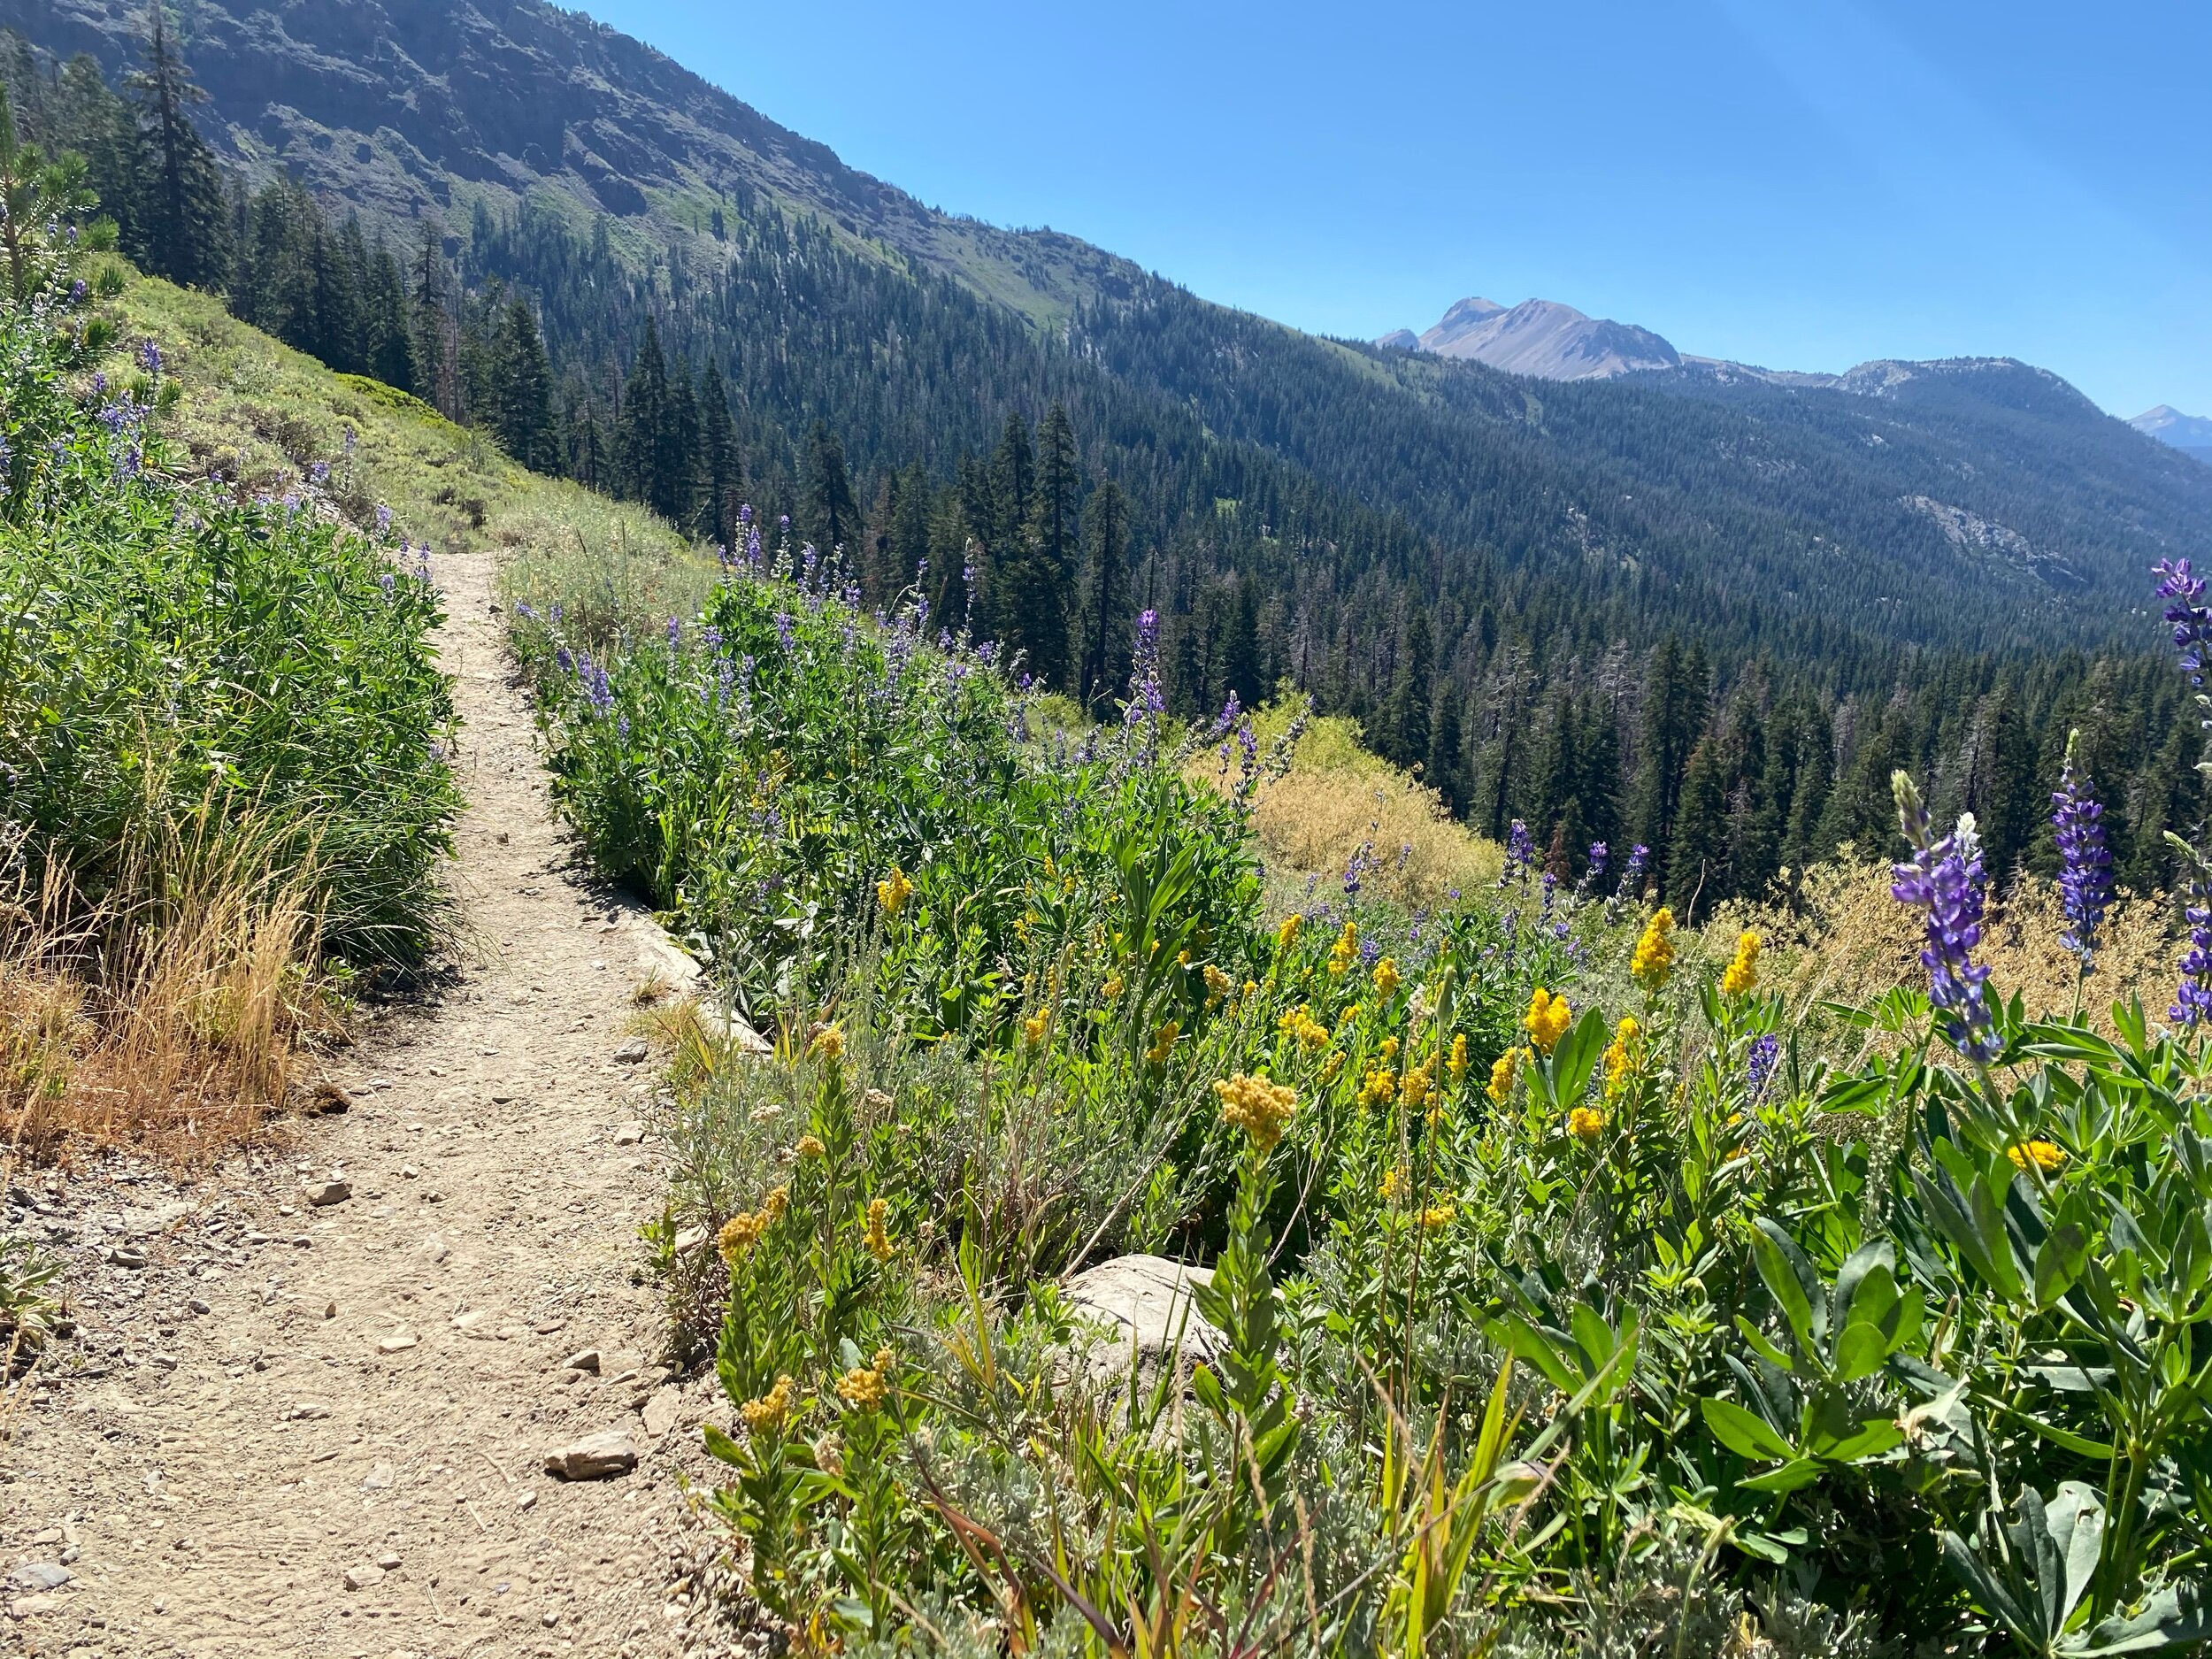
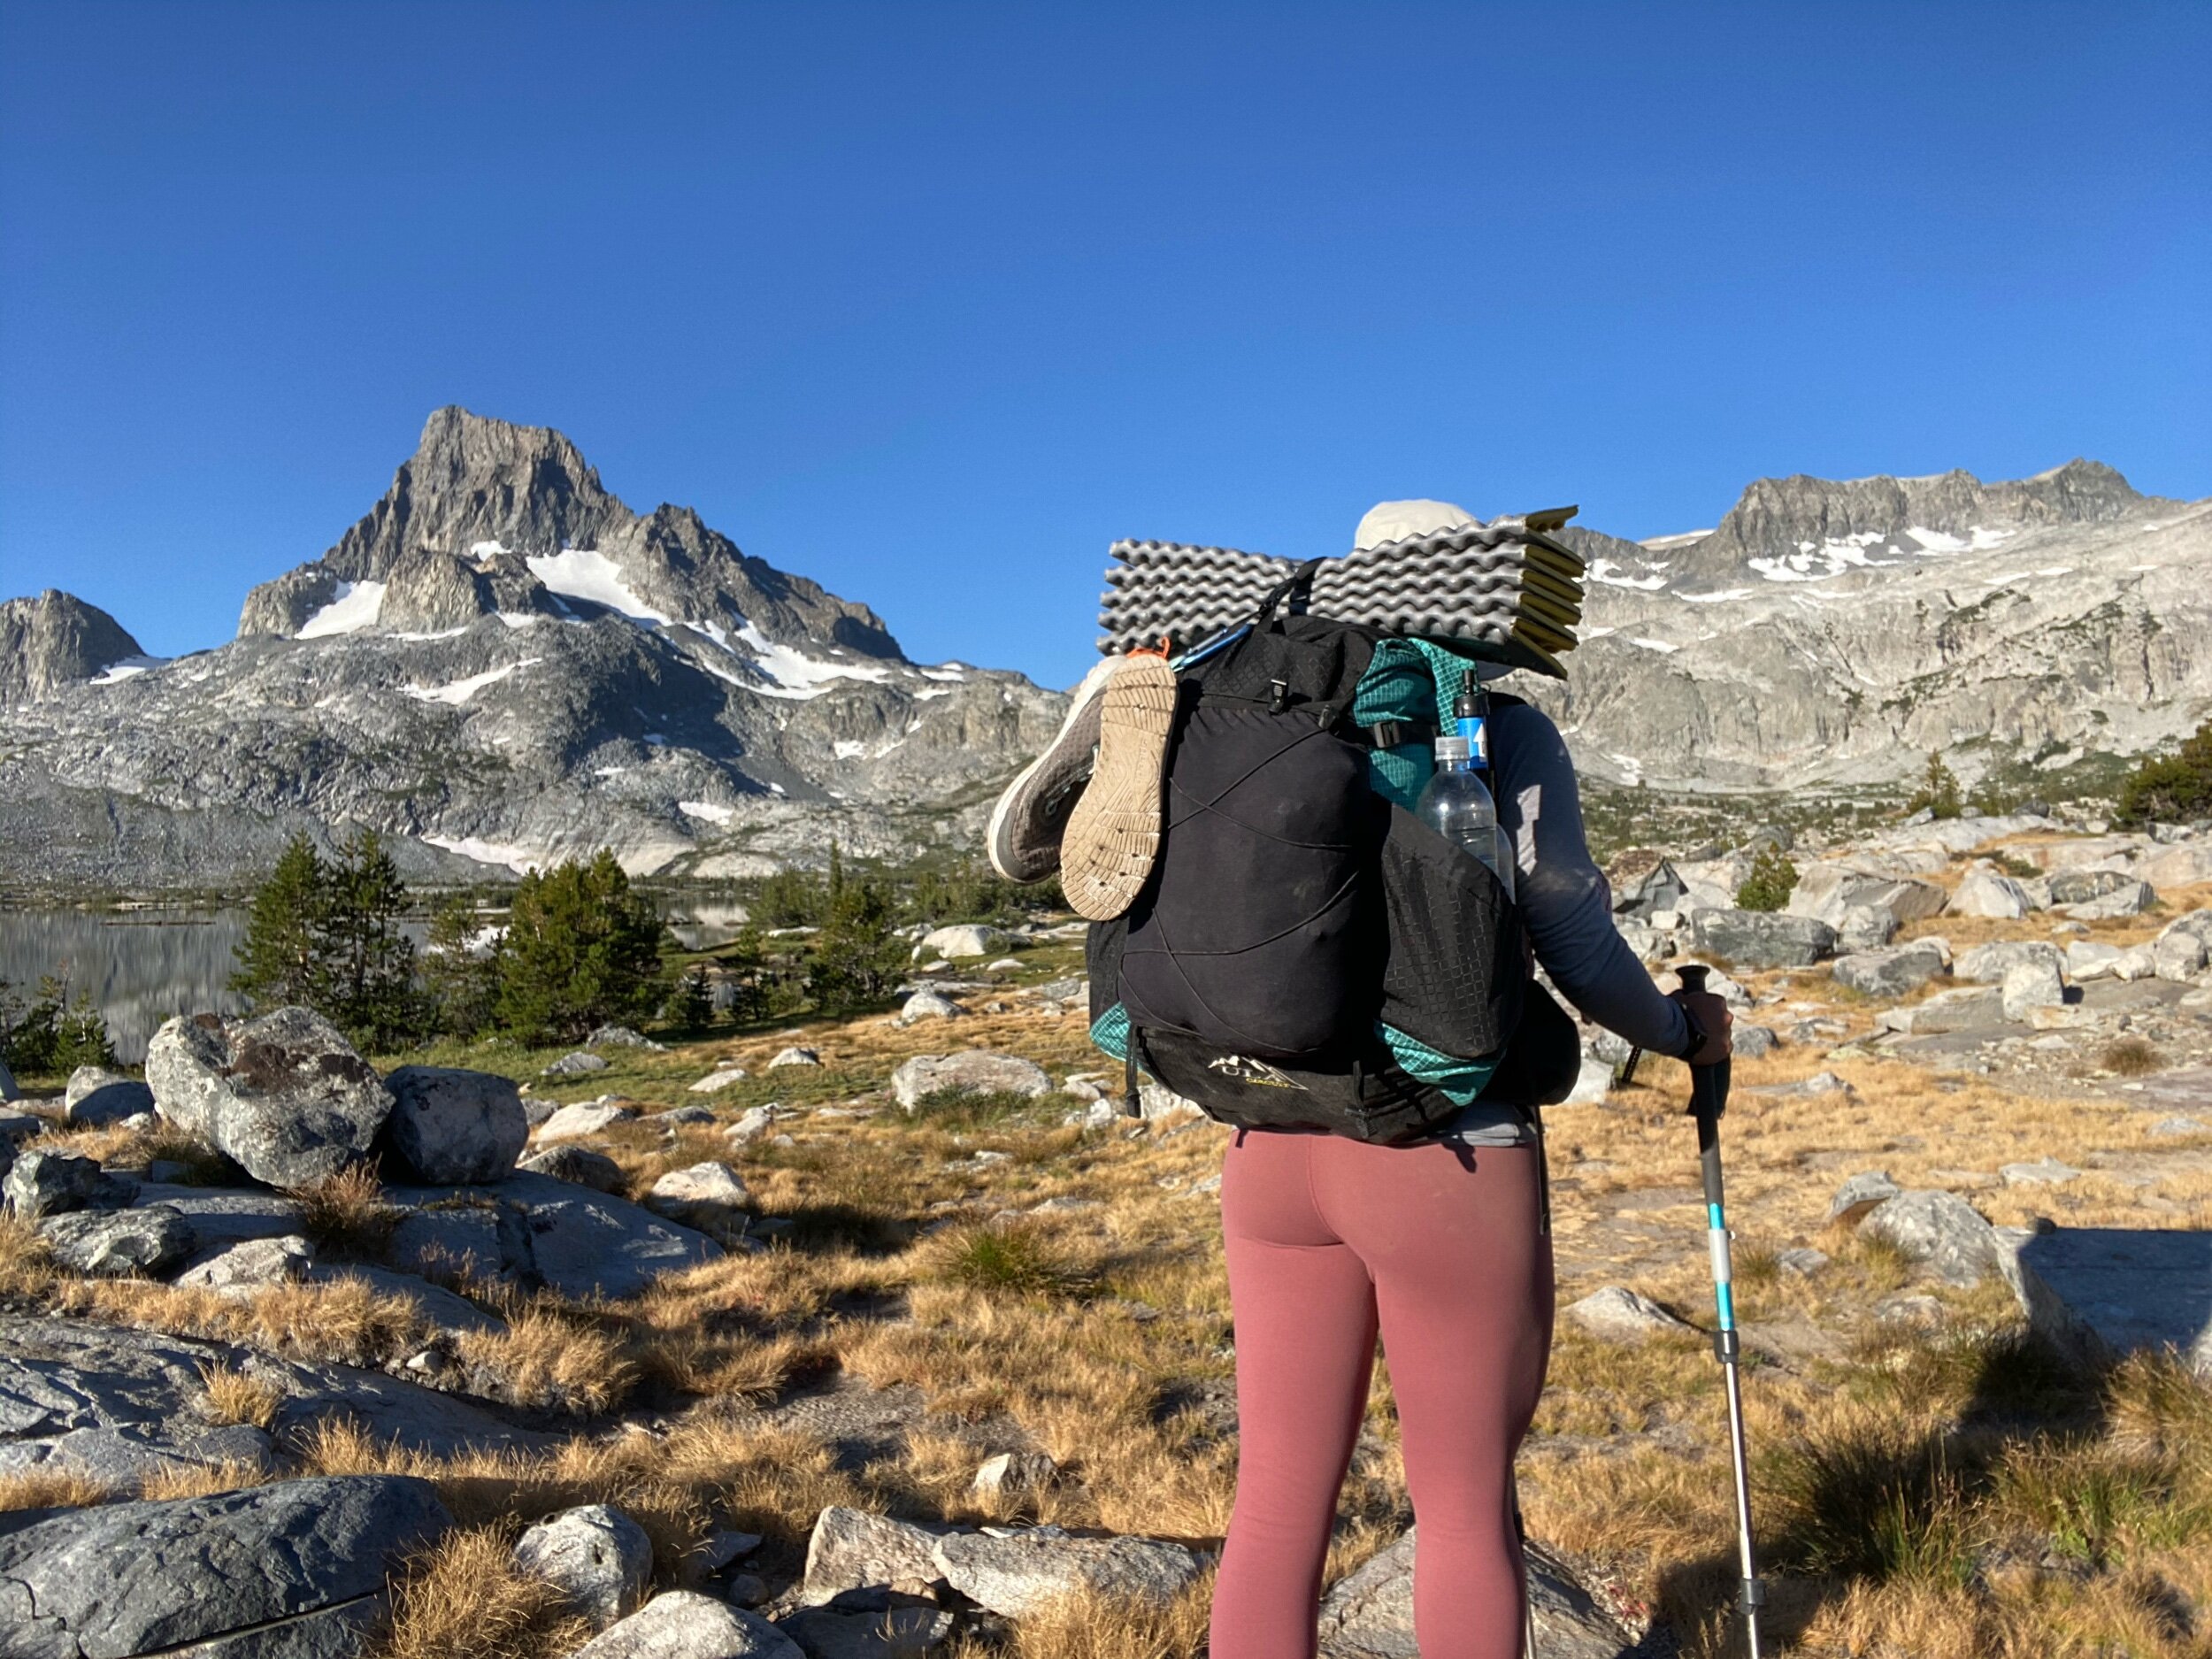
The Ediza / Thousand Island Lake loop is one of the most scenic treks you can find in the Eastern Sierra range. Over three to five days, you’ll walk through Ansel Adams wilderness via the John Muir and Pacific Crest Trails, exploring around the Minaret and Ritter ranges. With stunning views and plenty of alpine lakes, this backpacking trip is sure to make your jaw drop around every bend.
General Wilderness Notes
A wilderness permit is required
Apply for a permit at Recreation.gov
Read my guide to getting a permit on Recreation.gov by clicking here.
Your starting trailhead is: Shadow Lake Trail or High Trail
Permits may be reserved up to 6 months advance
Find more information on permits and regulations by clicking here.This is bear country- please carry an approved bear canister and make sure your car is free of smellable items before leaving it overnight. Additionally, refresh your memory on how to interact with bears. The Sierra Wild website is a great resource.
No fires are allowed in Ansel Adams wilderness.
Camping restrictions include: Camp at least 100 ft from water, on durable surfaces or in previously used sites.
No camping within ¼ mile of the outlets at Garnet and Thousand Island Lake
No camping on East or South sides of Ediza lakeReview Leave No Trace Guidelines before heading out on your trip.

Trailhead Information
Agnew Meadow trailhead amenities include restrooms, trash cans, picnic tables, and cell service. Additionally, Reds Meadow Resort is one stop away and features a shop/restaurant.
To get to the trailhead: Leave Hwy 395 at Hwy 203 to the town of Mammoth Lakes. Drive through town and turn right on Minaret Road.
During traditional backpacking season (typically mid-to late June through Labor Day, first Monday in September), you’ll find overnight parking at and around the Mammoth Mountain Adventure Center. There is no charge for overnight parking, but make sure you don’t leave anything smellable in your car, as this area is active bear country.
From the Mammoth Mountain Adventure Center, you’ll board the mandatory shuttle to the trailhead. To find current pricing and details of the shuttle, click here. You’ll get off at shuttle stop #1, Agnew Meadows.
Before or after the operating hours of 7:00 a.m.to 7:00 p.m, or after the shuttle bus operating season, backpackers may drive Minaret Road and park overnight in designated areas. You must pay the standard amenity fee of $10/vehicle or show an interagency pass at the Minaret Vista Entrance Station. Additionally, drivers must take extra precaution as Minaret Road is a twisty, narrow road.

Backpacking Gear Recommendations
*This is an affiliate link. I will earn a small commission at no cost to you if you shop through the link below.
Check out my backpacking gear recommendations here! There are items for both men and women!
Itinerary and Trail Overview
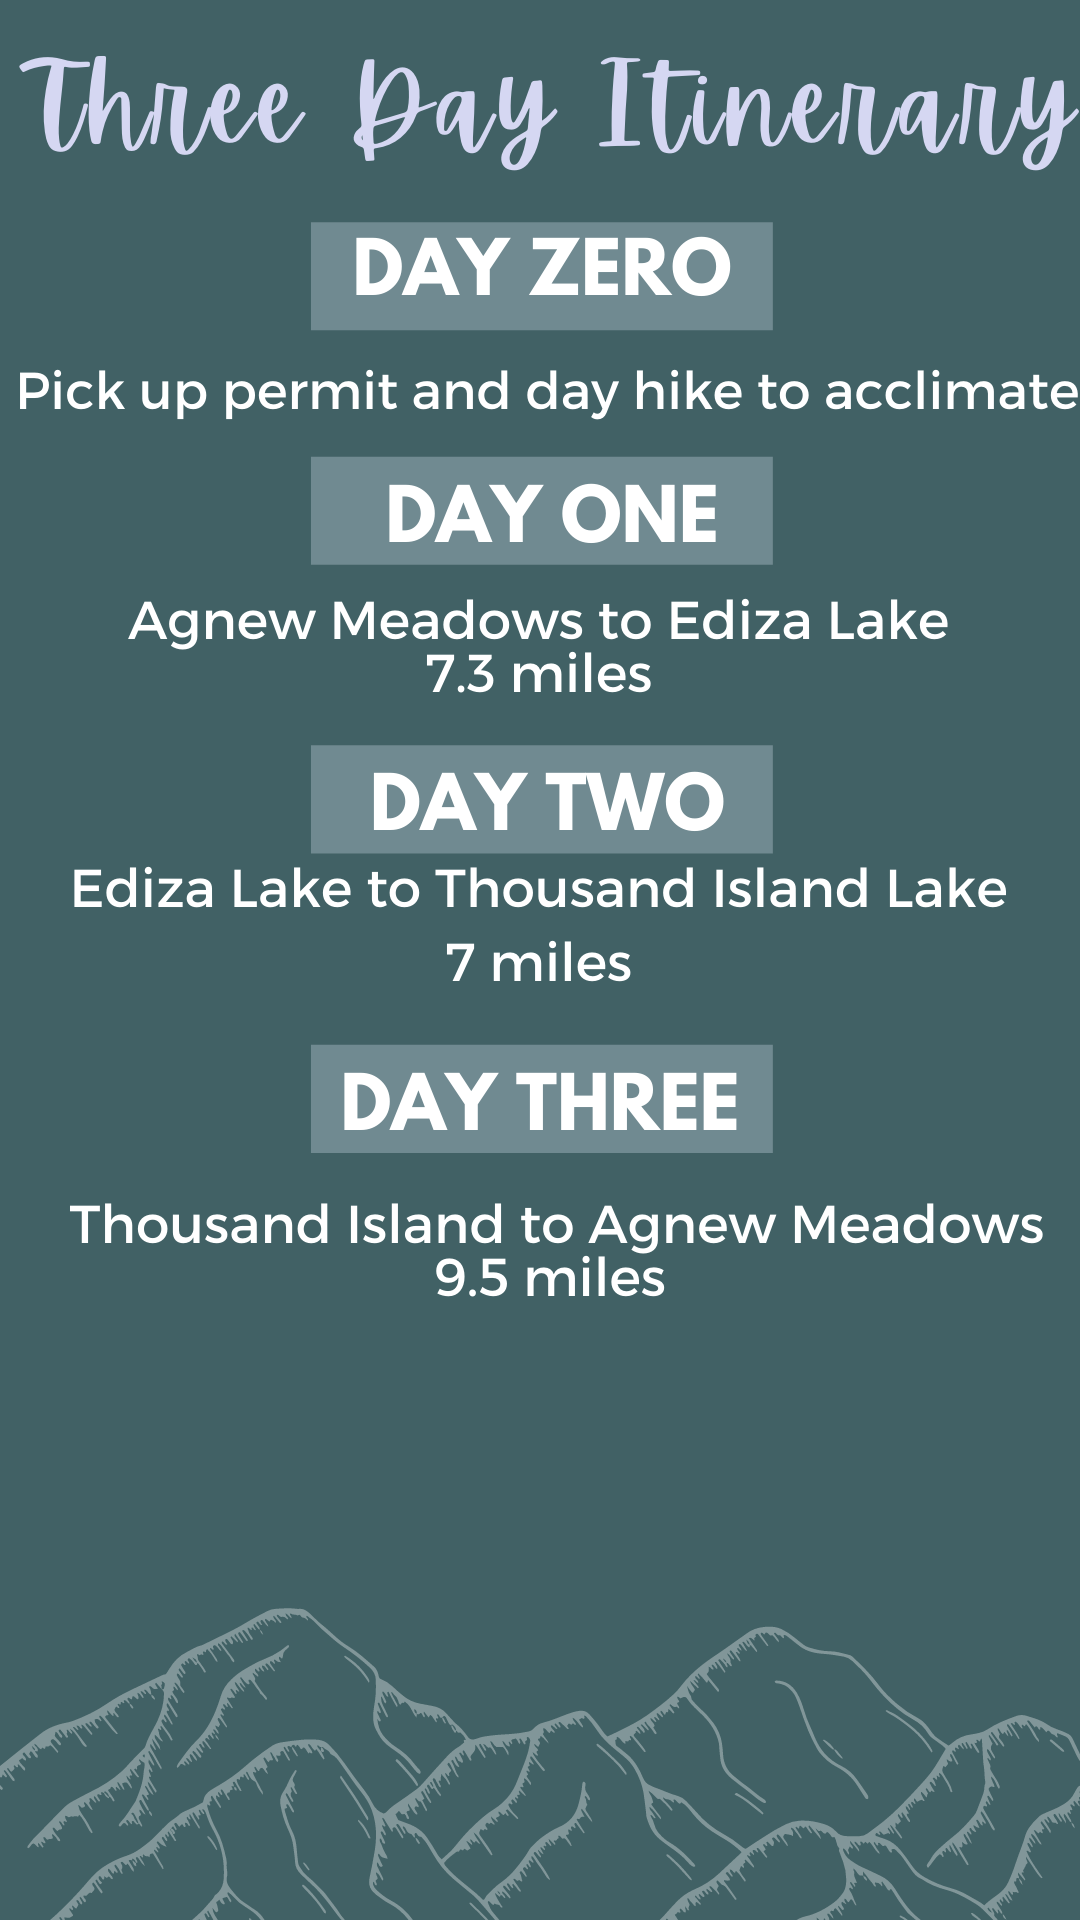
The route can be done clockwise or counterclockwise. You’ll either begin at the Shadow Lake Trail with the first night at Ediza Lake or begin via the High Trail with the first night at Thousand Island Lake.
Personally, I’d recommend going clockwise starting with your first night at Ediza Lake. The route is beautiful in either direction and which way you go will likely depend on which permit is available.
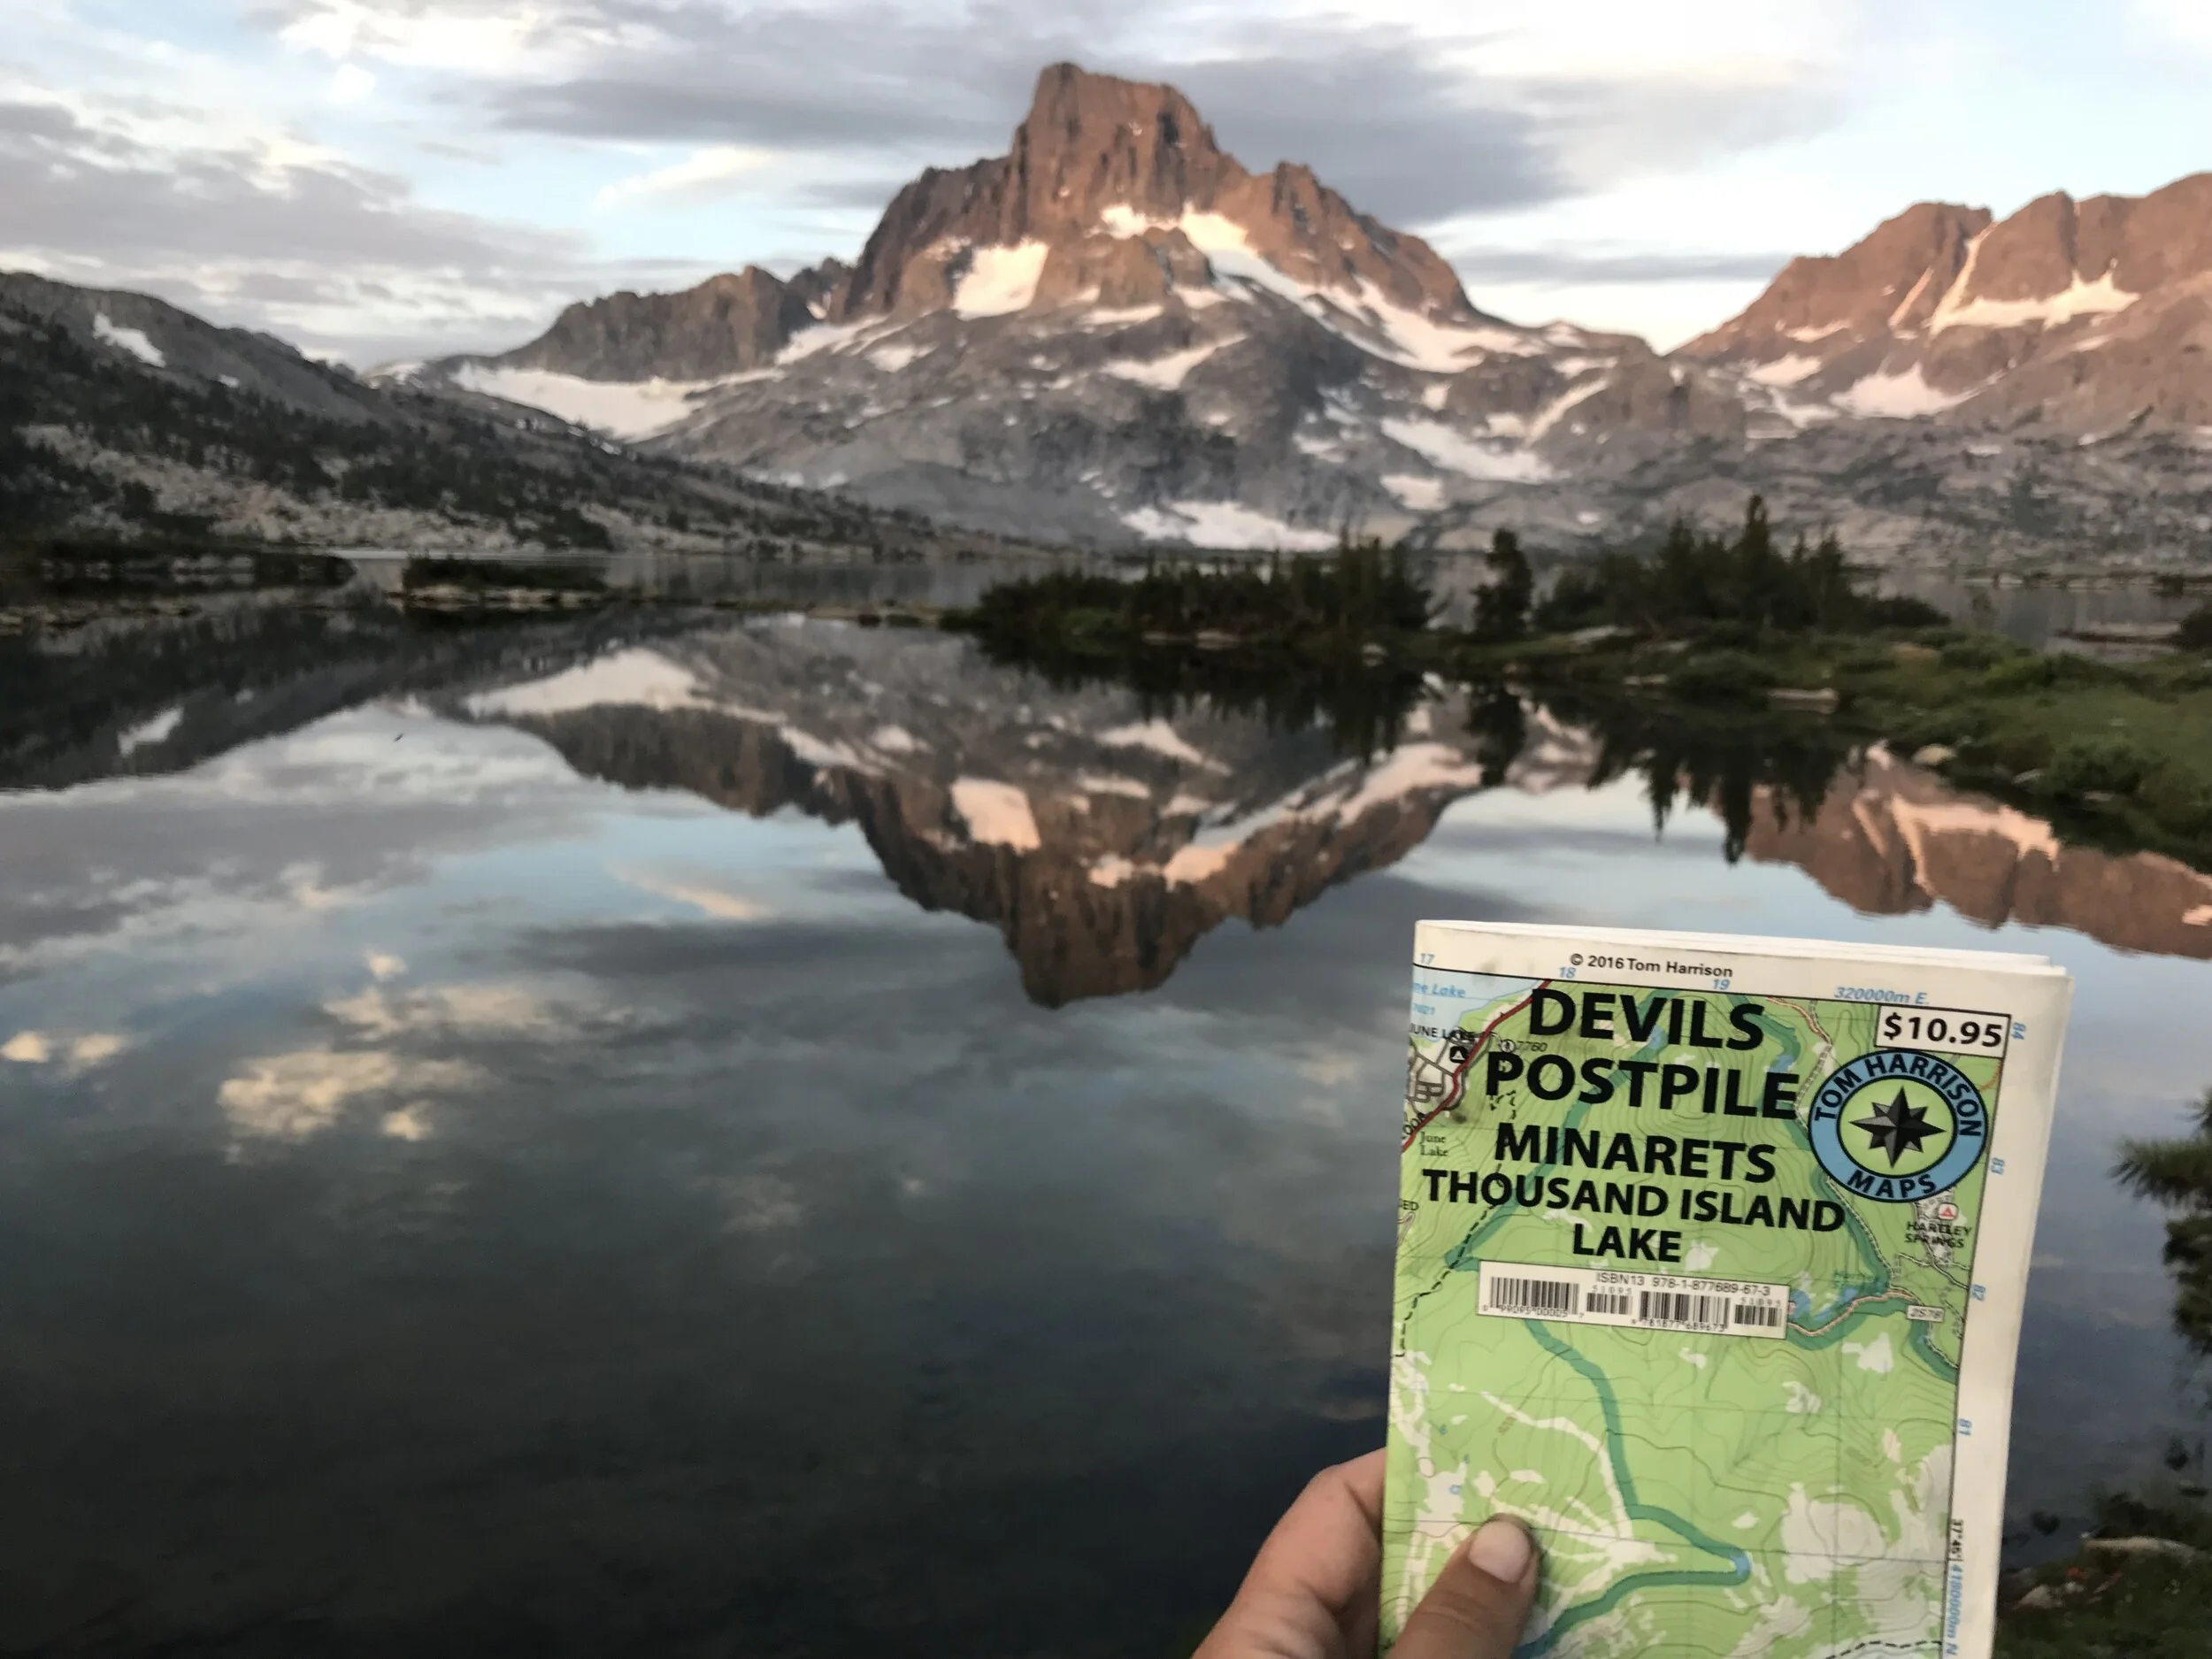
Maps

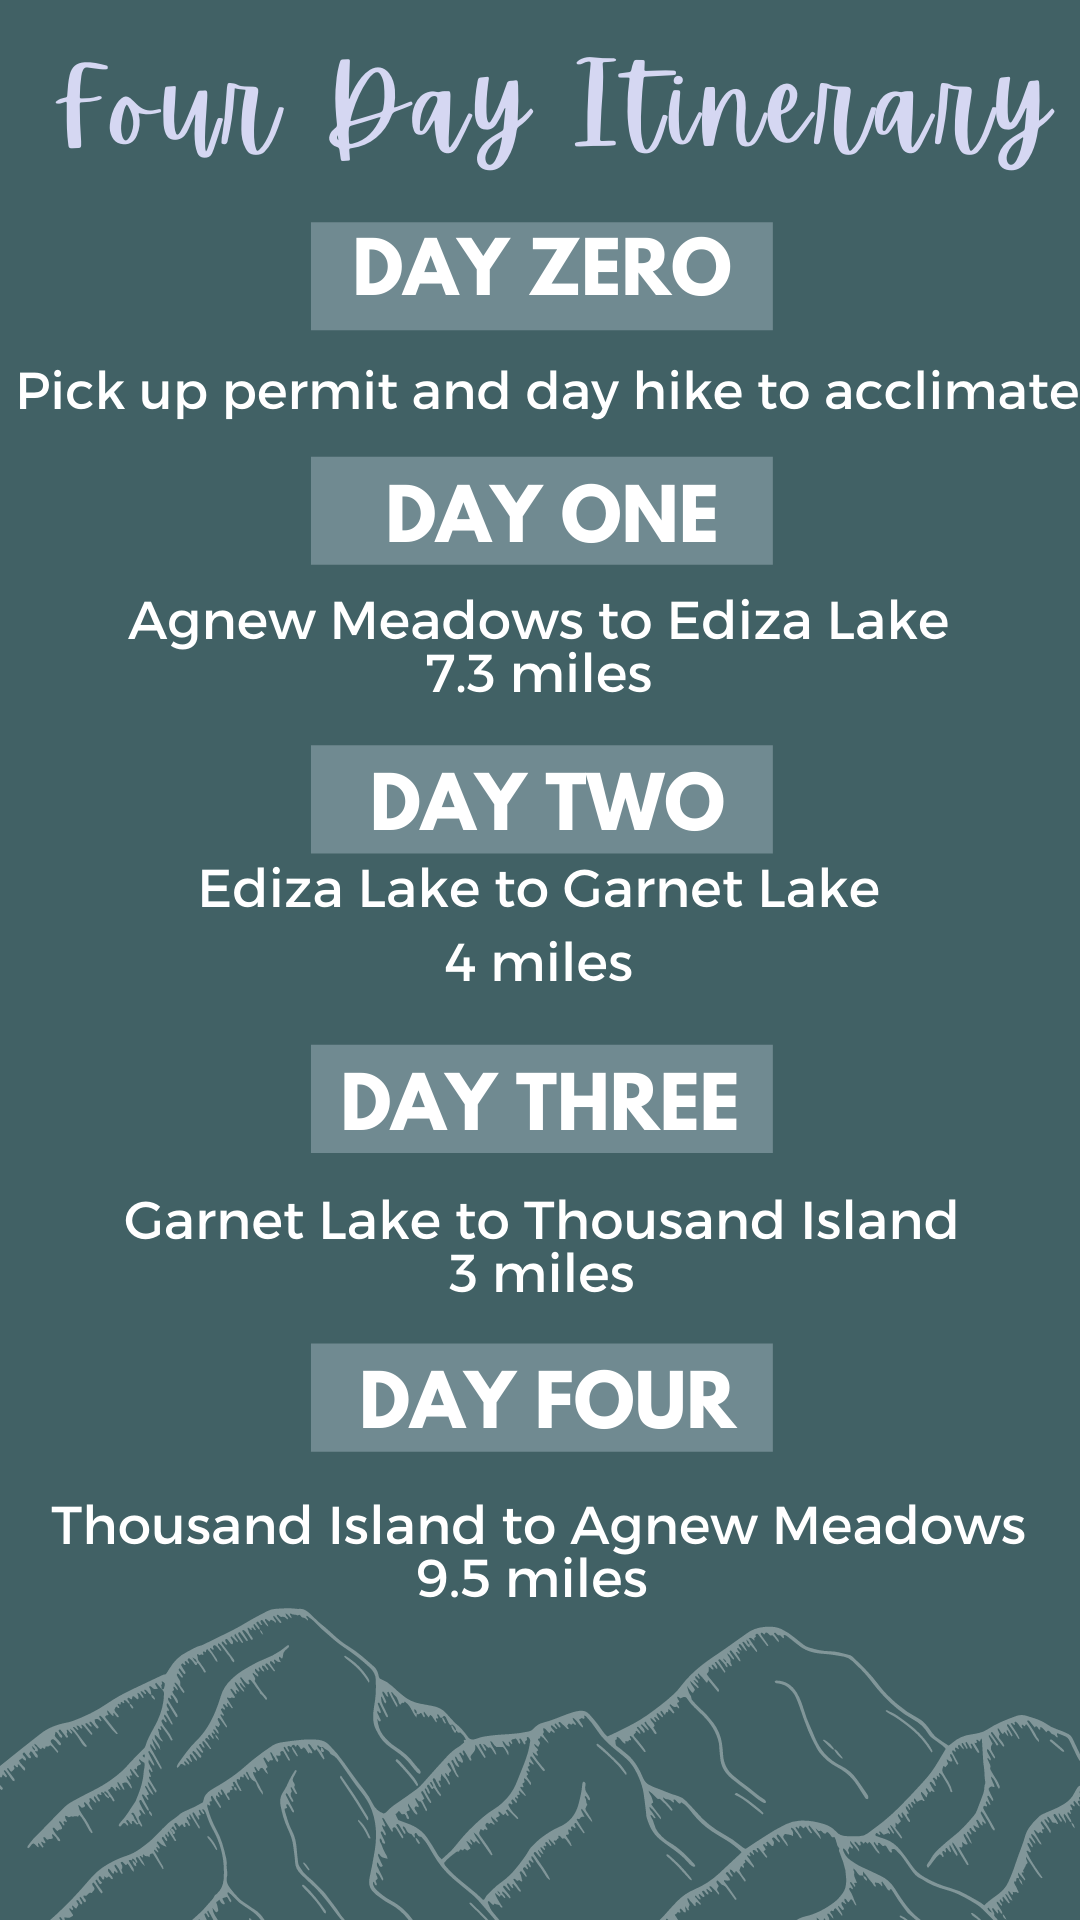
four day detailed itinerary + trip report

Day 1: Agnew Meadow to Ediza Lake
via the Shadow Creek Trail

Daily mile total: 7.3 miles
Daily elevation gain: 1,250 ft.
Water sources: Plenty of water sources
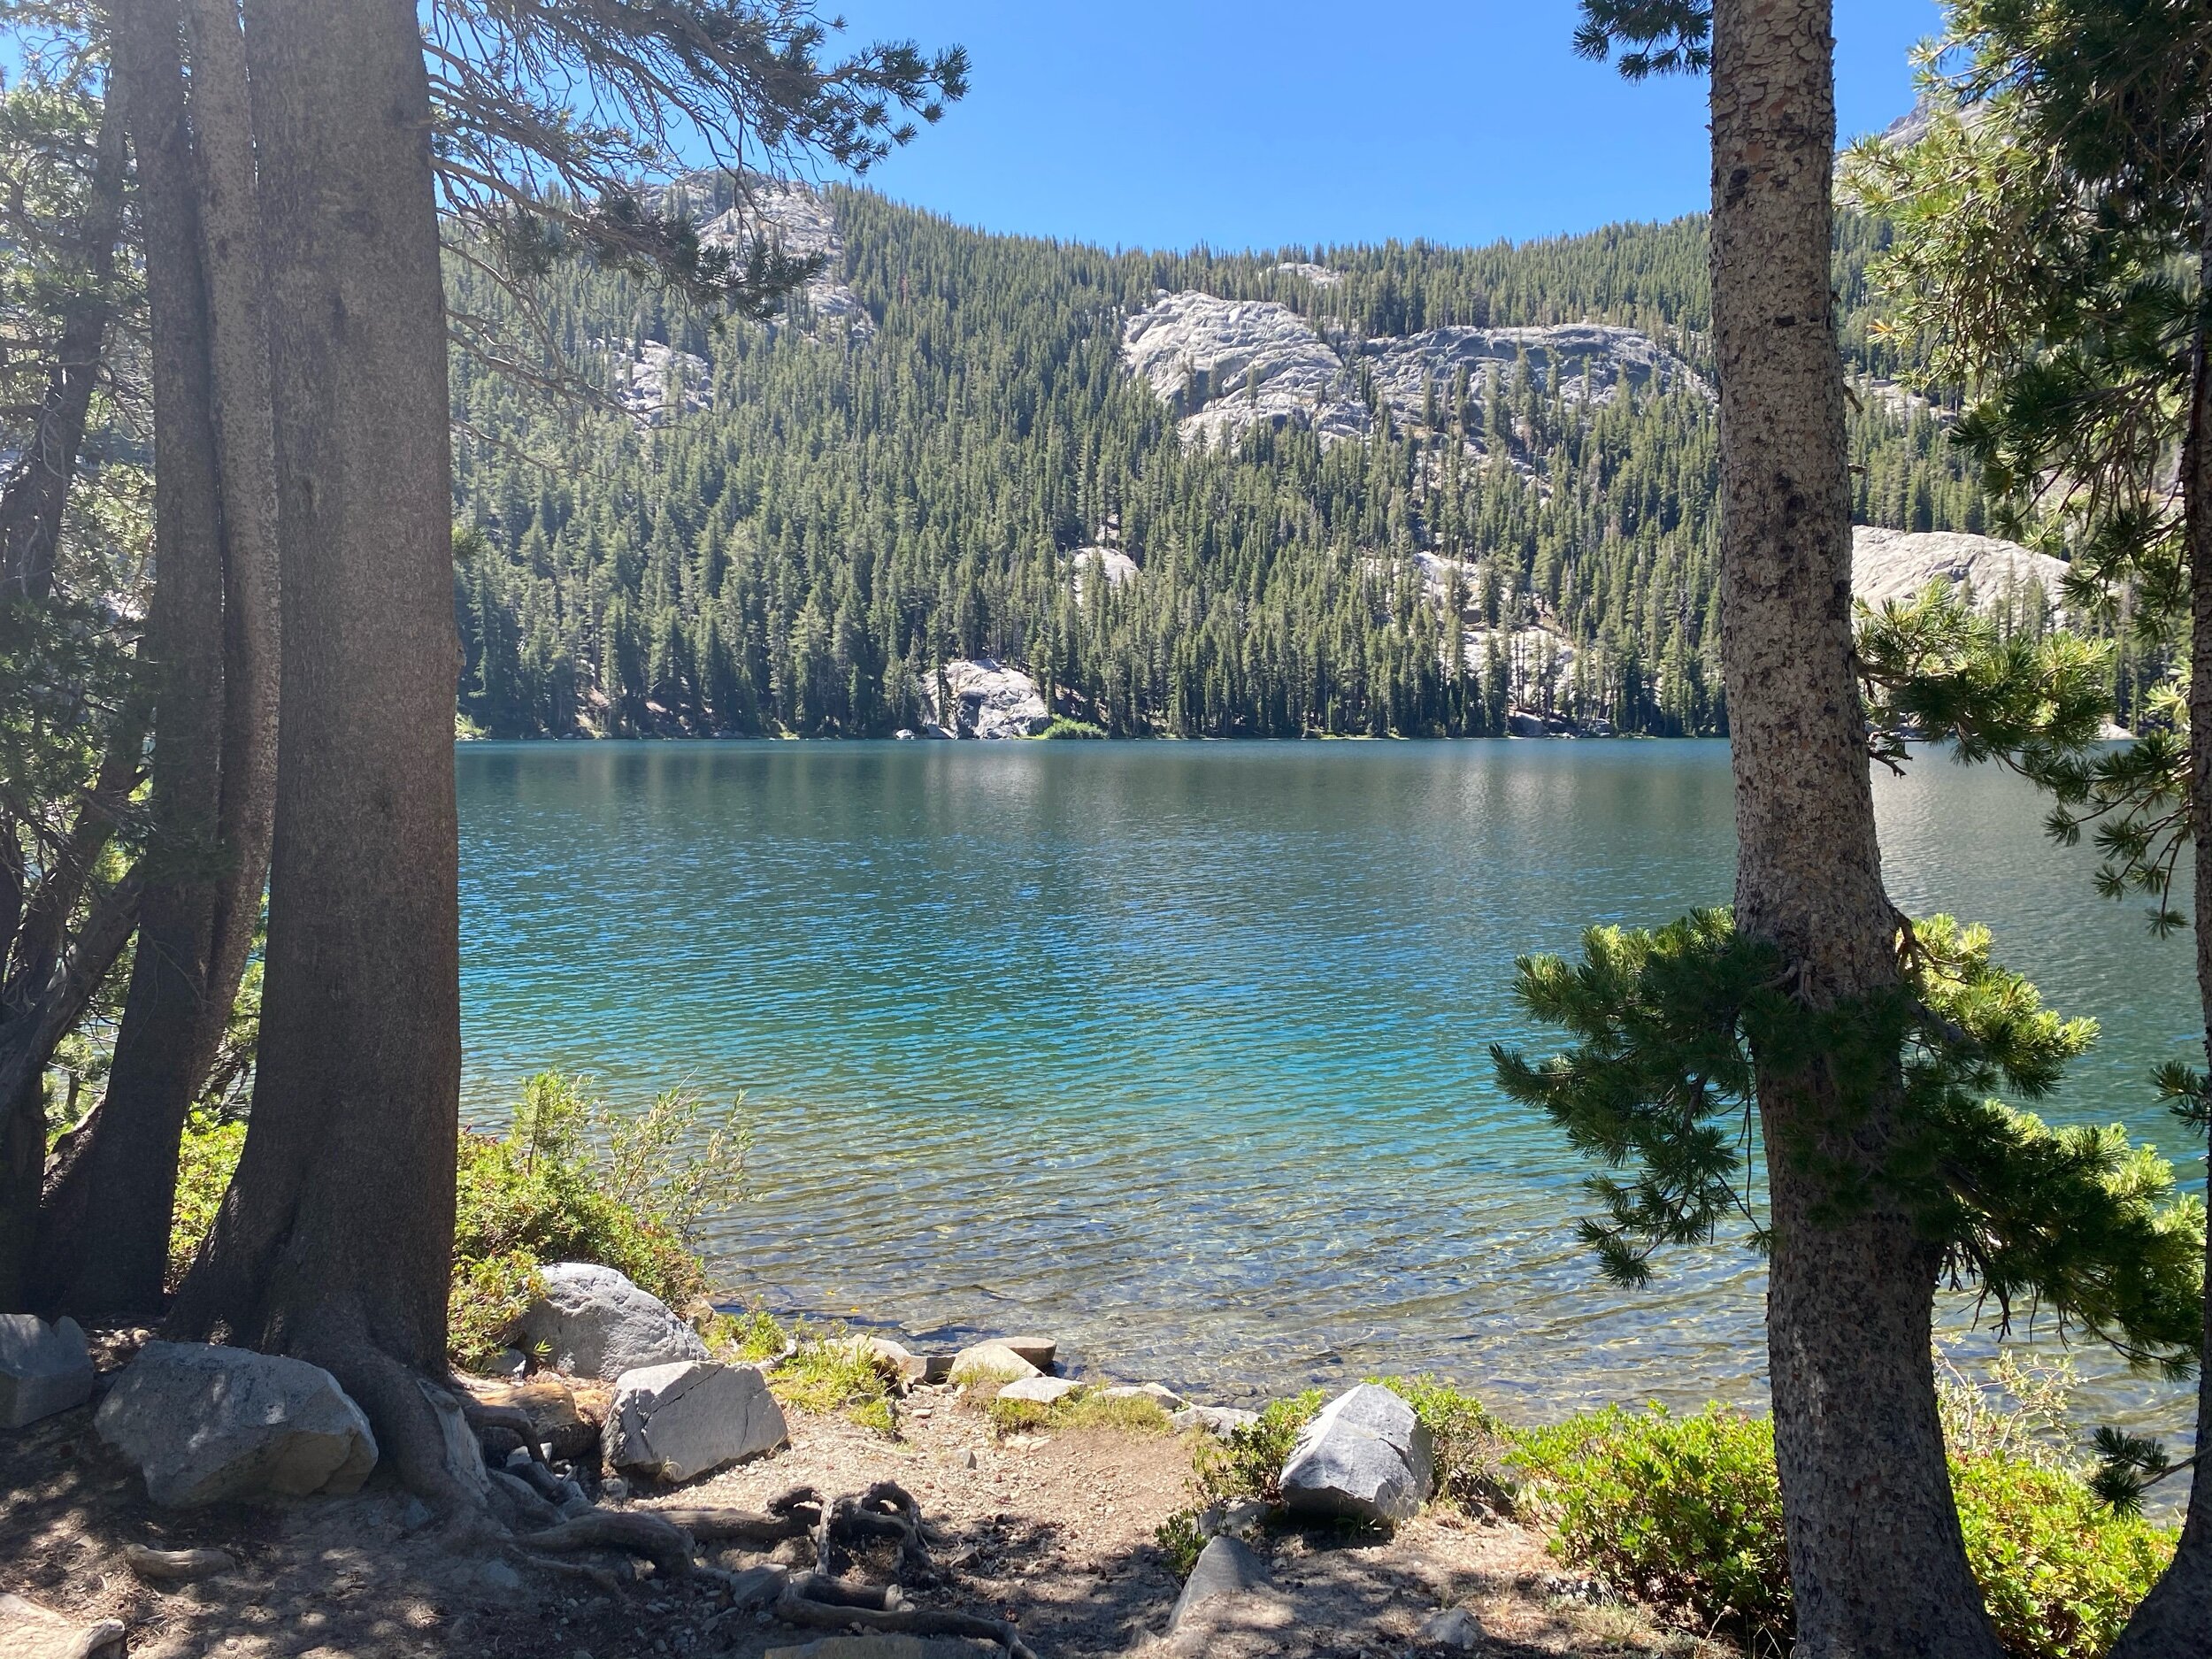
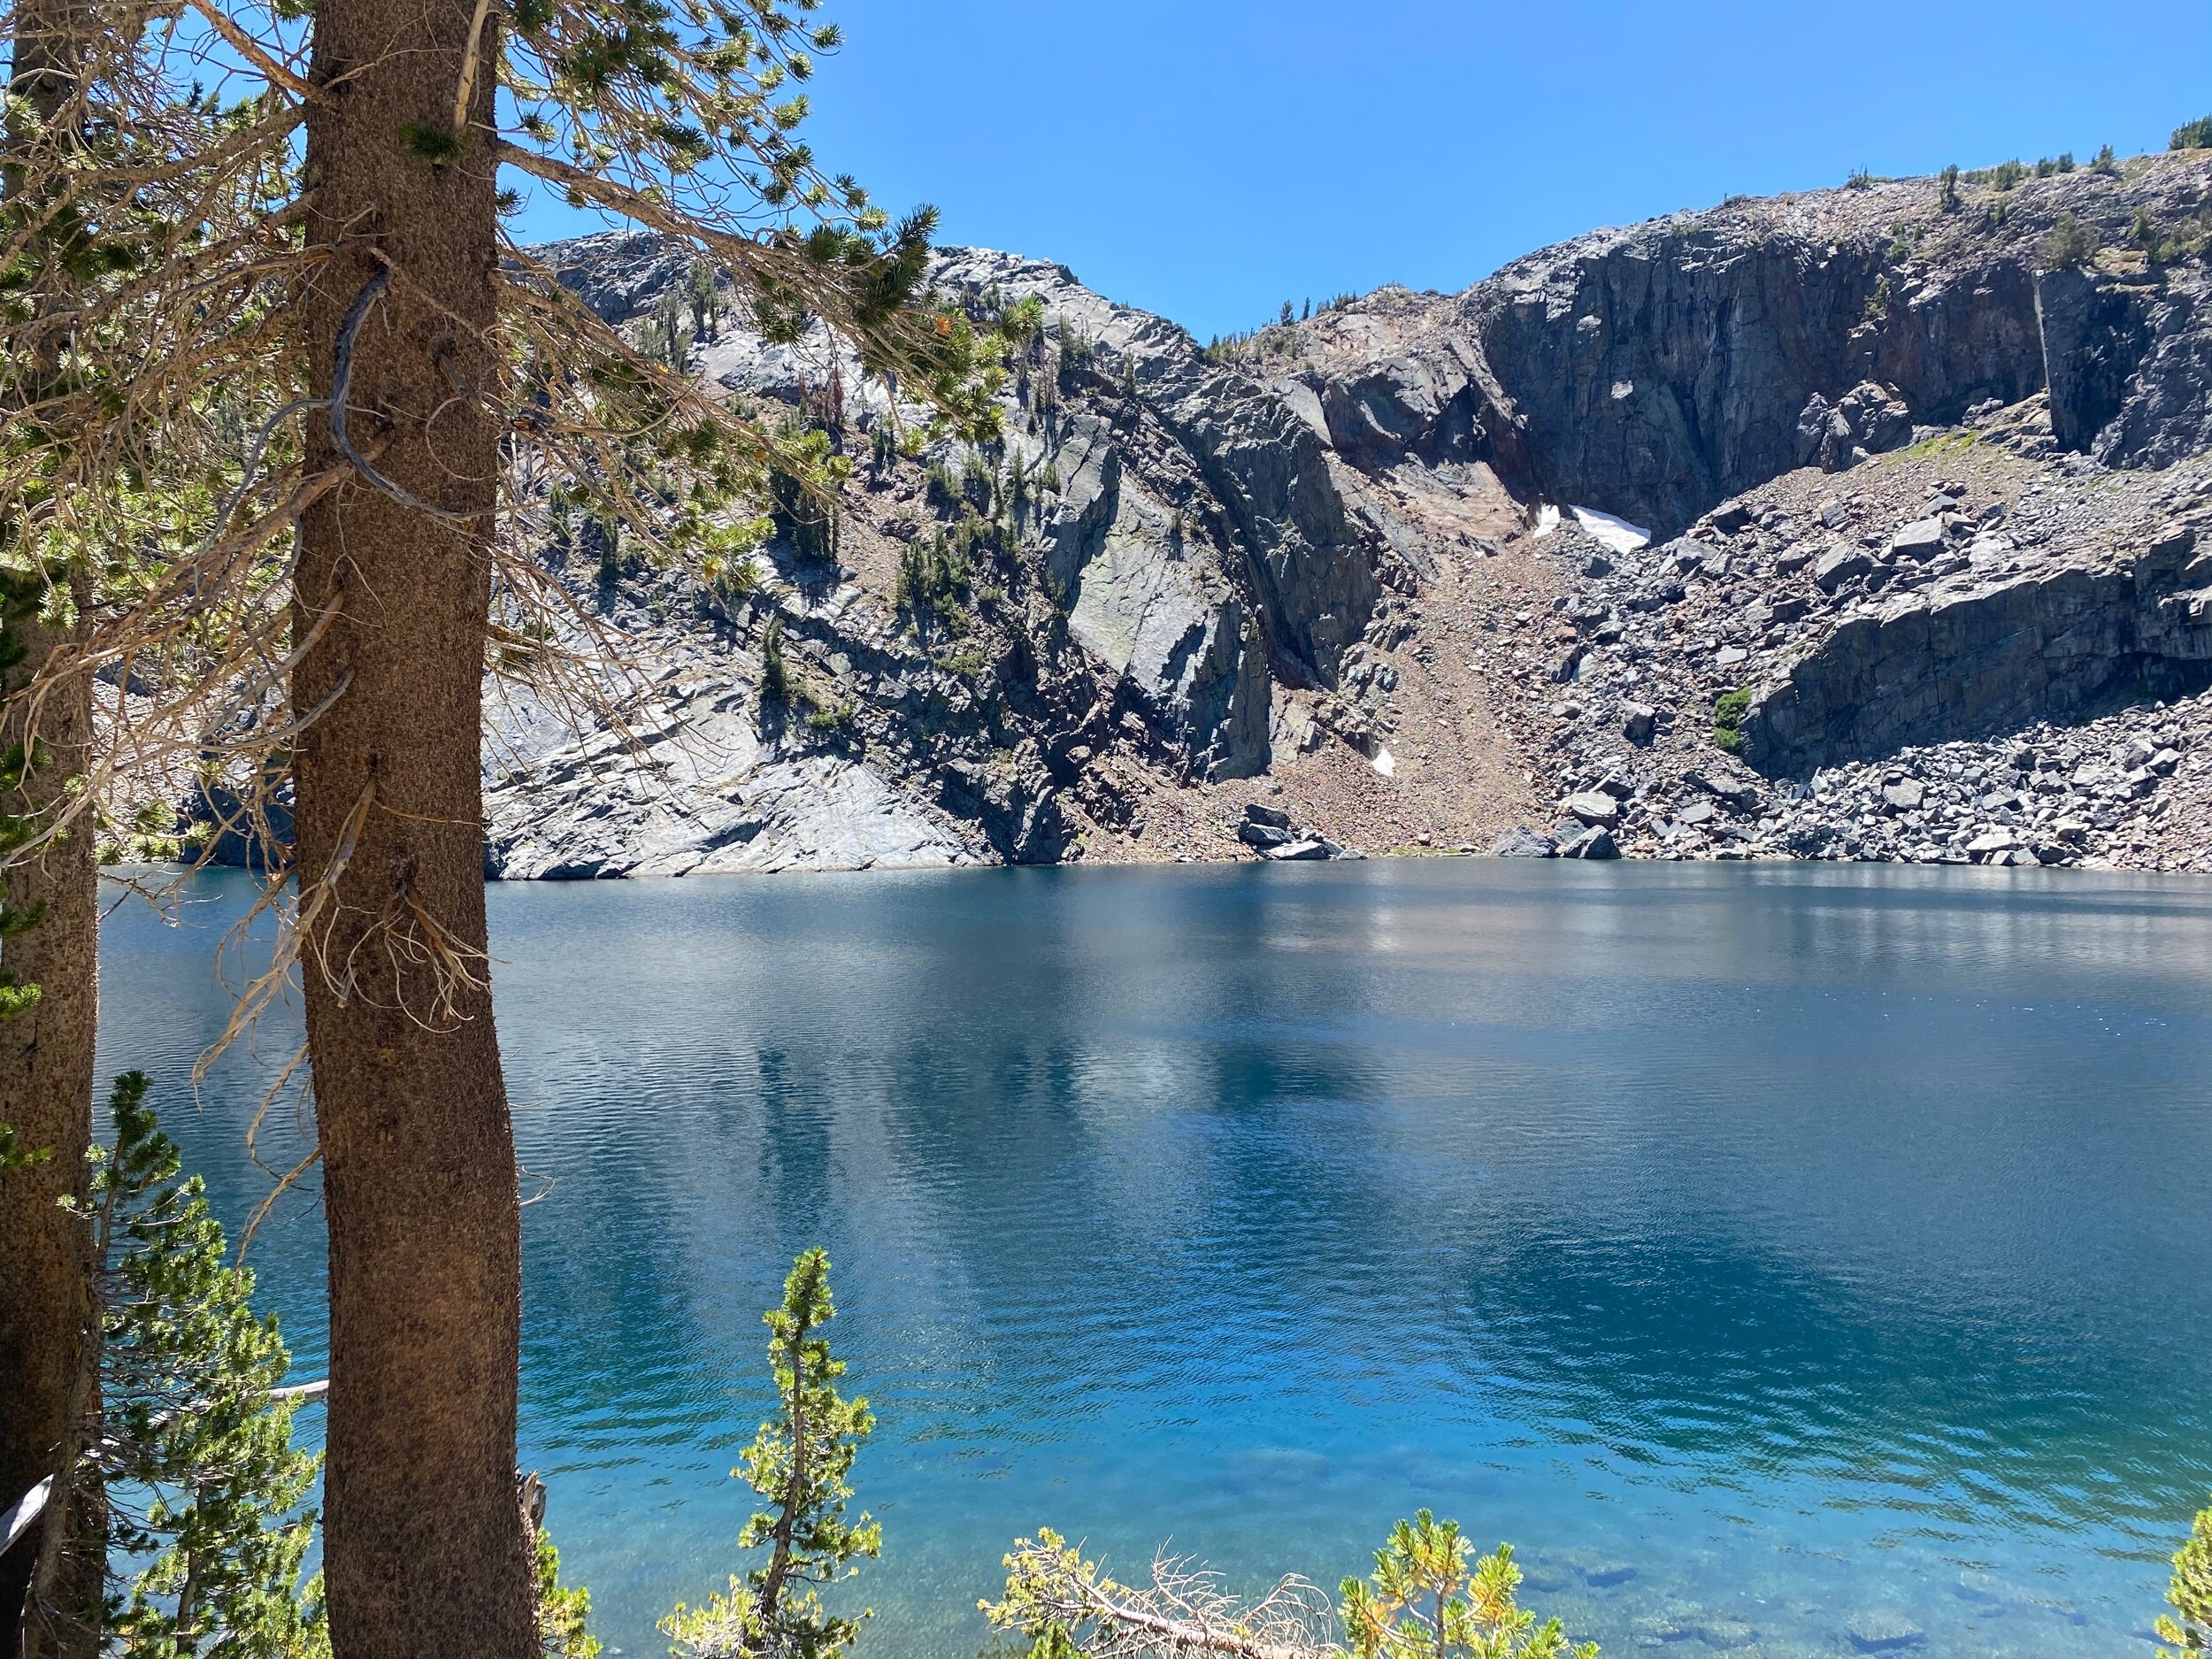
Shadow Lake, San Joaquin River accessible along trail, Emerald Lake
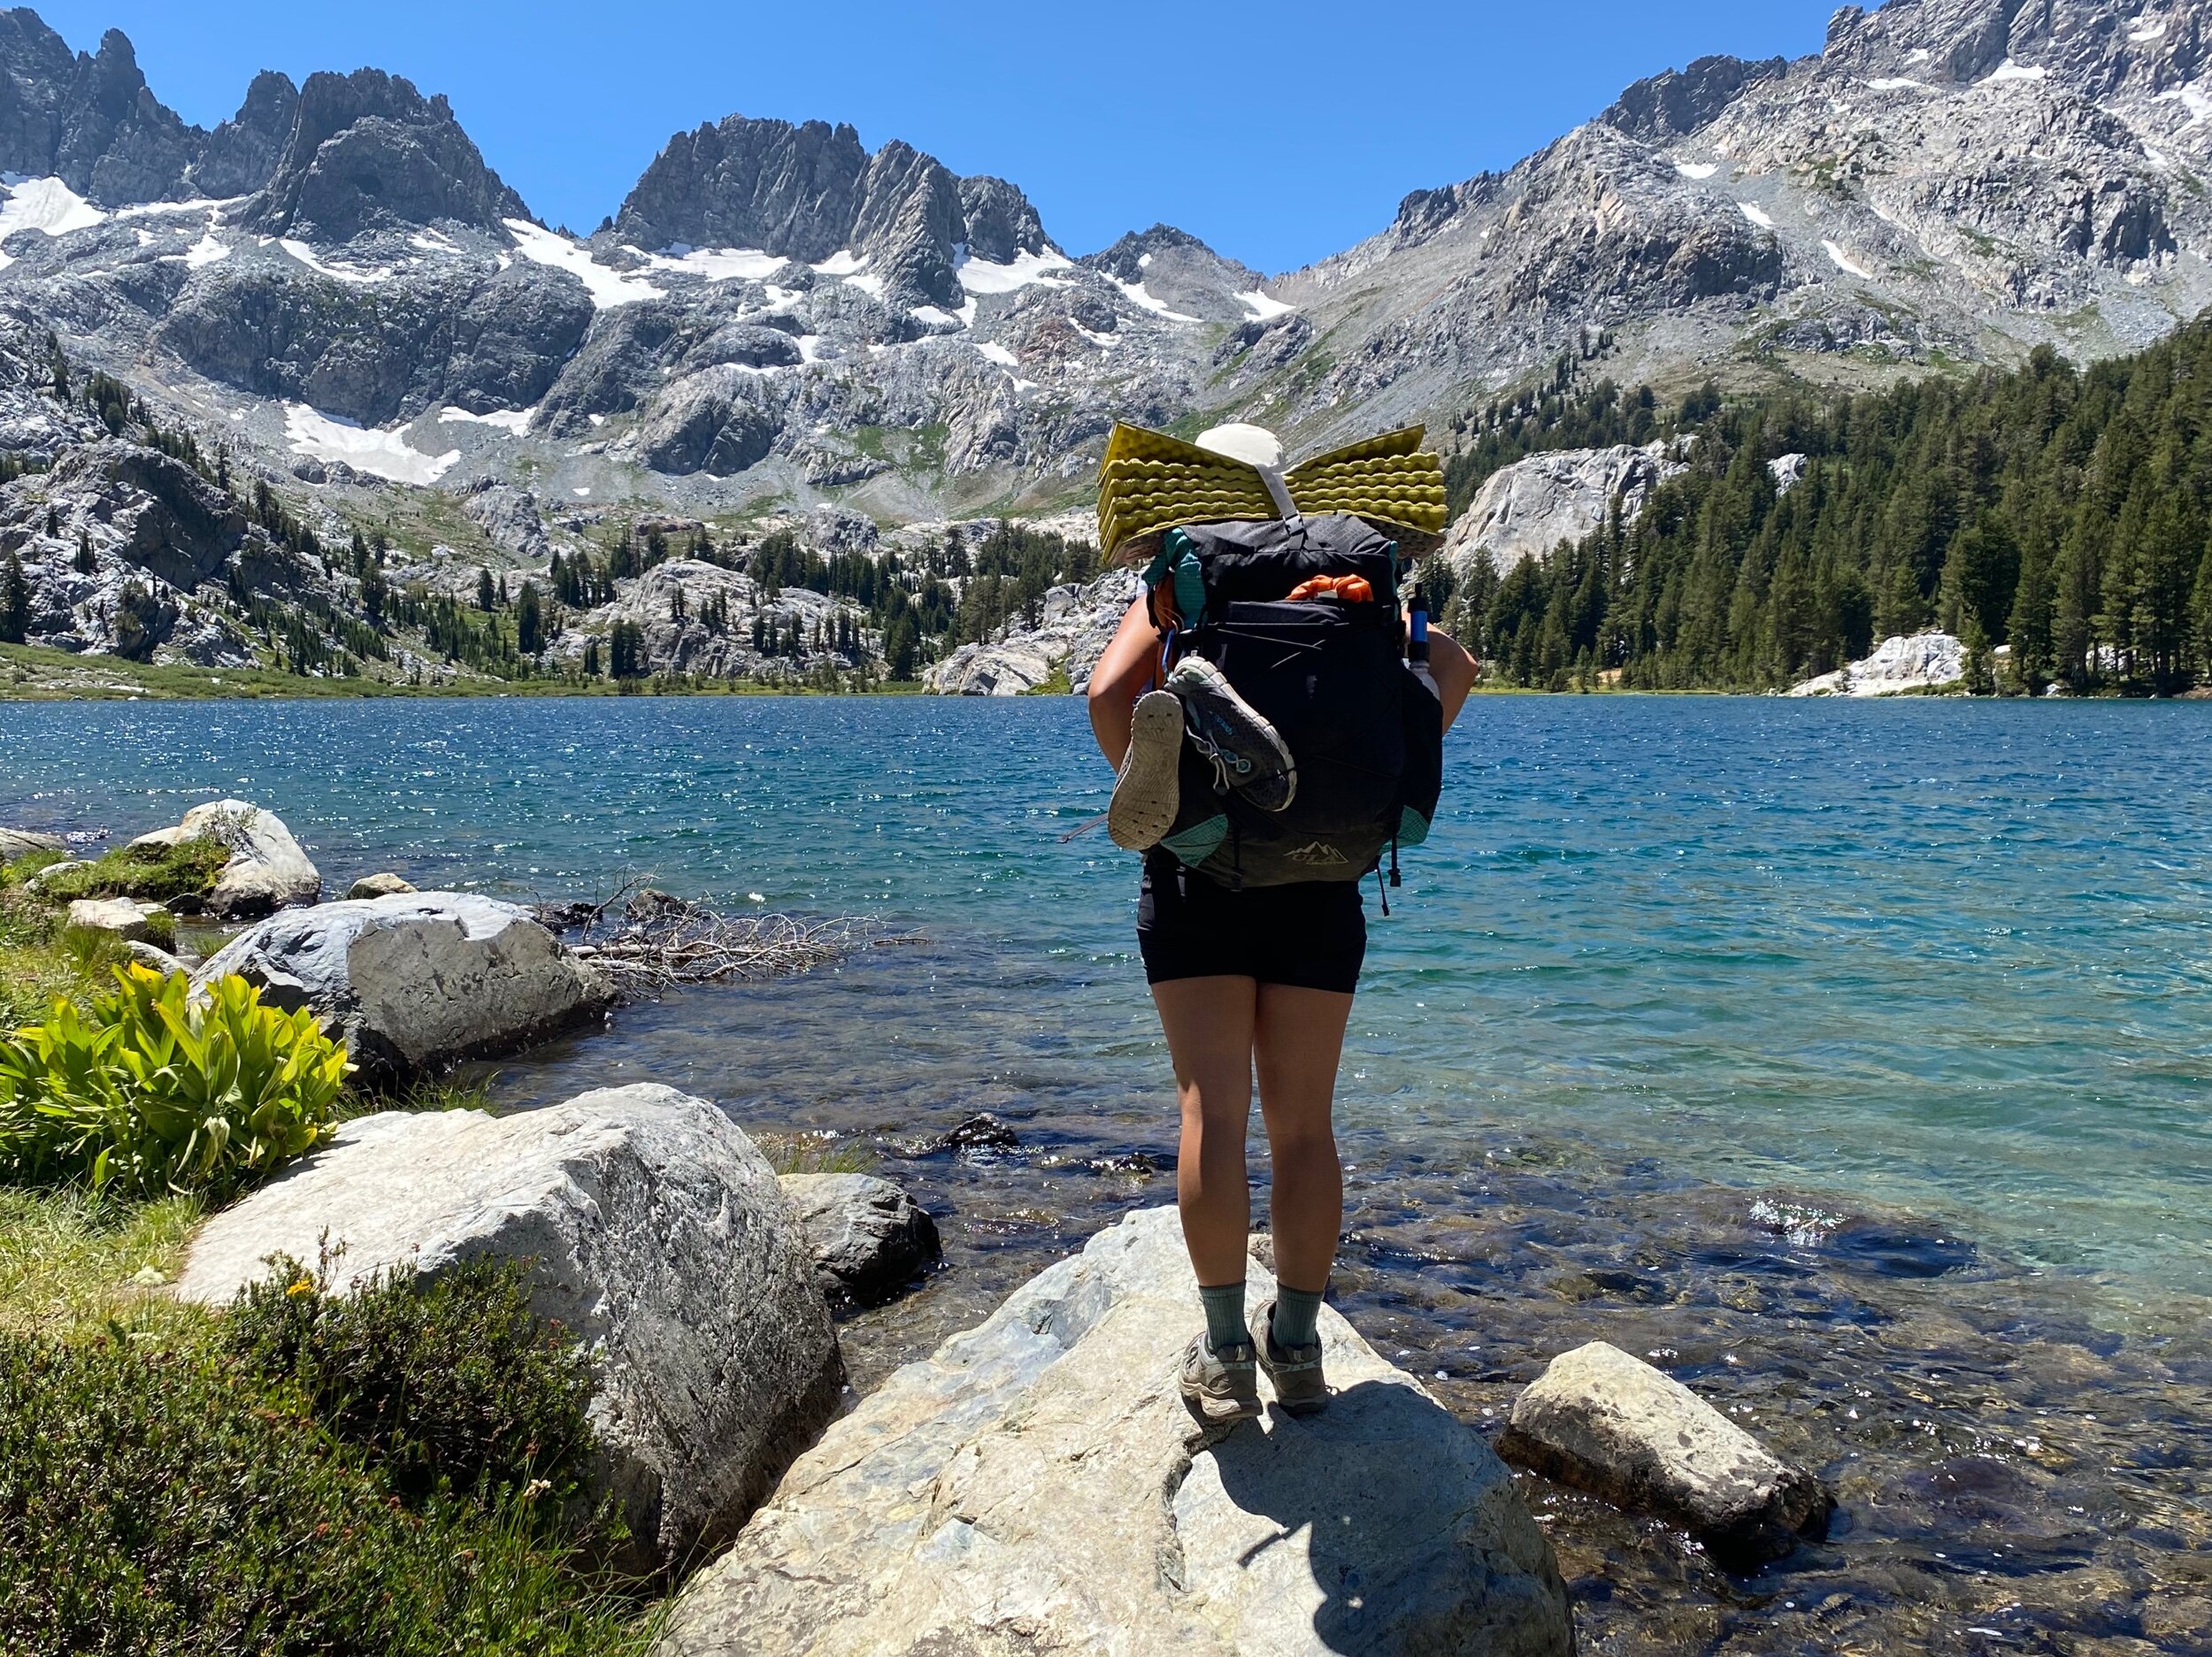
Your day will begin at Agnew Meadows, a popular spot for day hikers, backpackers, and thru-hikers on both the Pacific Crest and John Muir Trails.
If you plan to arrive before 7 am, you can park at the trailhead. Make sure you’ve gotten all the smellable items out of your car before departing. If you’re taking the shuttle bus to the trailhead, you’ll get off at stop #1, Agnew Meadows.
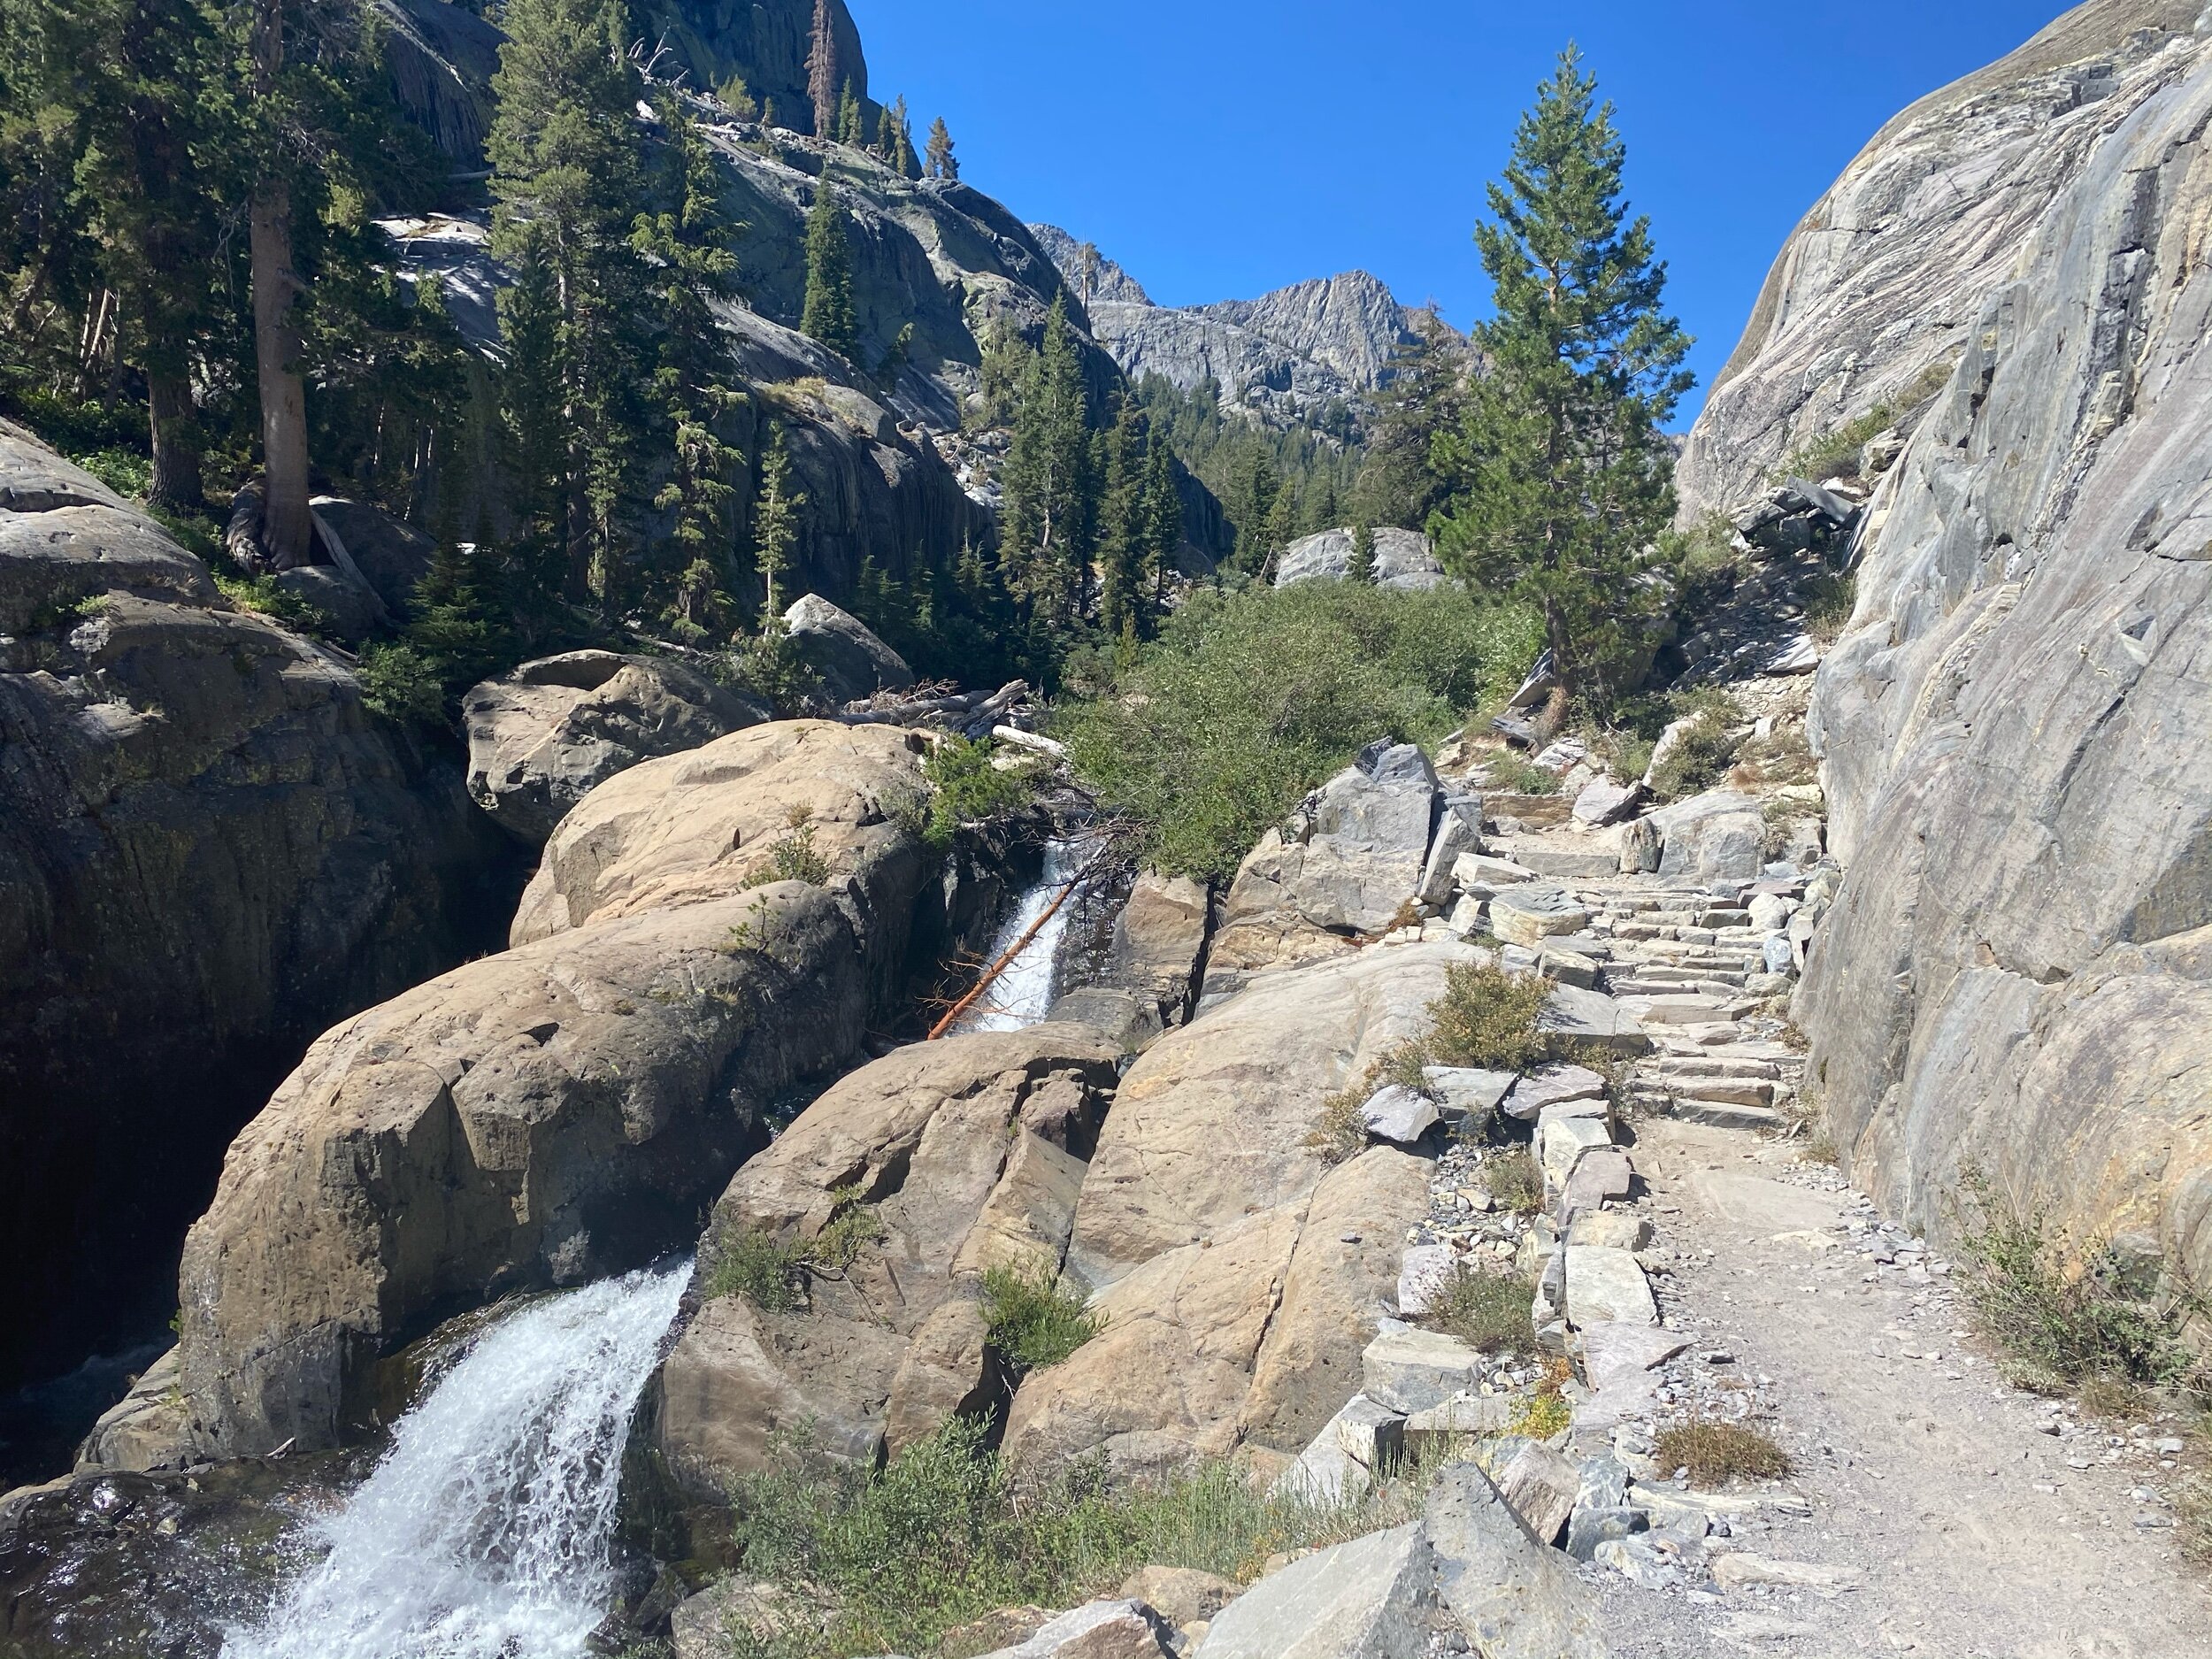
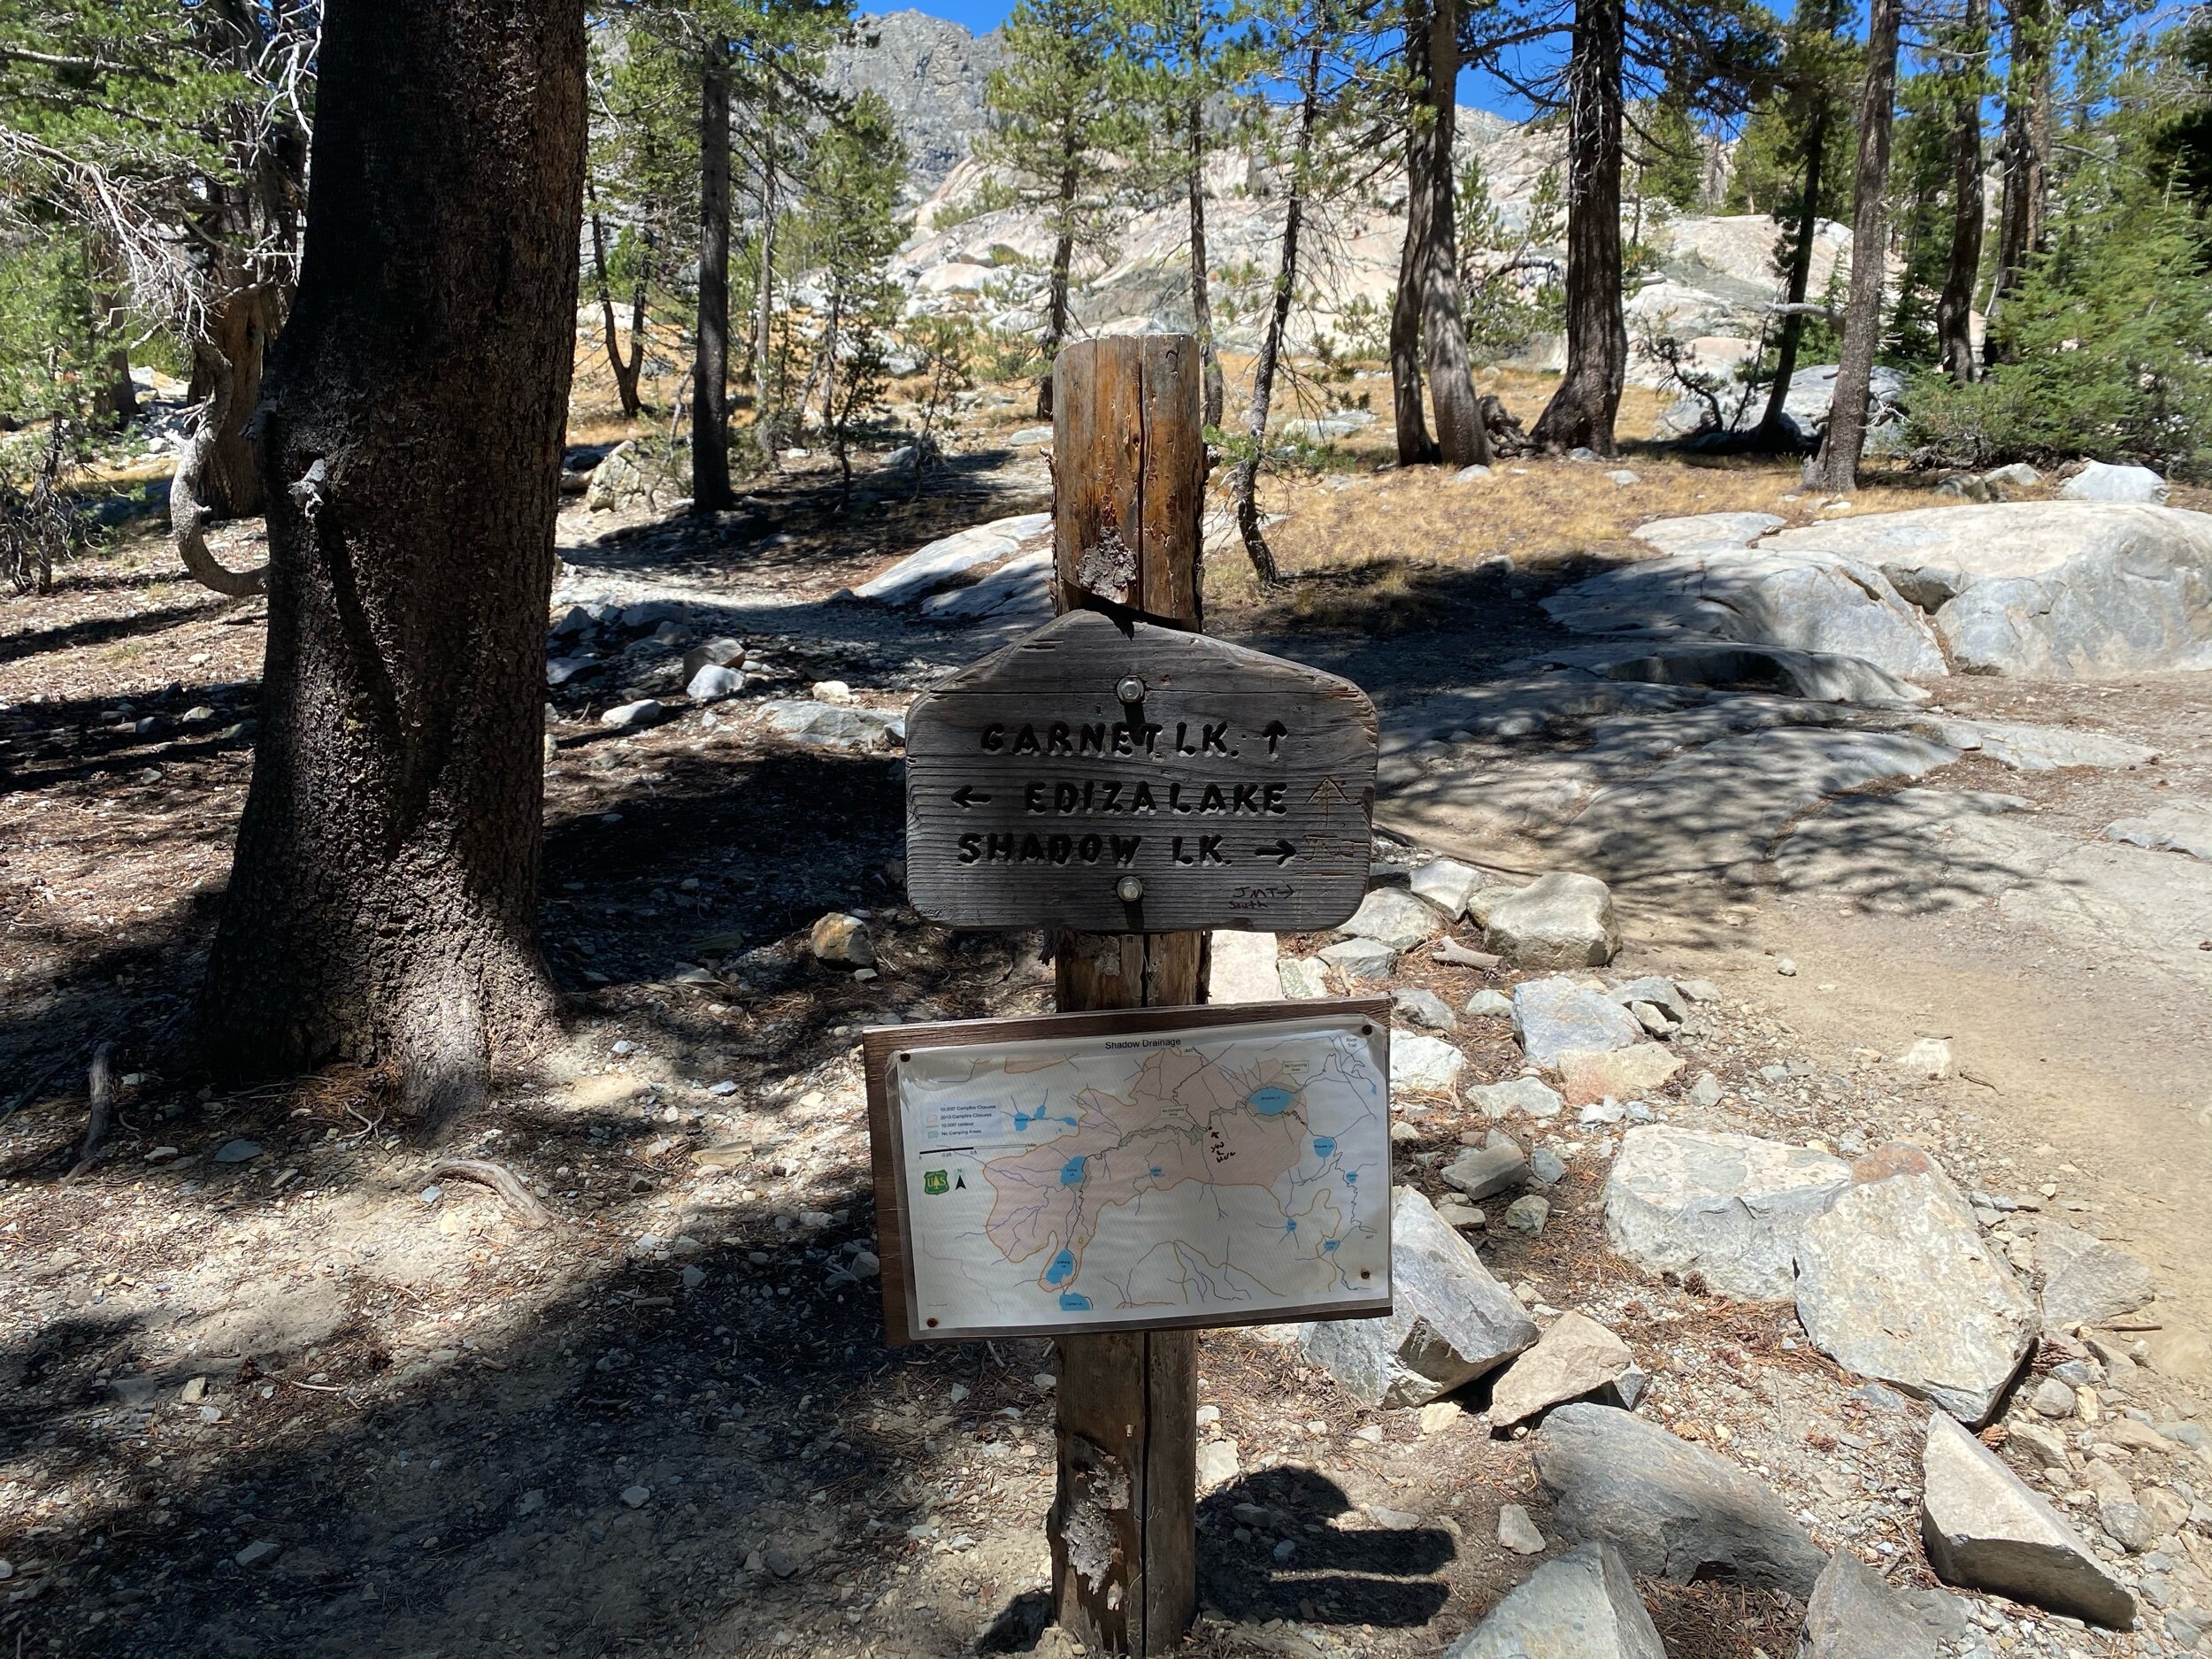
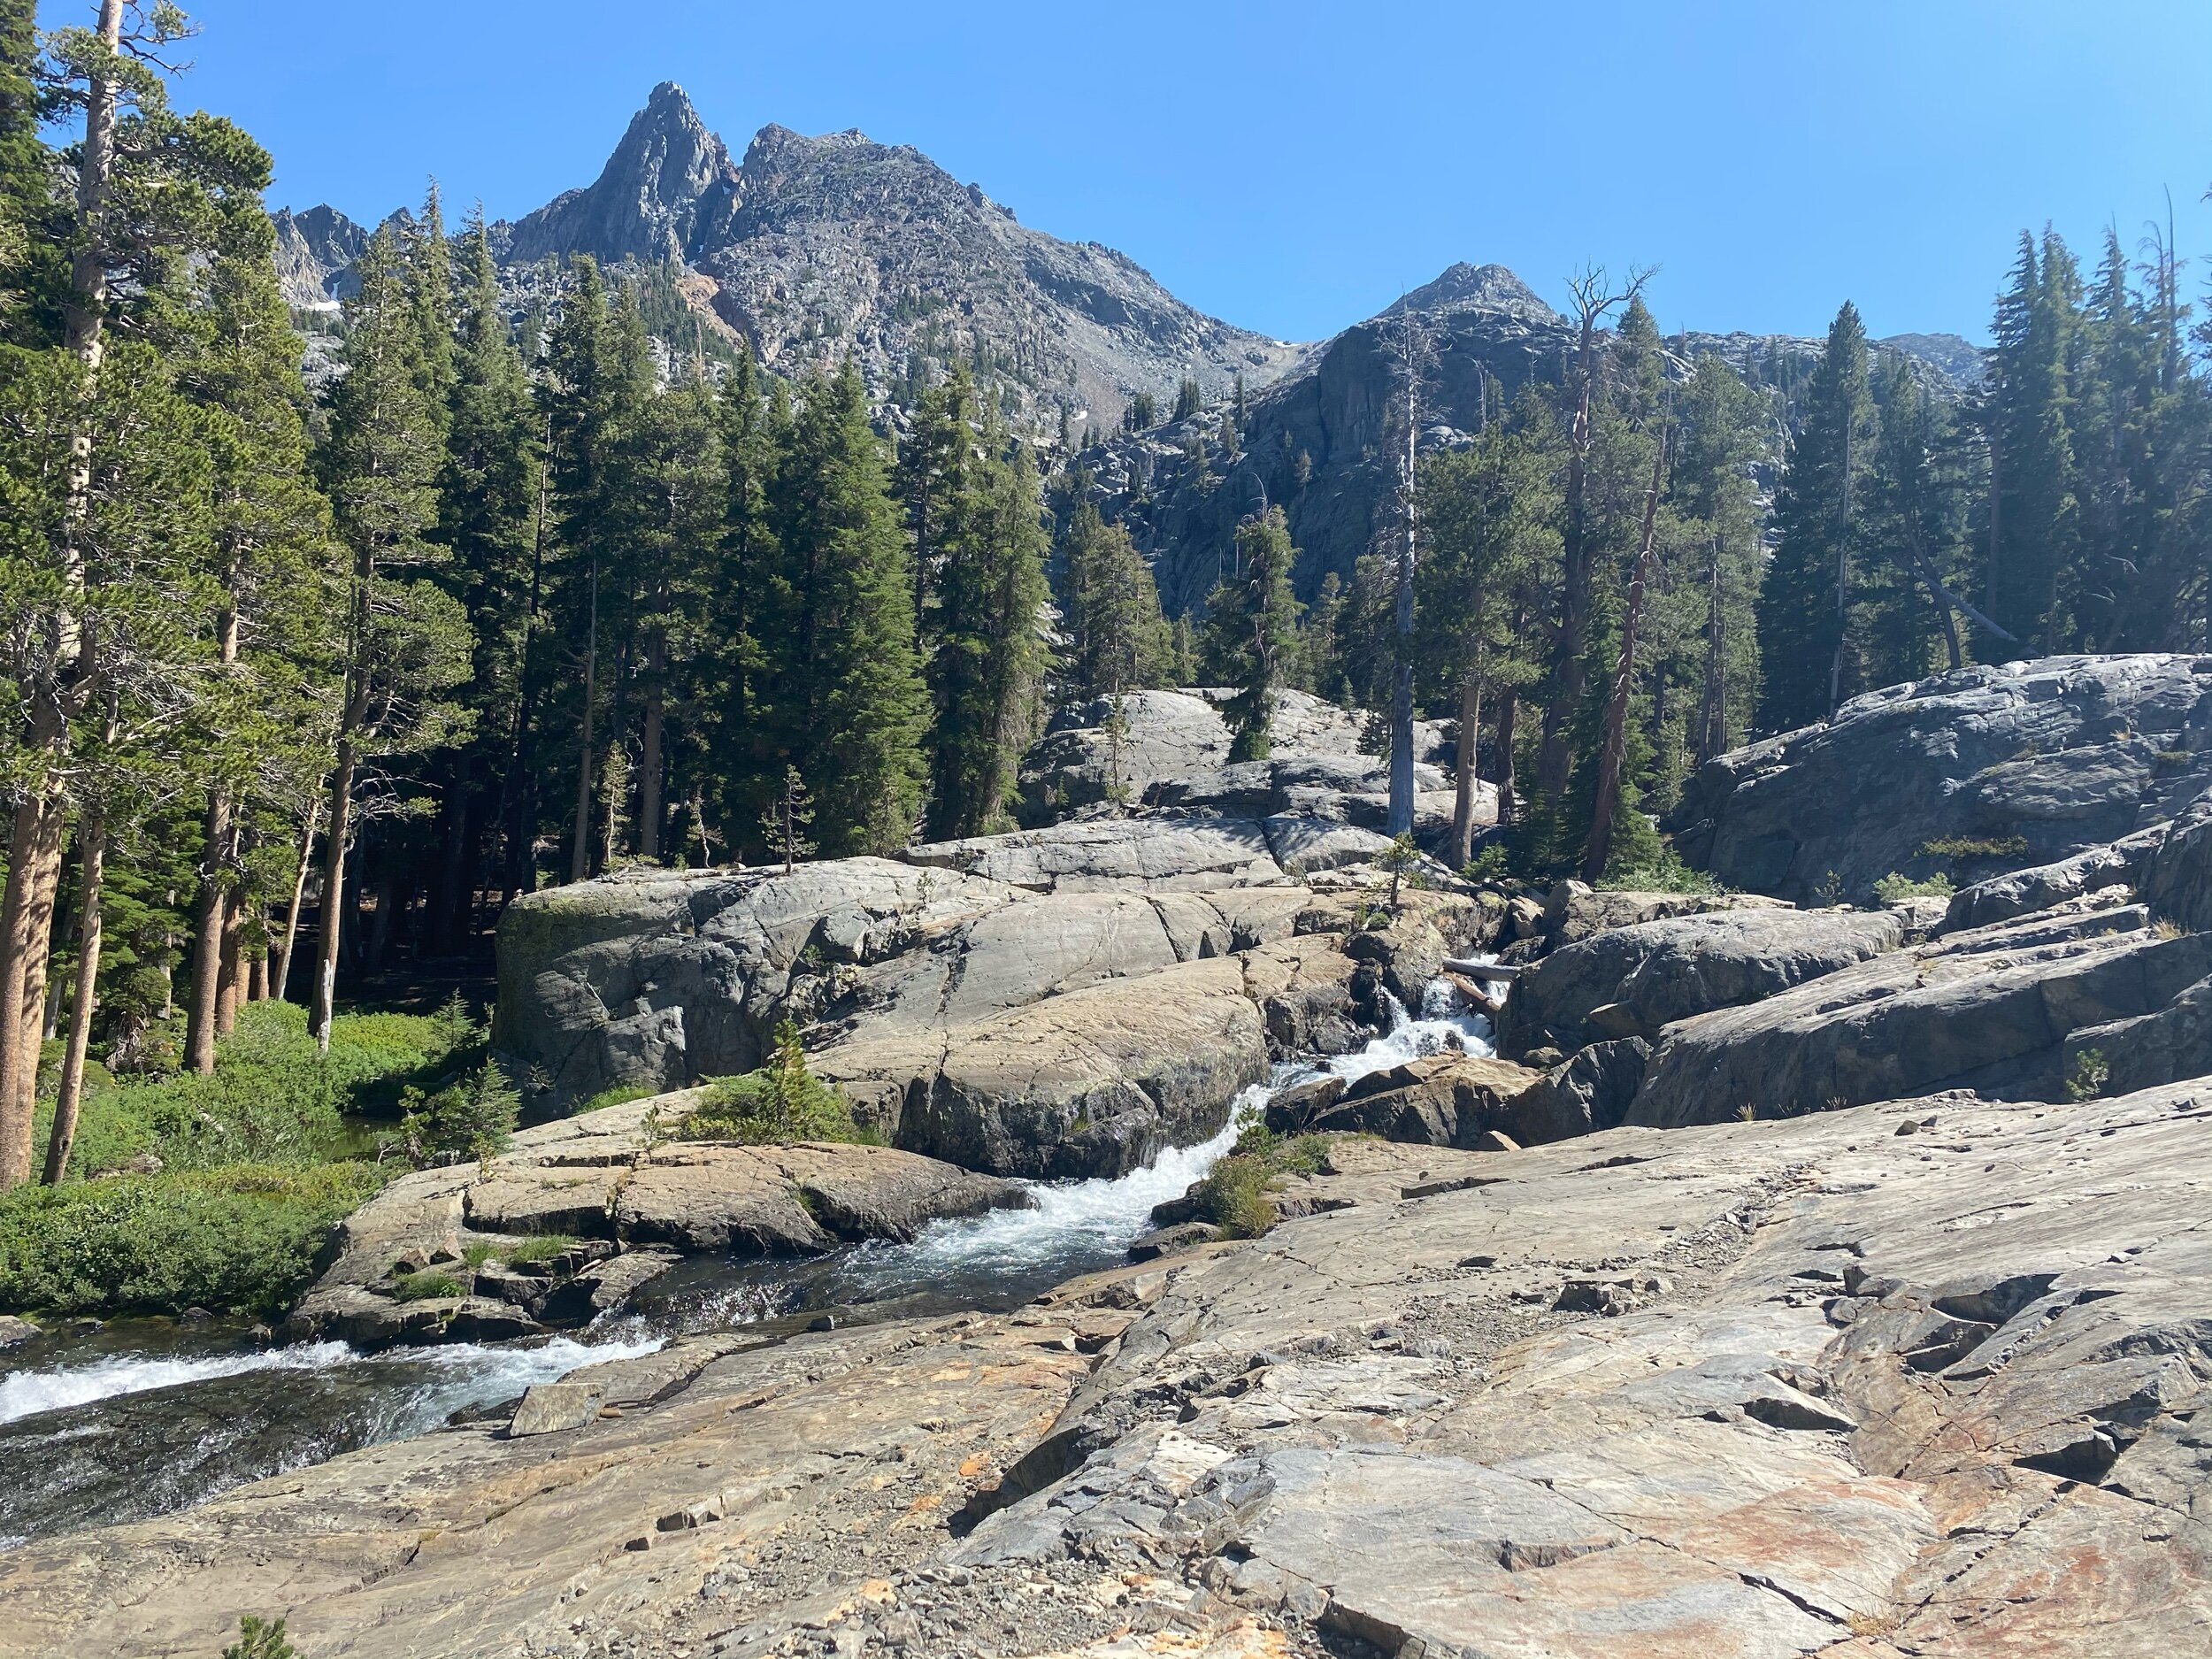
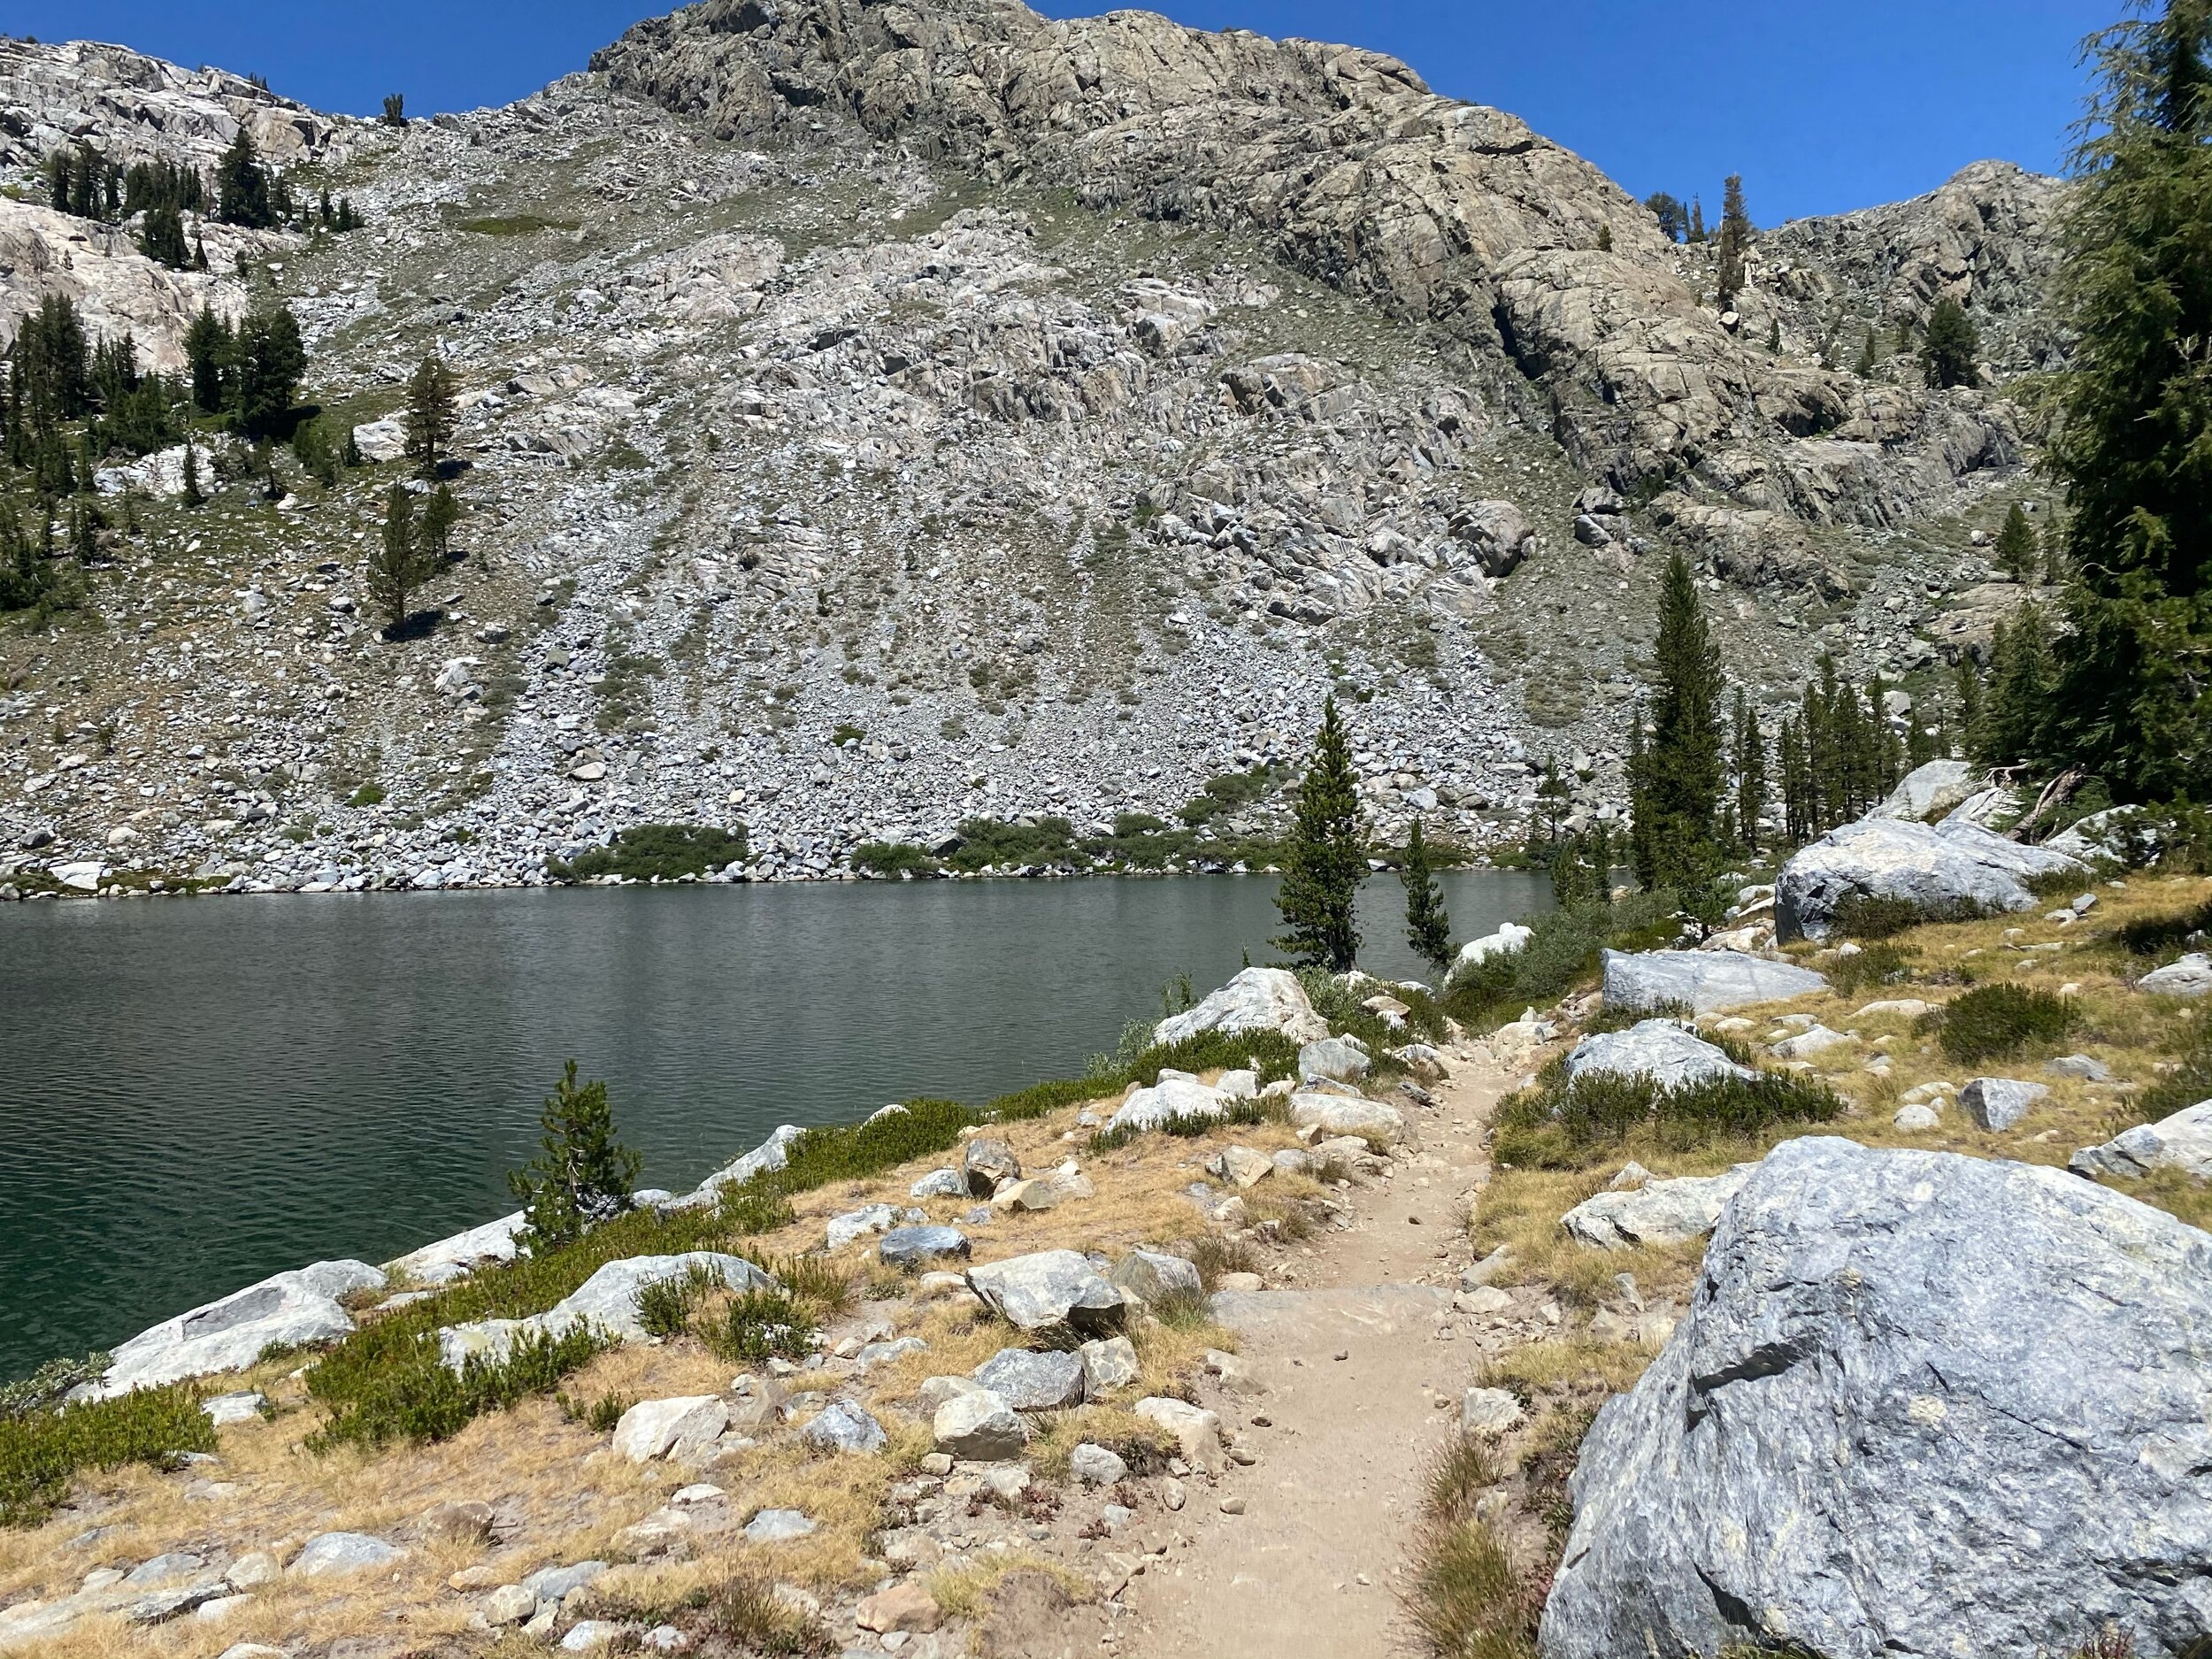
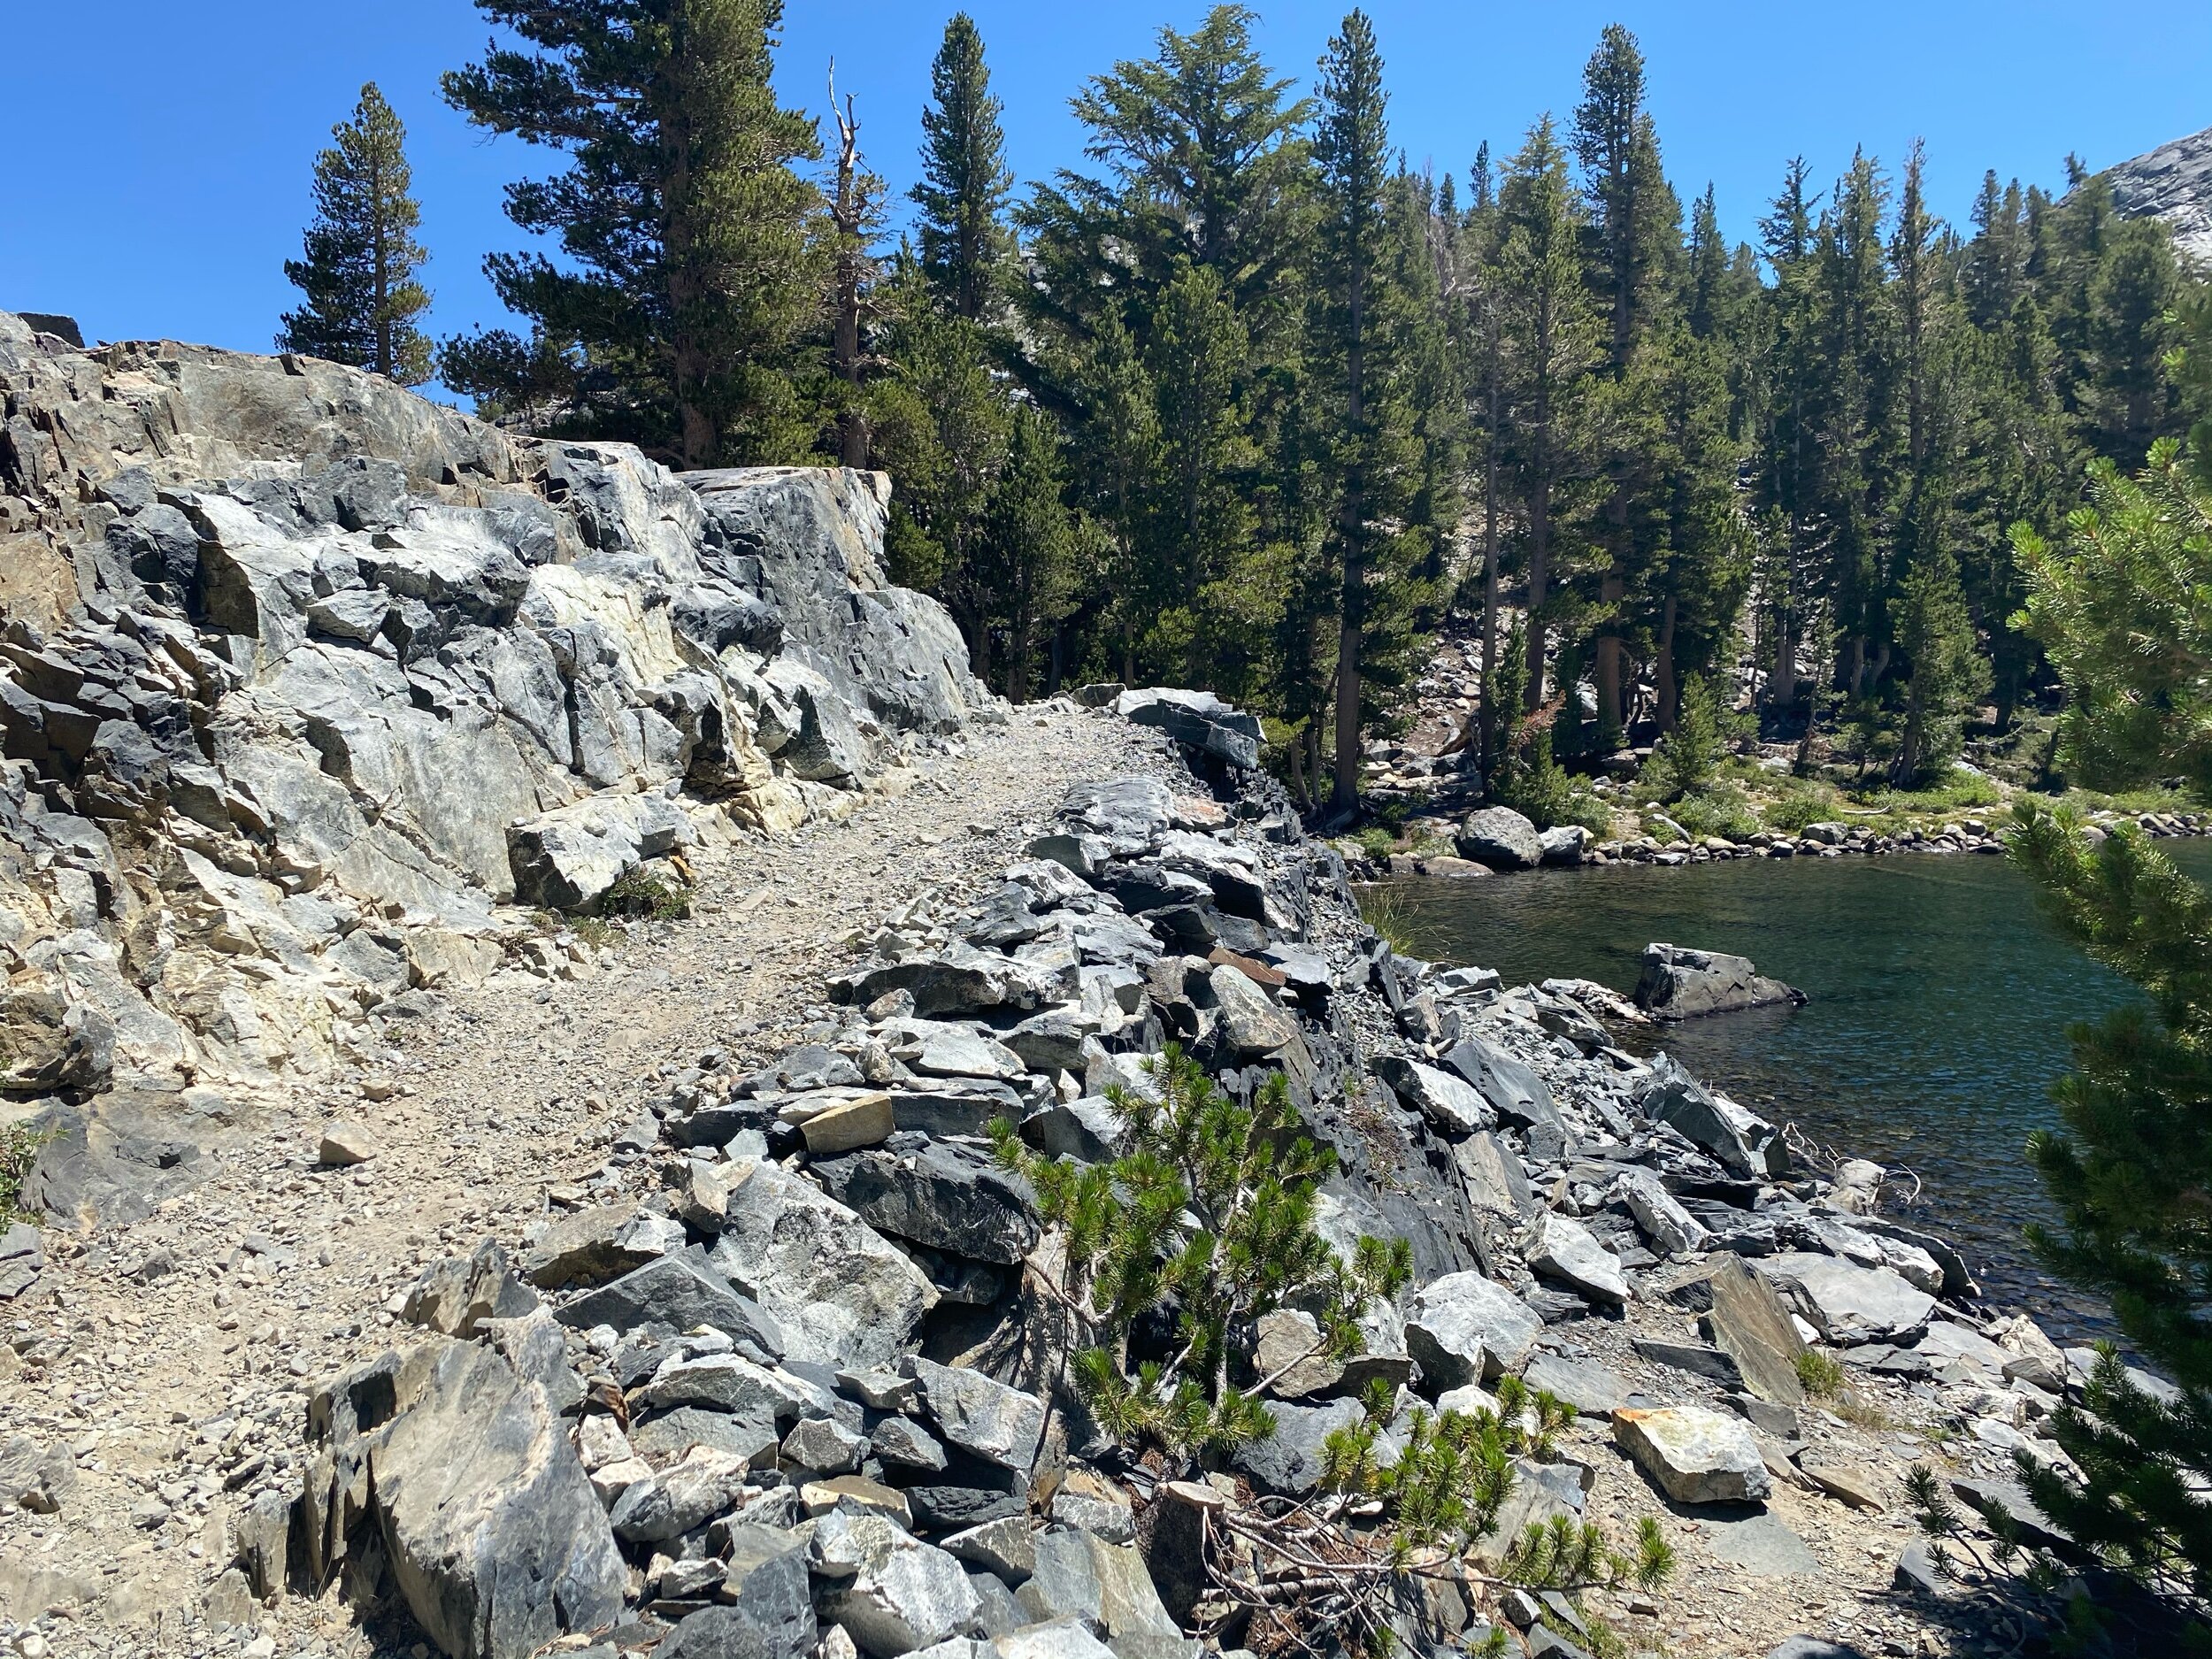
Once you’ve arrived, you’ll head out on the Shadow Lake Trail. After about 2.1 miles, you’ll reach Olaine Lake. After Olaine Lake, you’ll cross a bridge over Shadow Creek and your climbing for the day will begin. There’s a decent climb from Olaine Lake to the outlet of Shadow Lake, which is about 3.85 miles into your hike. As you climb the switchbacks, you’ll get astounding views of the waterfall outlet of Shadow Lake as well as views back on Agnew Meadows and Mammoth Mountain in the distance behind you. After you’ve reached the outlet of Shadow Lake, you’ll follow a lakeside trail around the lake until you reach a T-junction of the John Muir Trail. You’ll want to follow the John Muir Trail North (to your right). The Shadow Creek trail and John Muir trail are the same for the next .7 miles, where you’ll reach a trail junction for Ediza Lake. Eventually, you’ll come back to this junction to continue towards Garnet and Thousand Island lakes. For now, take the Ediza Lake trail to the left, and follow along Shadow Creek for 1.7 miles until you reach the outlet of Ediza Lake.
The 1.7-mile trail to Ediza is fairly gradual with a few rocky climbs. Just below Ediza lake (6.7 miles into your hike), you’ll cross over the creek that flows from the lake. It was easy to hop on logs and rocks to avoid getting your shoes wet. After crossing over the creek, you’ll follow a lakeside trail around Ediza Lake.
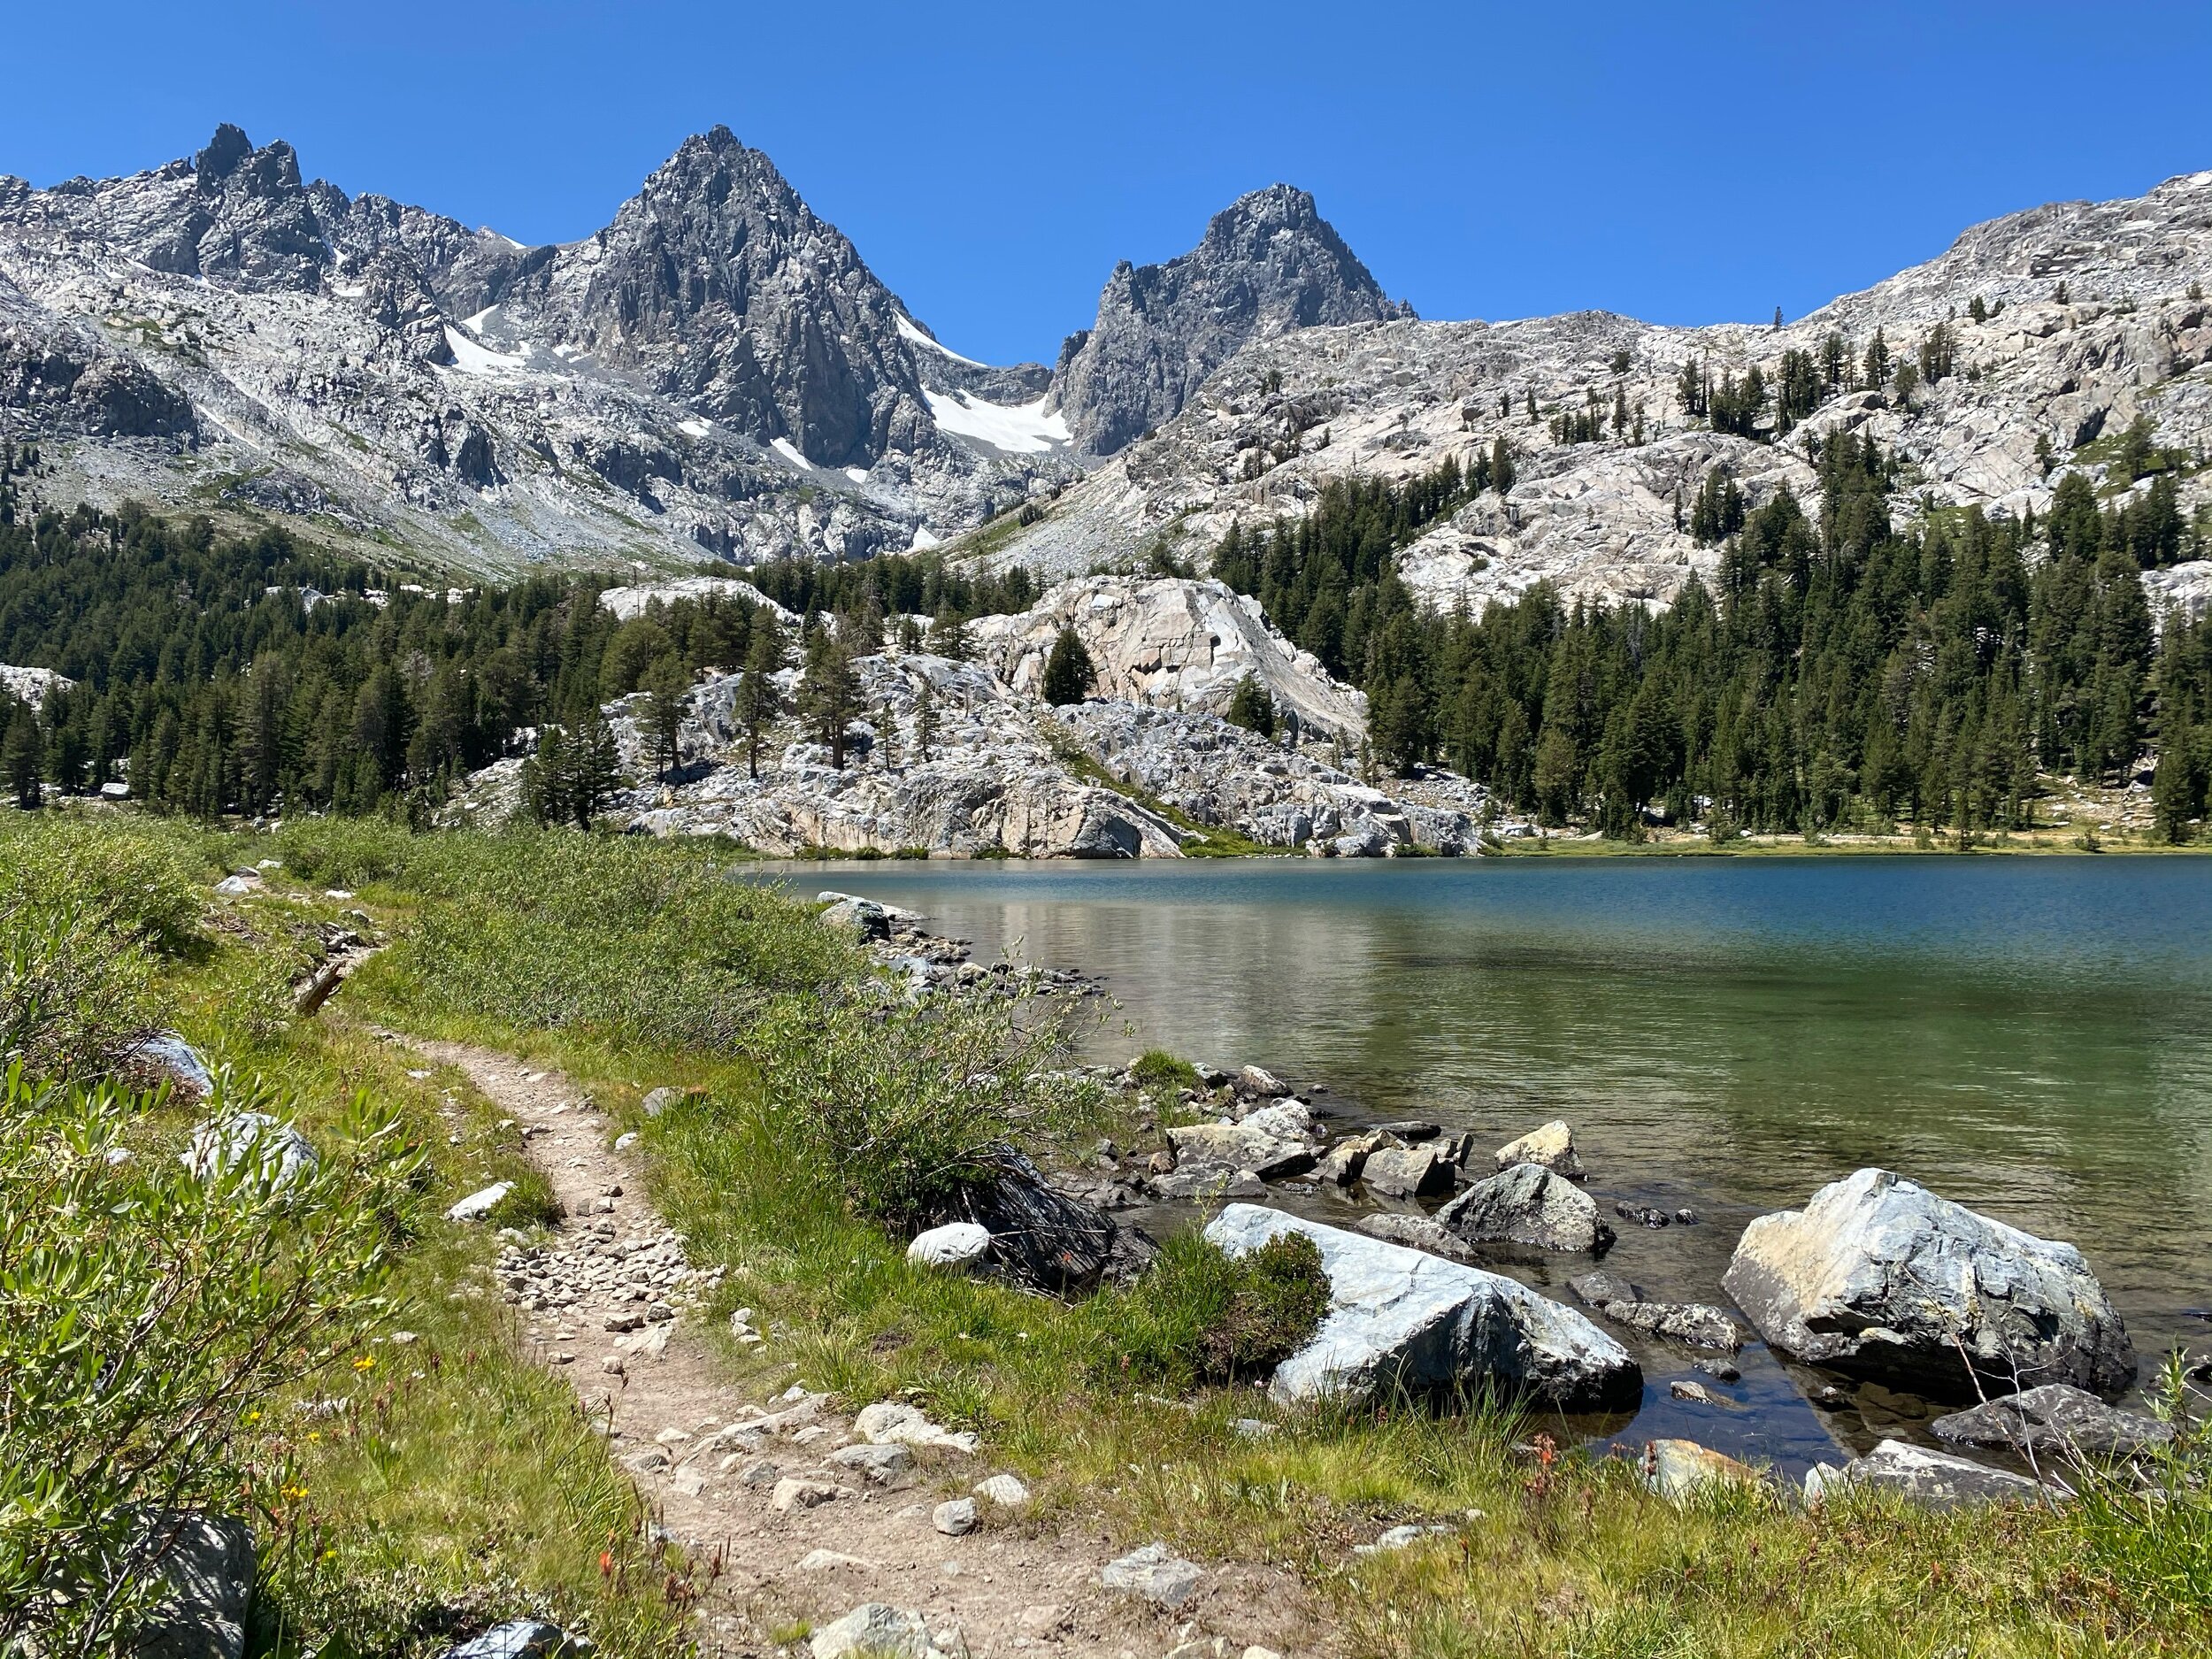

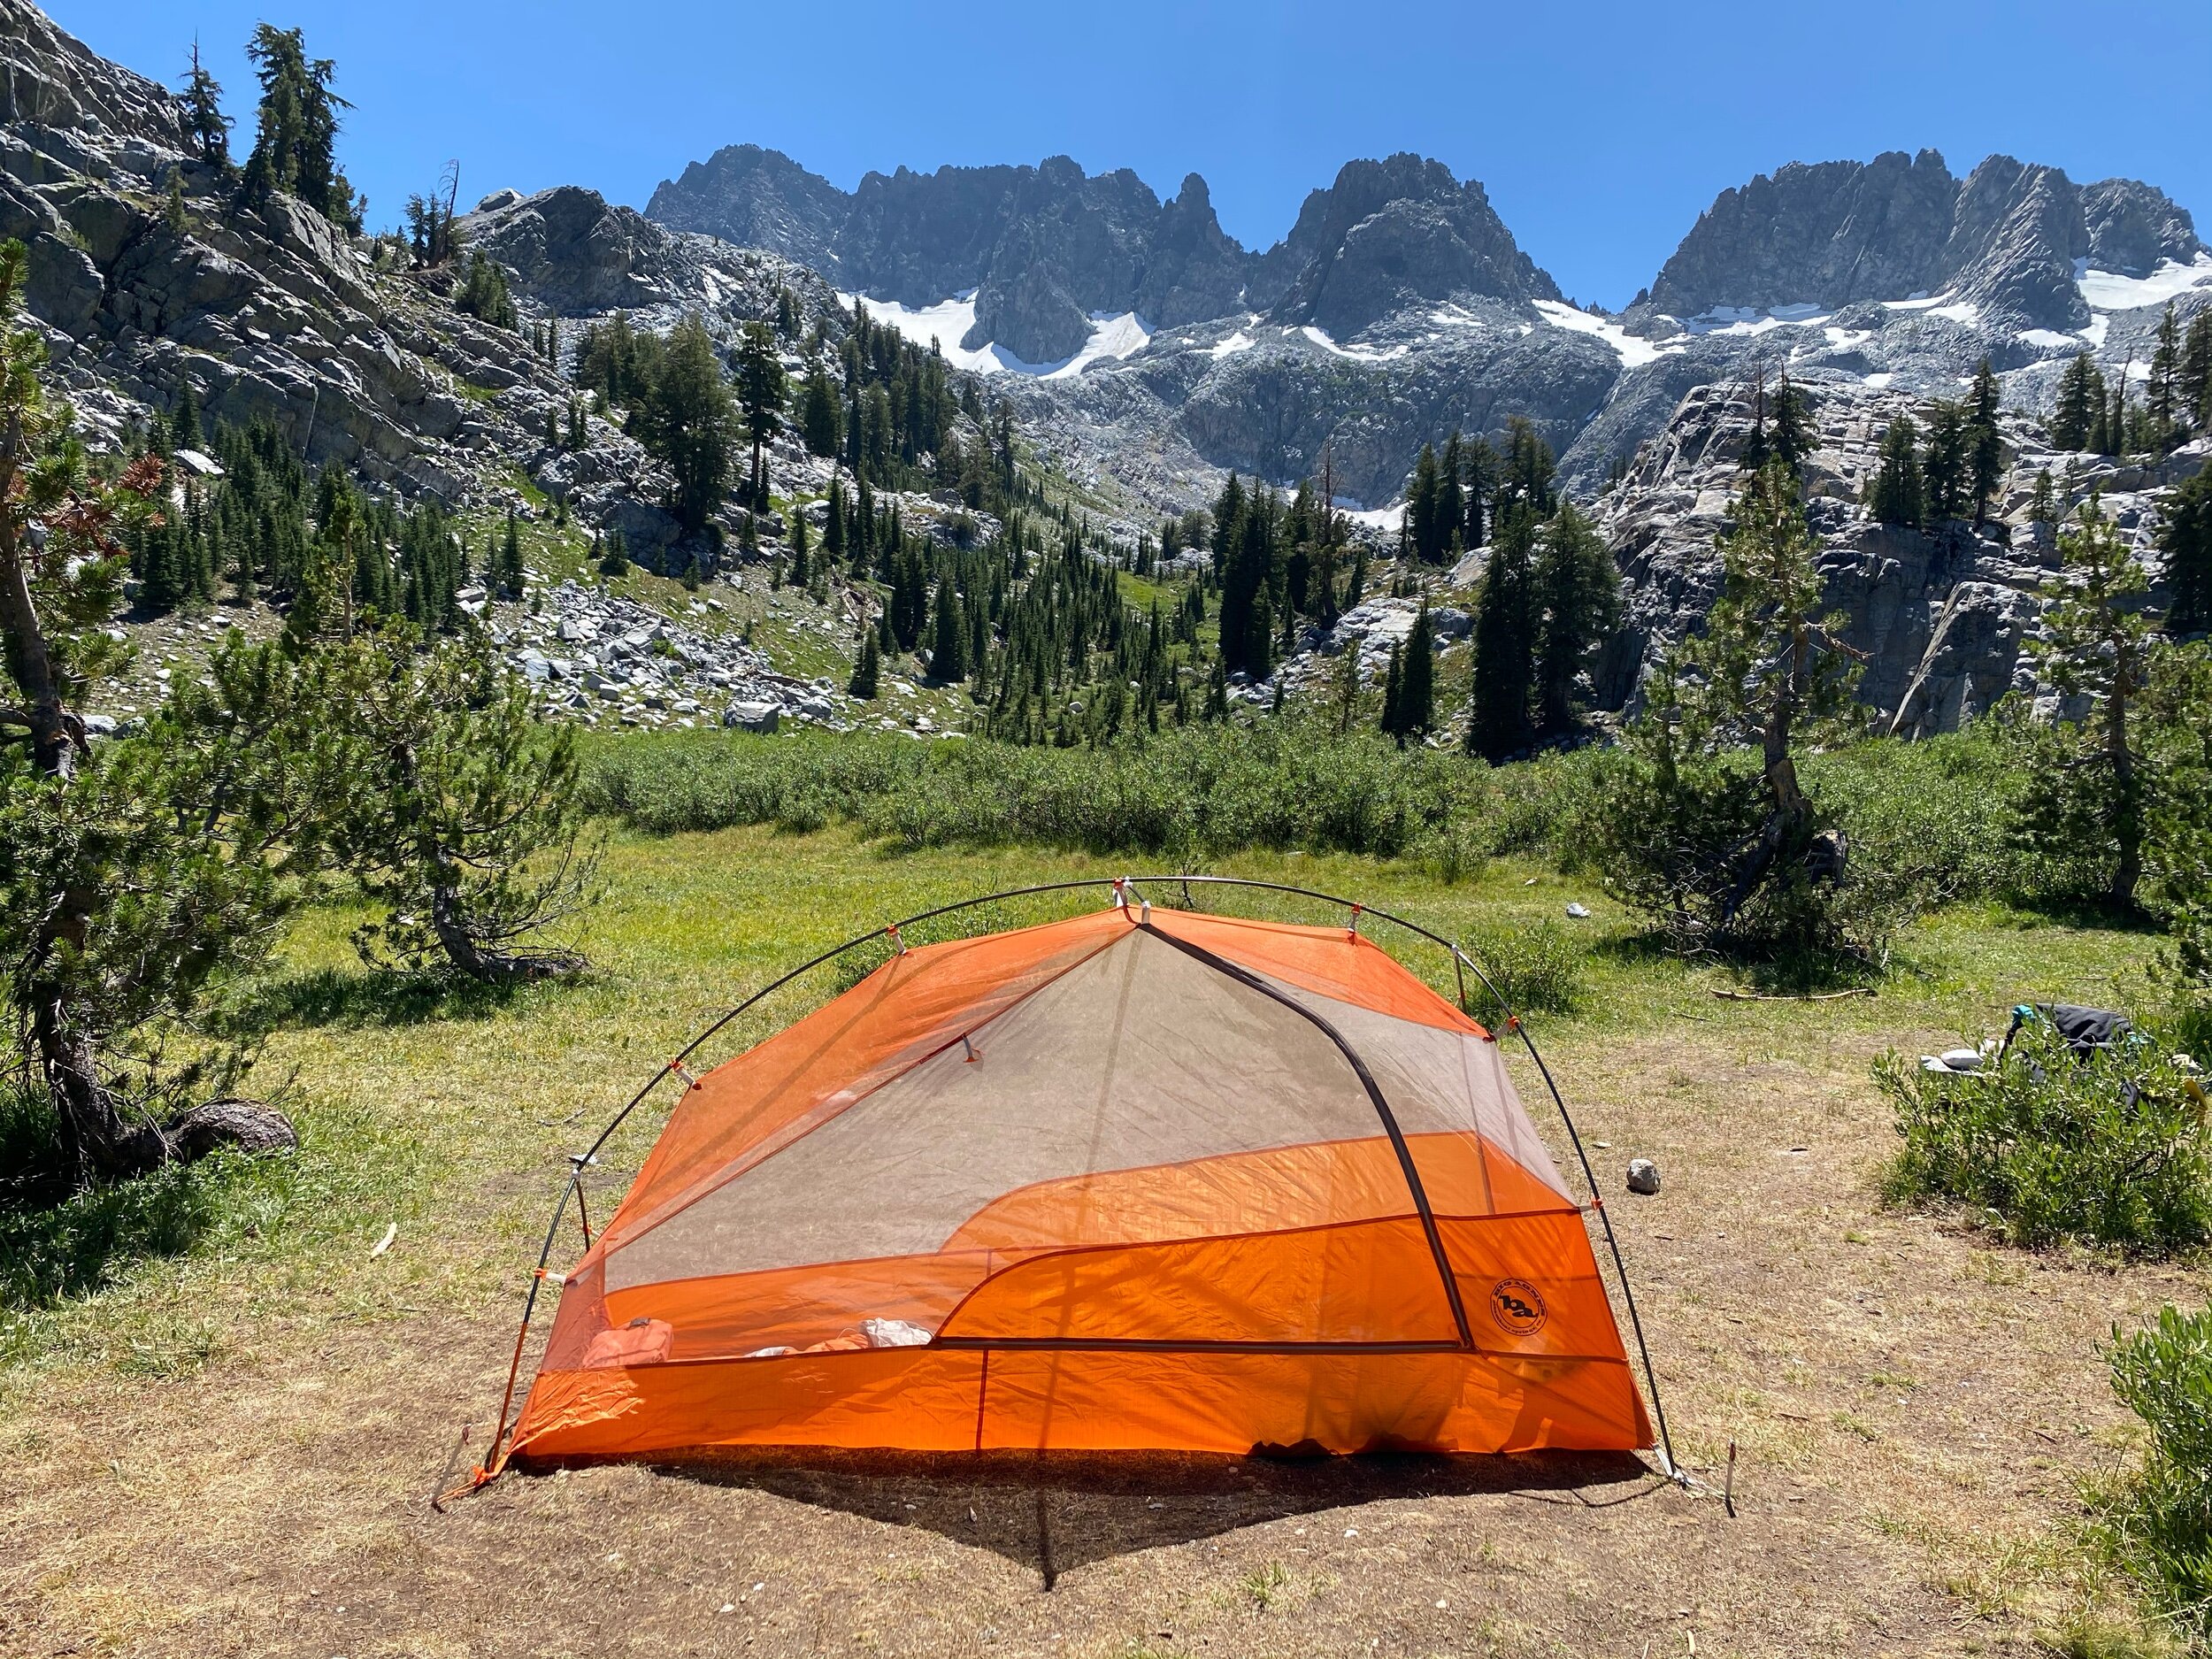
Camping at Ediza Lake: When choosing a campsite at Ediza Lake, please be mindful that there is no camping on the East or South sides of the lake. Once you arrive at the lake, you’ll need to continue on the path around the lake, past the junction for Iceberg Lake, past the meadow on the Southside of the lake, and to the West side of the lake. There are tons of campsites in the trees and there’s a use trail that goes up and around the West side of the lake.
Camping at Iceberg Lake: If you’d prefer to camp at Iceberg Lake, there are a few beautiful sites there. Rather than walking around Ediza lake, you’ll simply take the left at the junction that says Iceberg Lake. From this junction, it’s a pretty steady uphill climb until you reach a meadow area. You’re allowed to camp in this area or continue to the lake, where there’s a few campsites to the left of the trail.
Iceberg Lake also makes an easy day hike to start the next day's route to Garnet Lake.
Day 2: Ediza Lake to Garnet Lake
via the John Muir Trail

Miles: 4 miles (+2 mile detour if hiking to Iceberg Lake)
Elevation gain: 900 ft.
Water sources: plenty of water sources
Ediza Lake, Shadow Creek, Garnet Lake
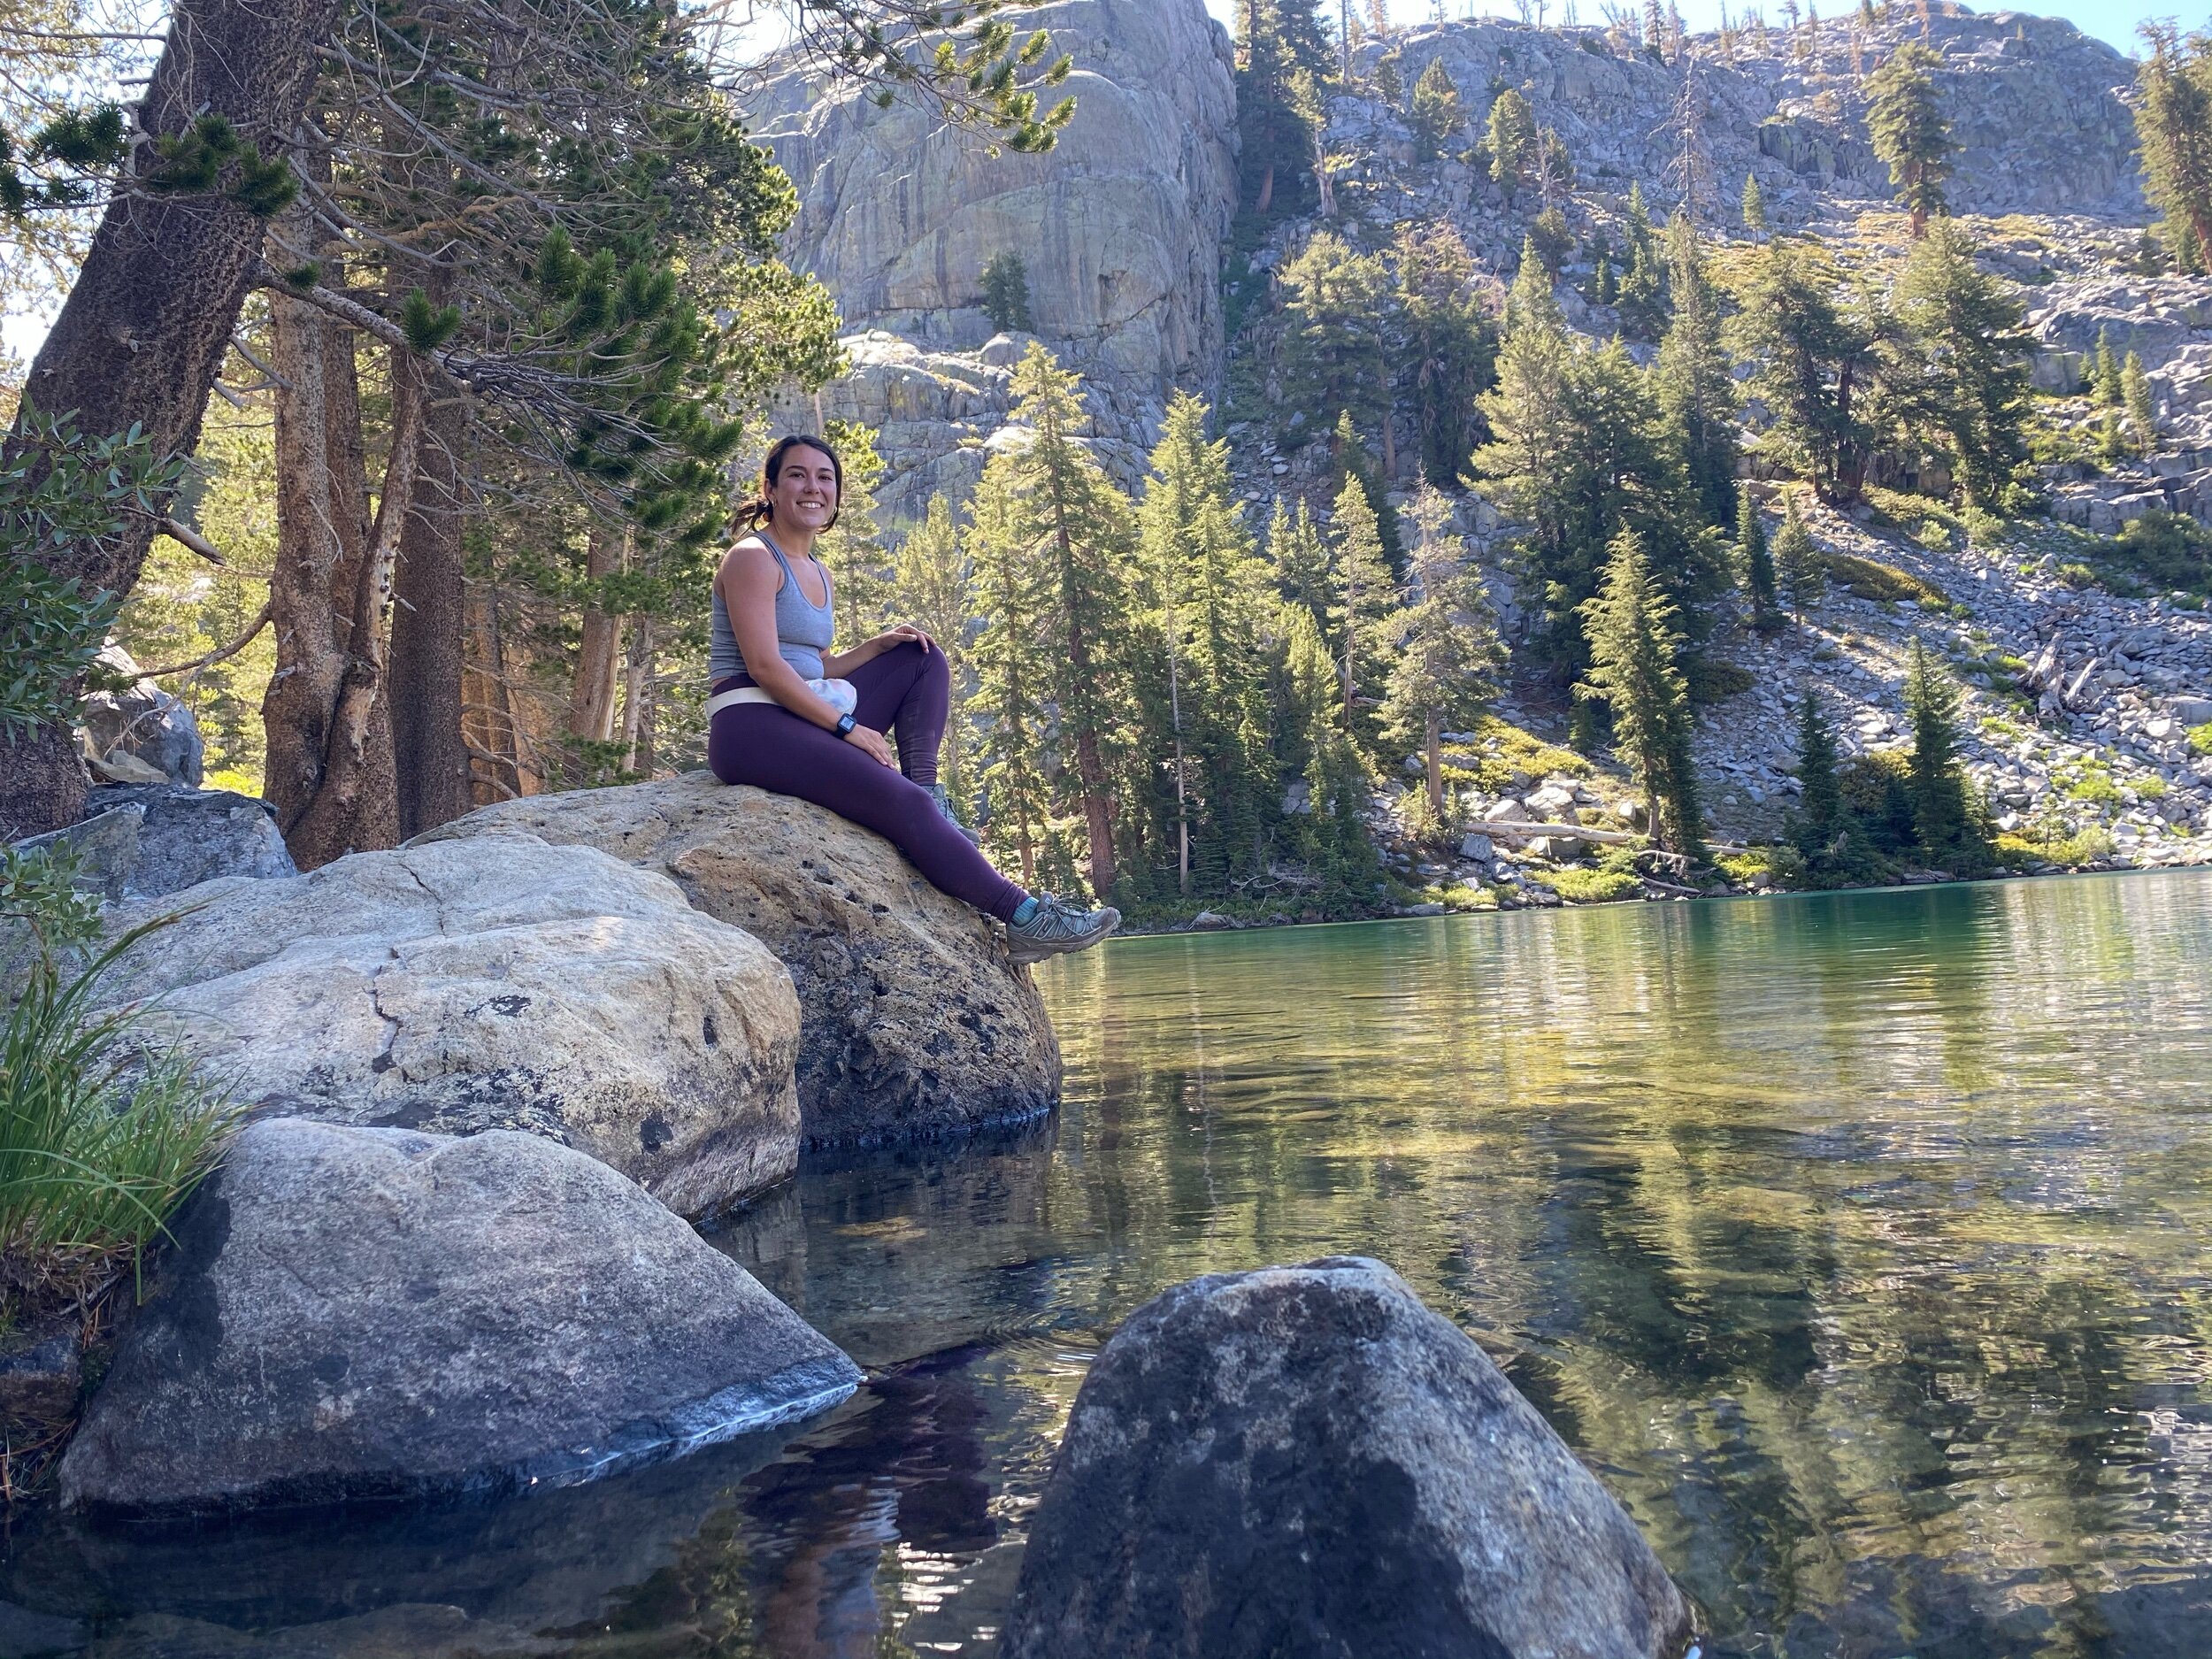
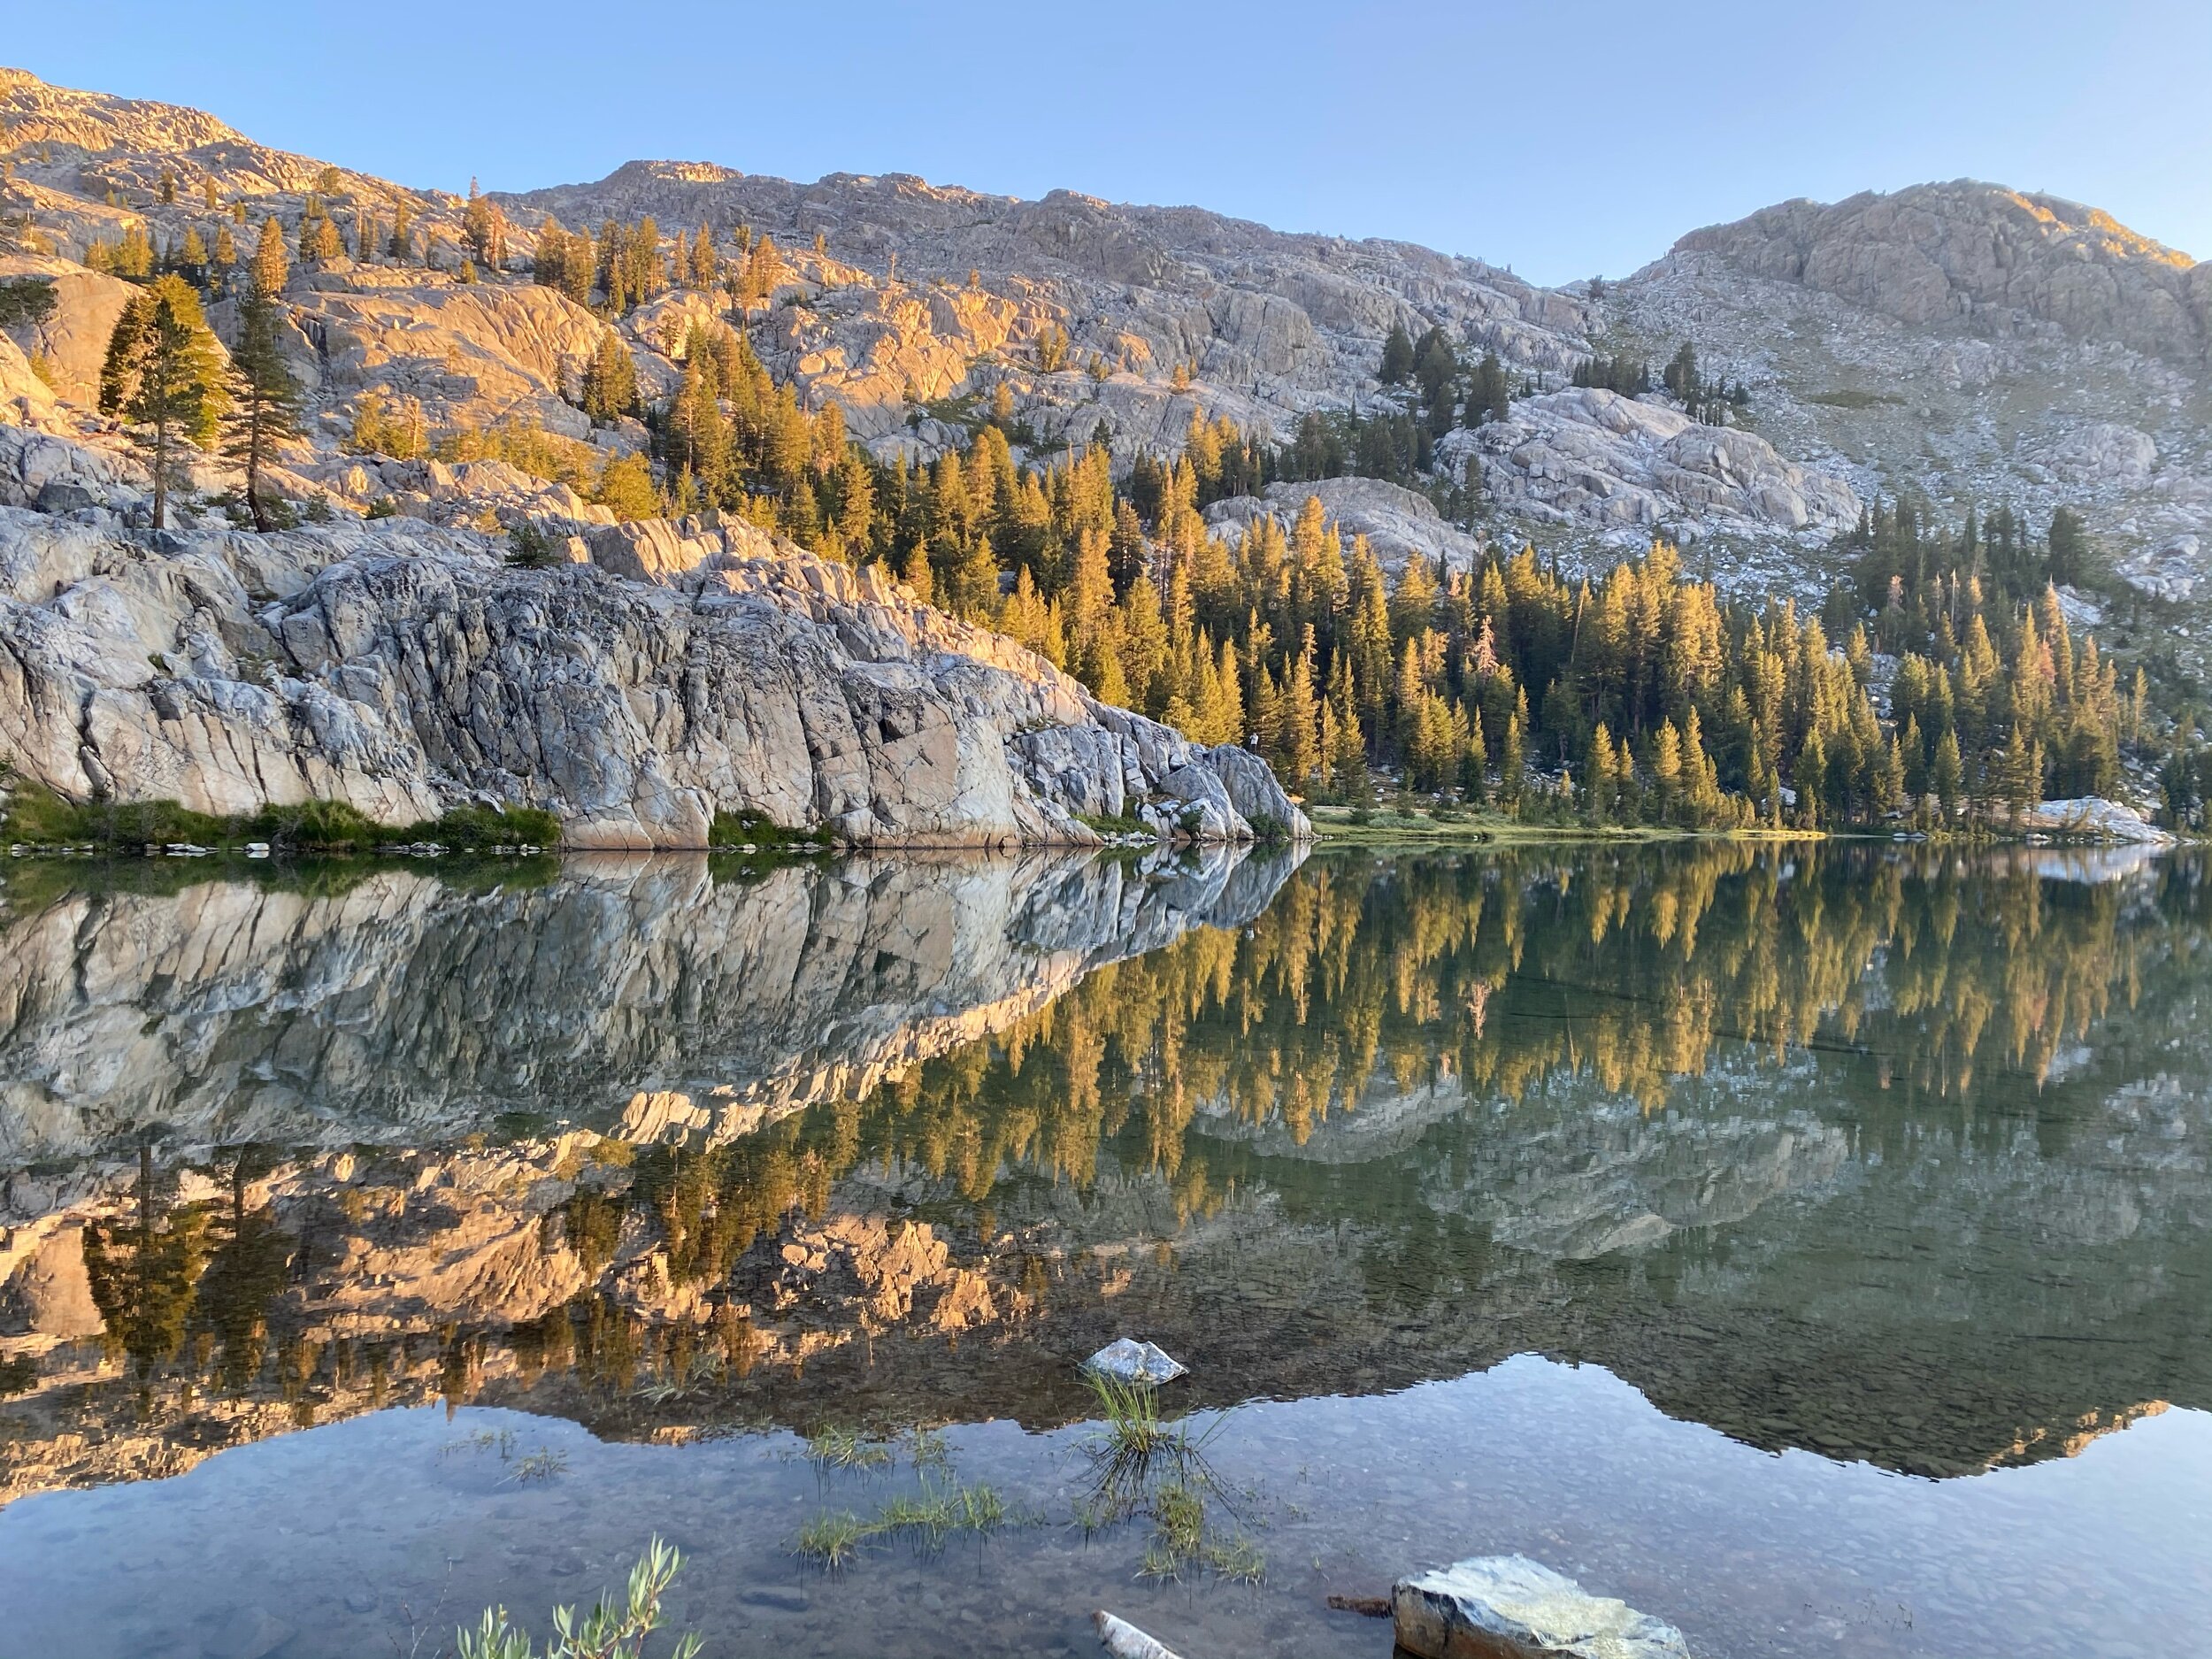
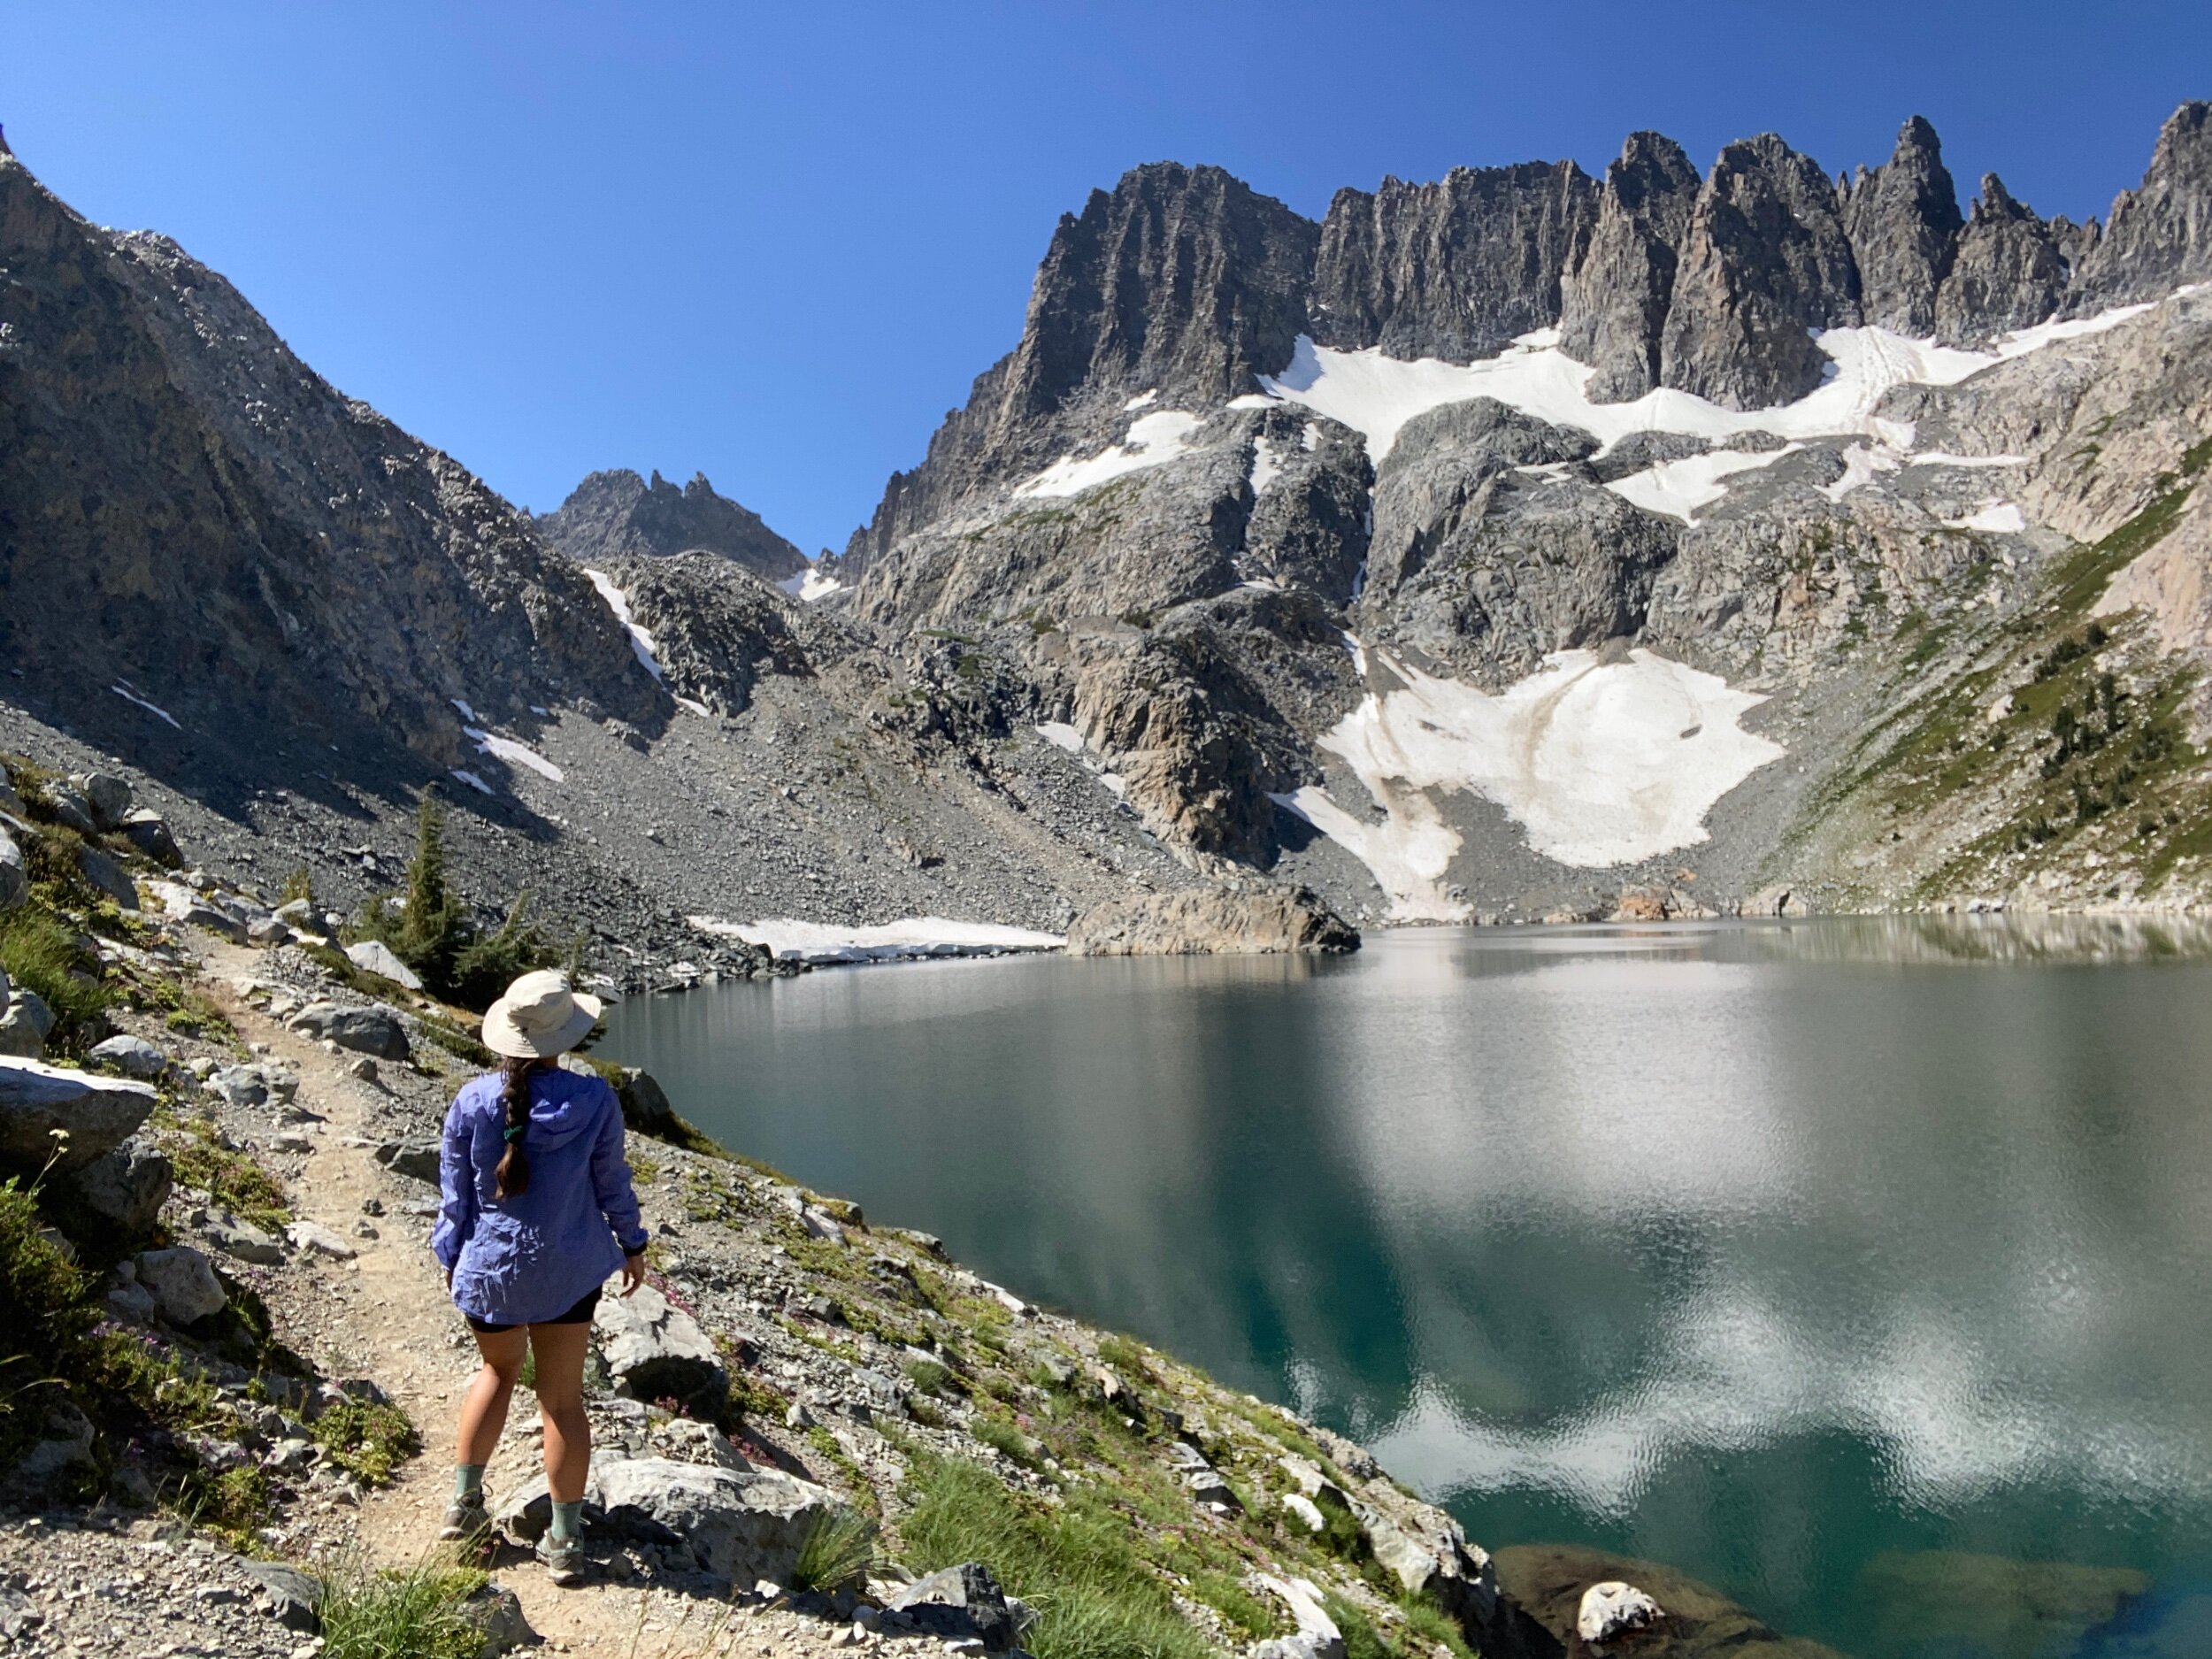
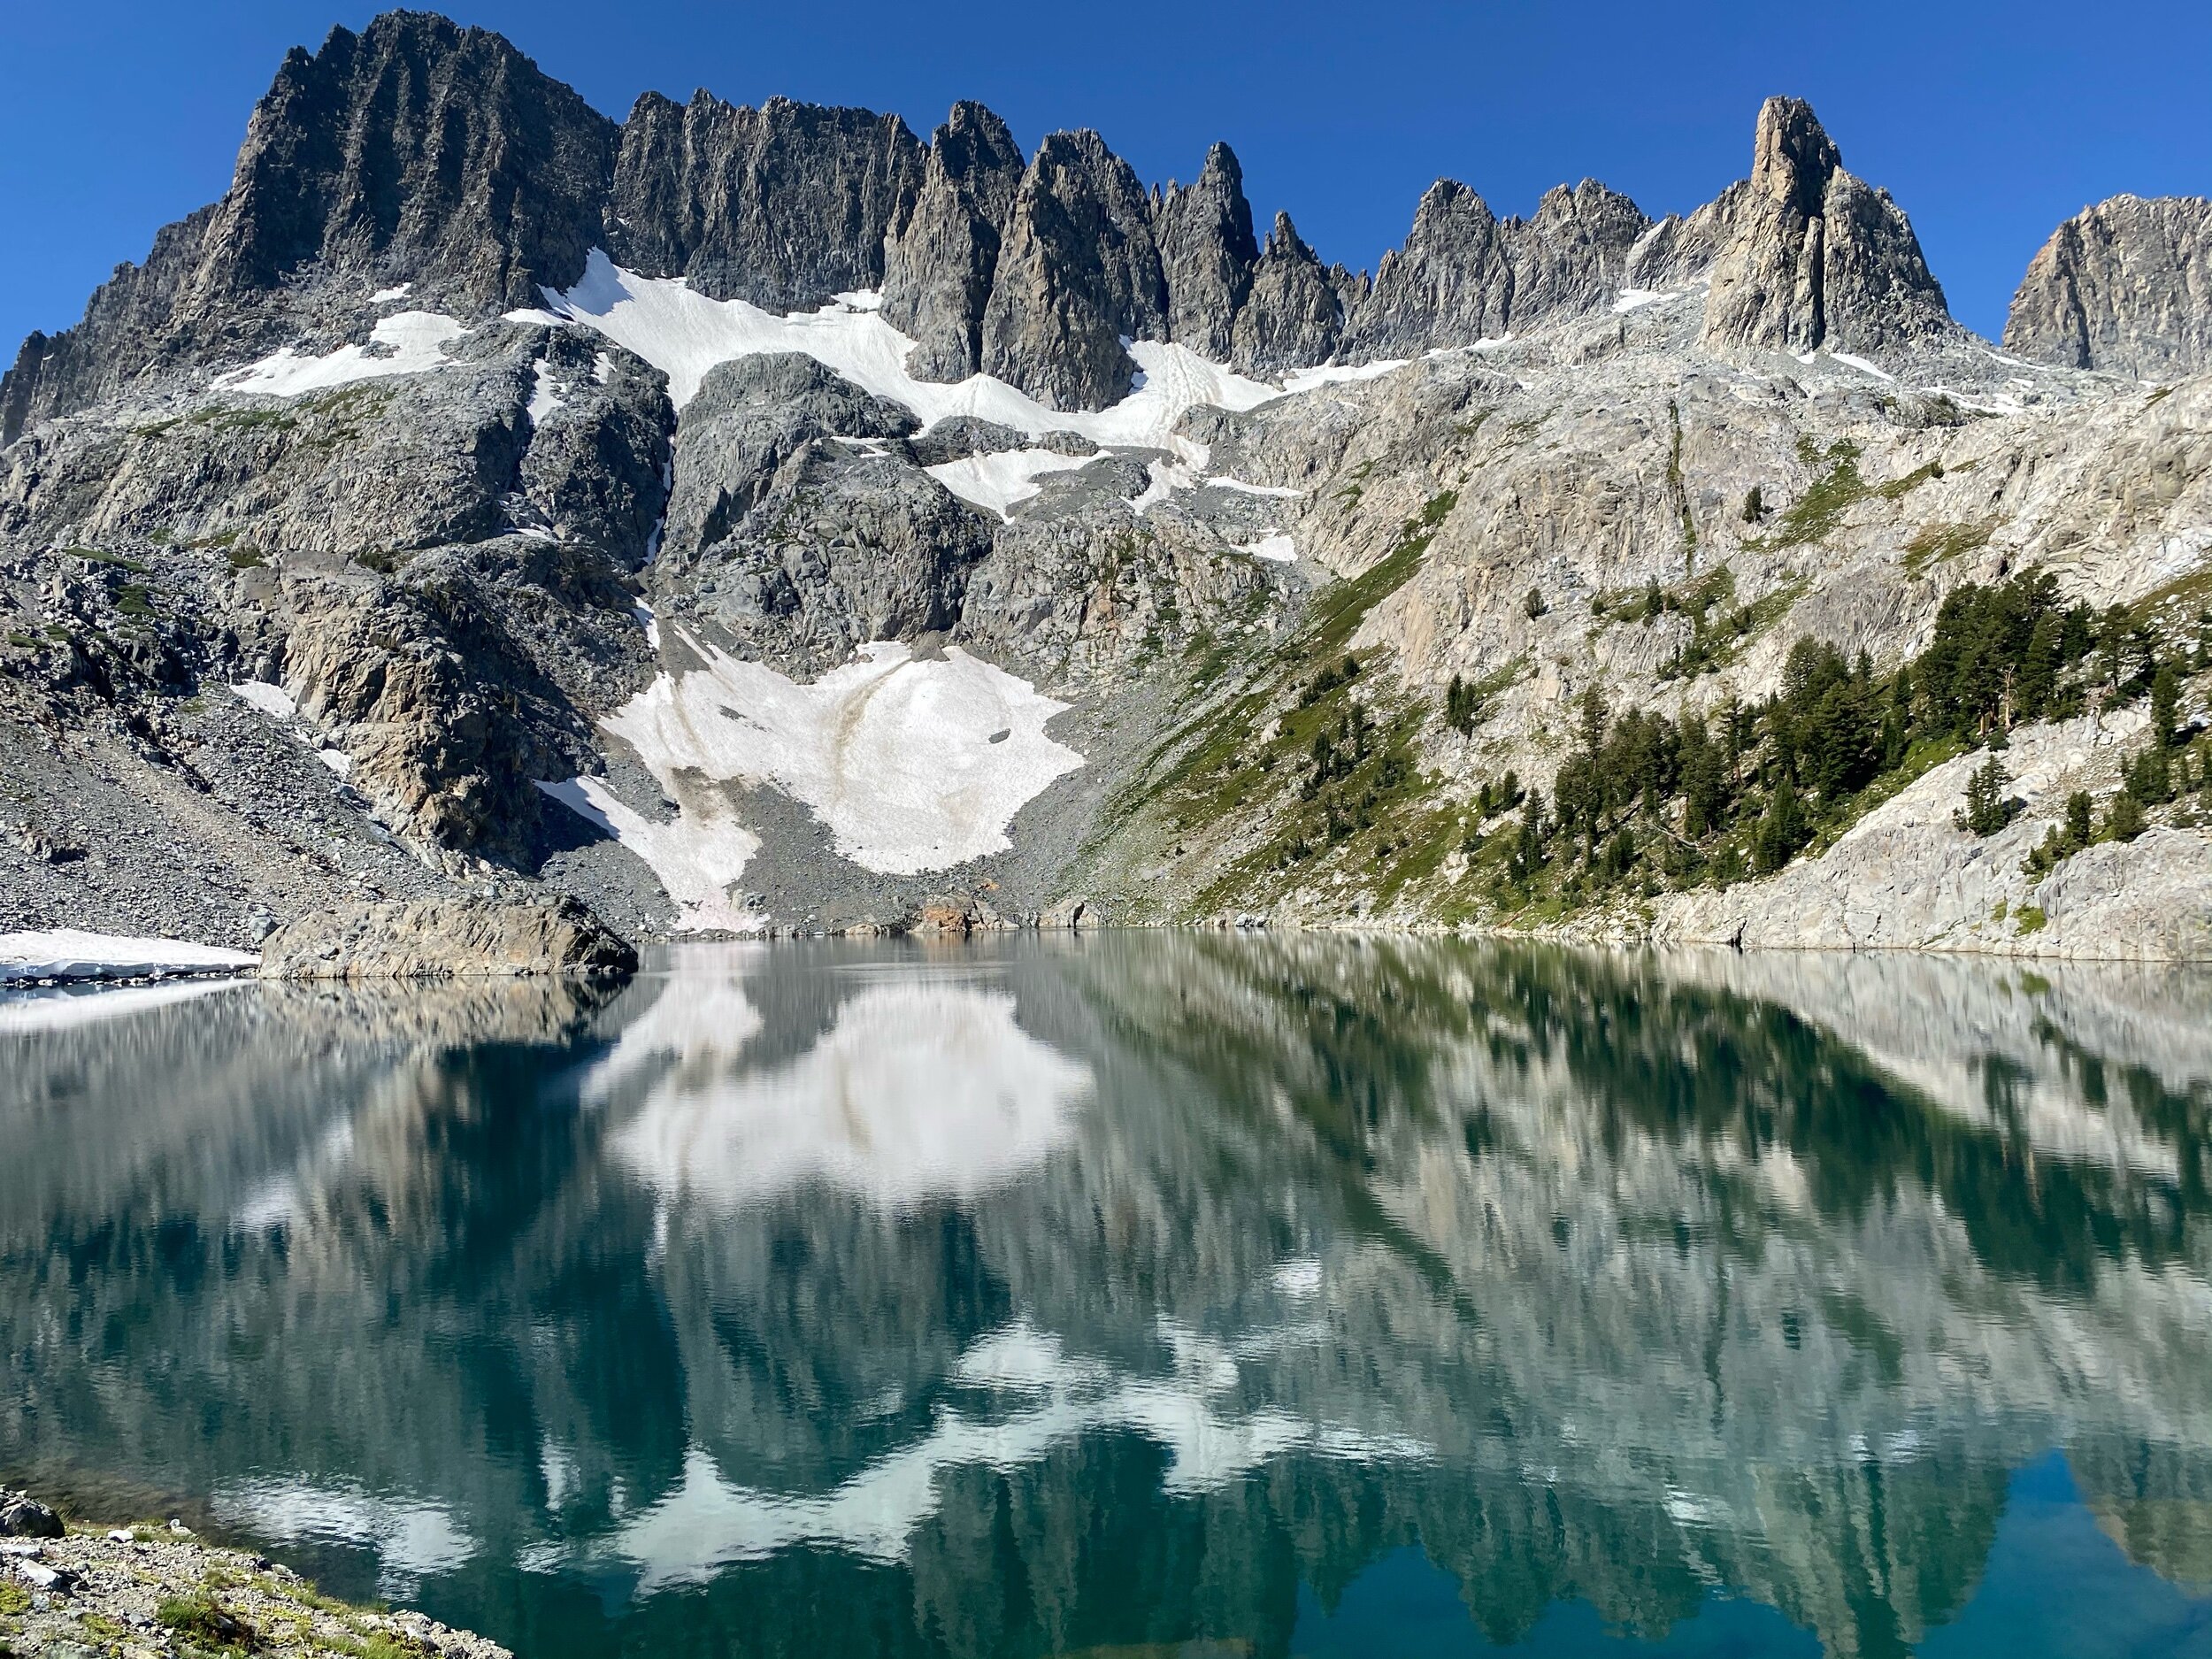
The second day of your trip should begin at sunrise to see the alpenglow at Ediza Lake. The still morning water creates perfect reflections to set the trend for the next few days of alpine lakes. After eating breakfast, doing some morning yoga, and drinking a few cups of coffee, I did an early morning day hike to Iceberg Lake. I dropped my backpack at the trail junction and left a note to inform other hikers that I would be back for my gear around lunchtime. I carried my water filter, my GPS, my phone, snacks, a jacket, and a few essential first aid items. The walk from Ediza Lake to Iceberg Lake immediately gained elevation via a series of switchbacks, rewarding the effort with stunning views of Ediza Lake below. Iceberg Lake is perhaps one of the most stunning lakes I’ve ever seen.
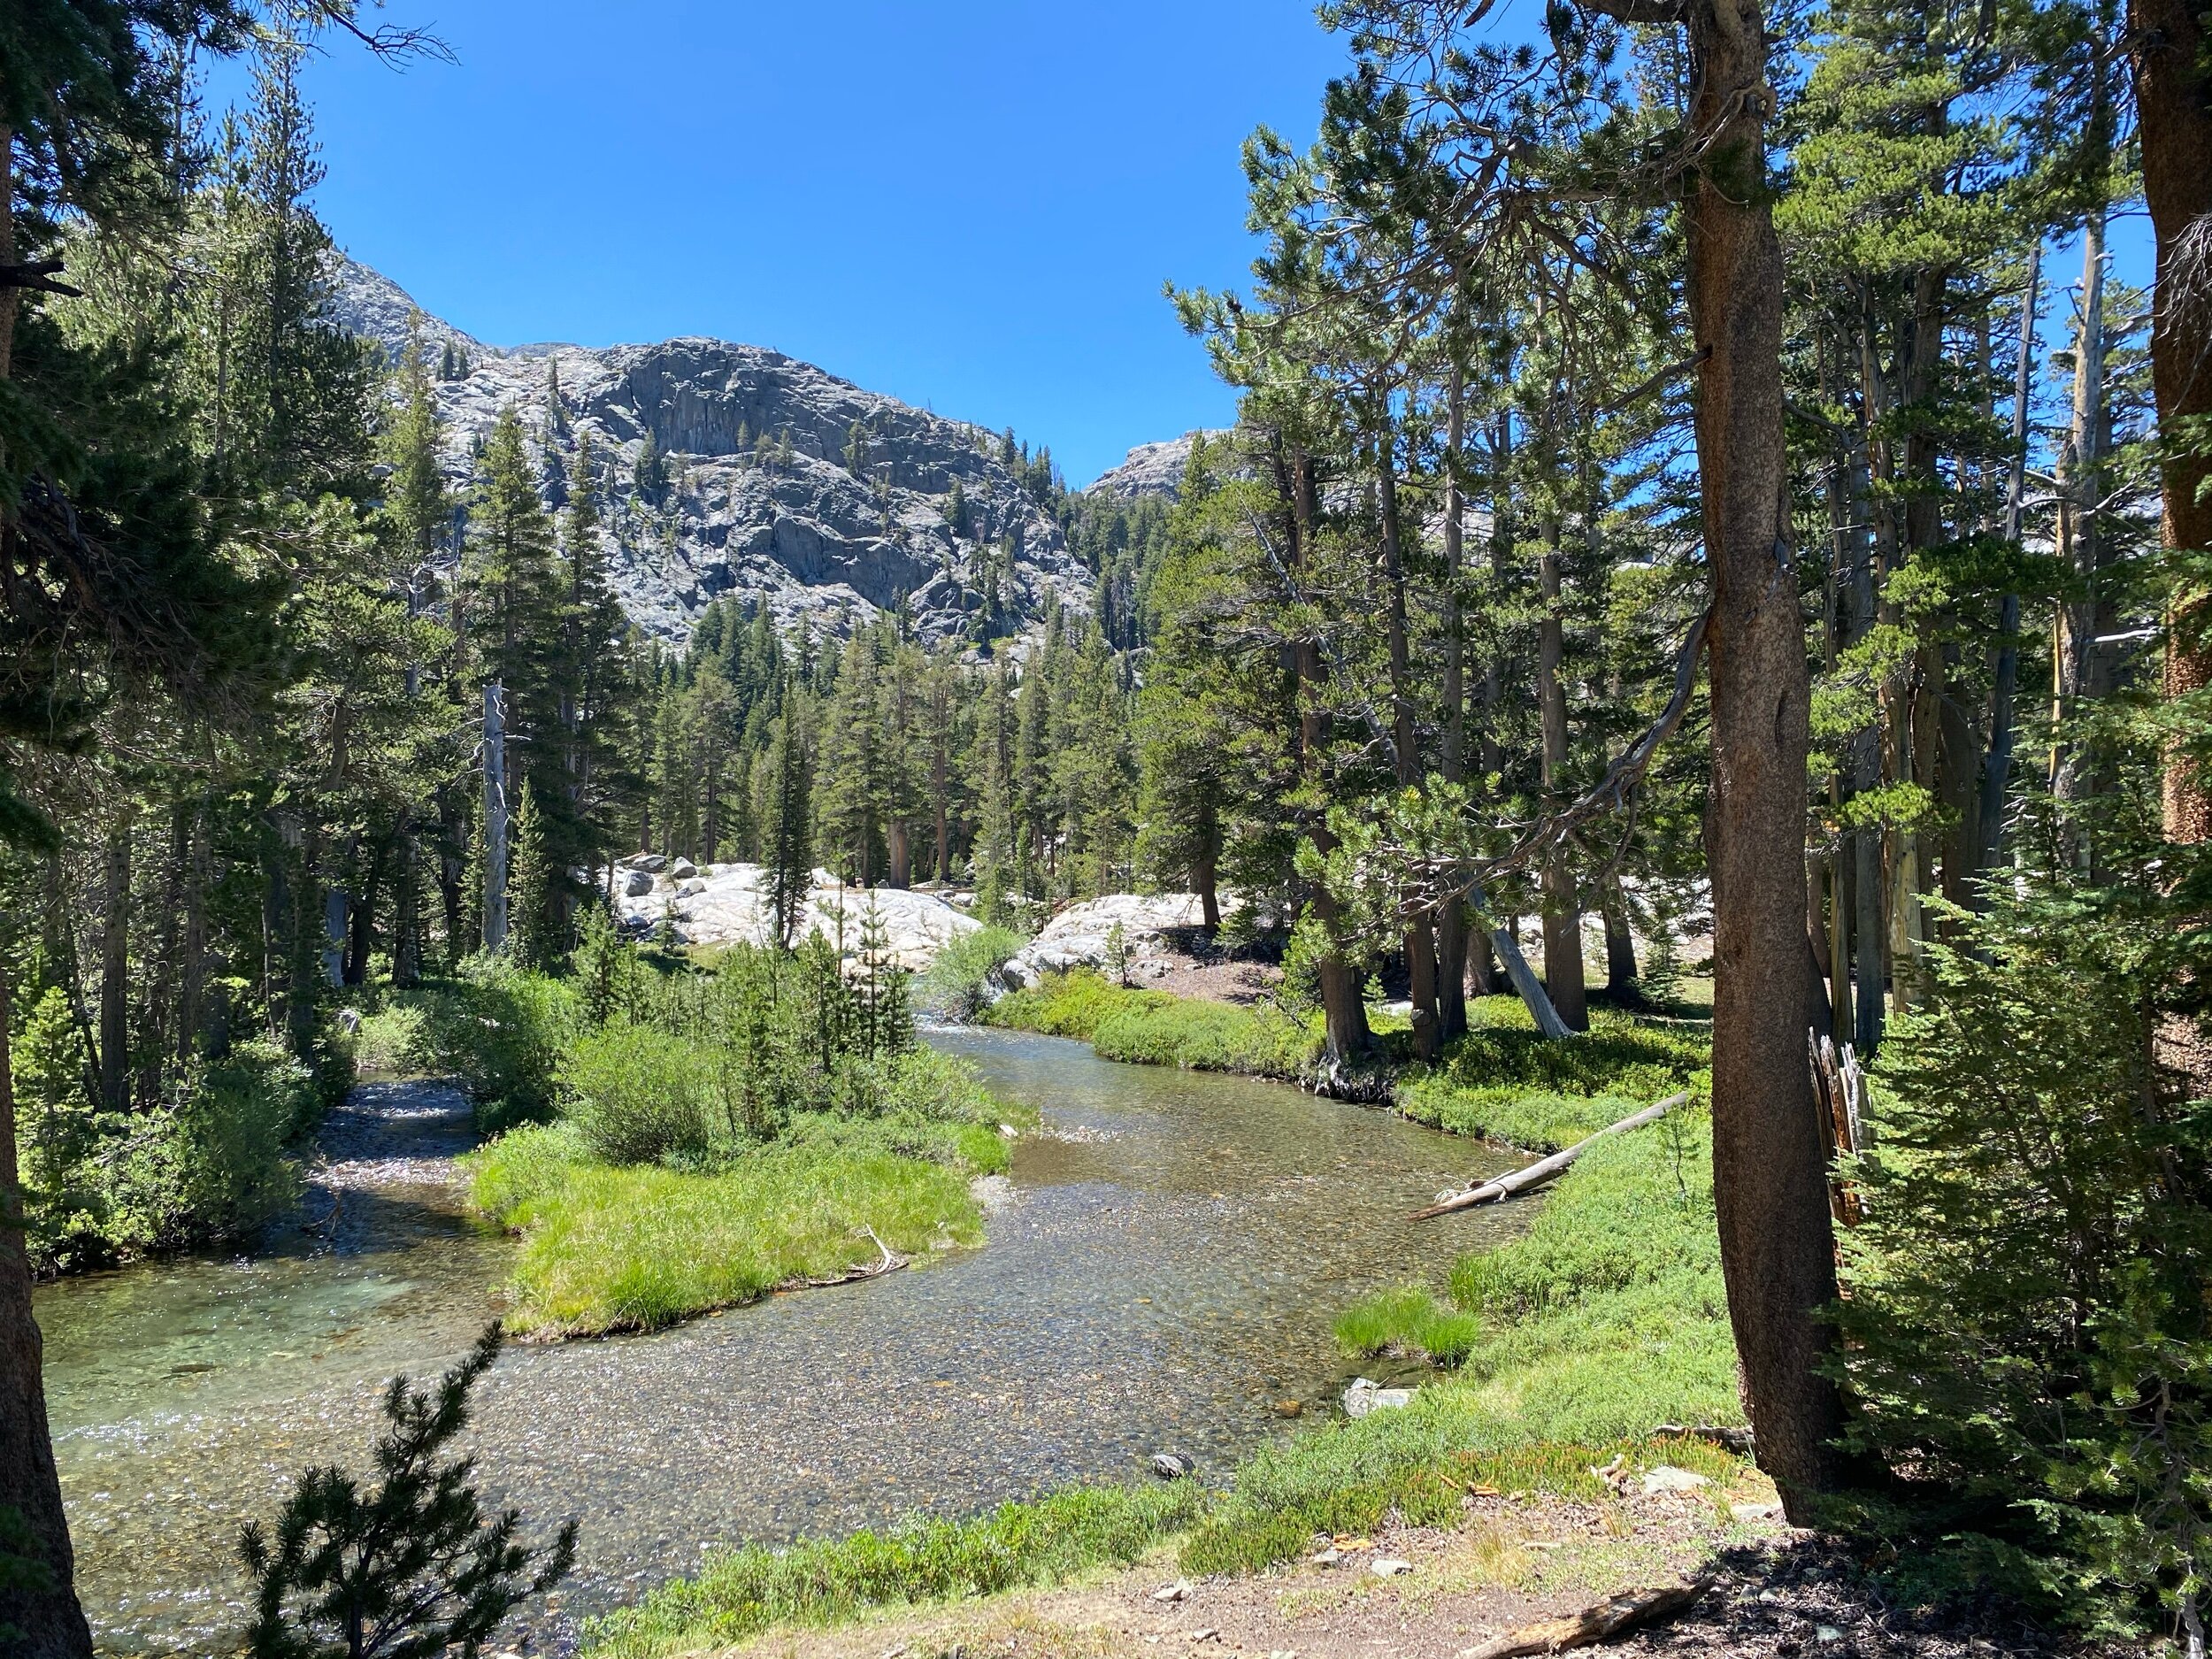
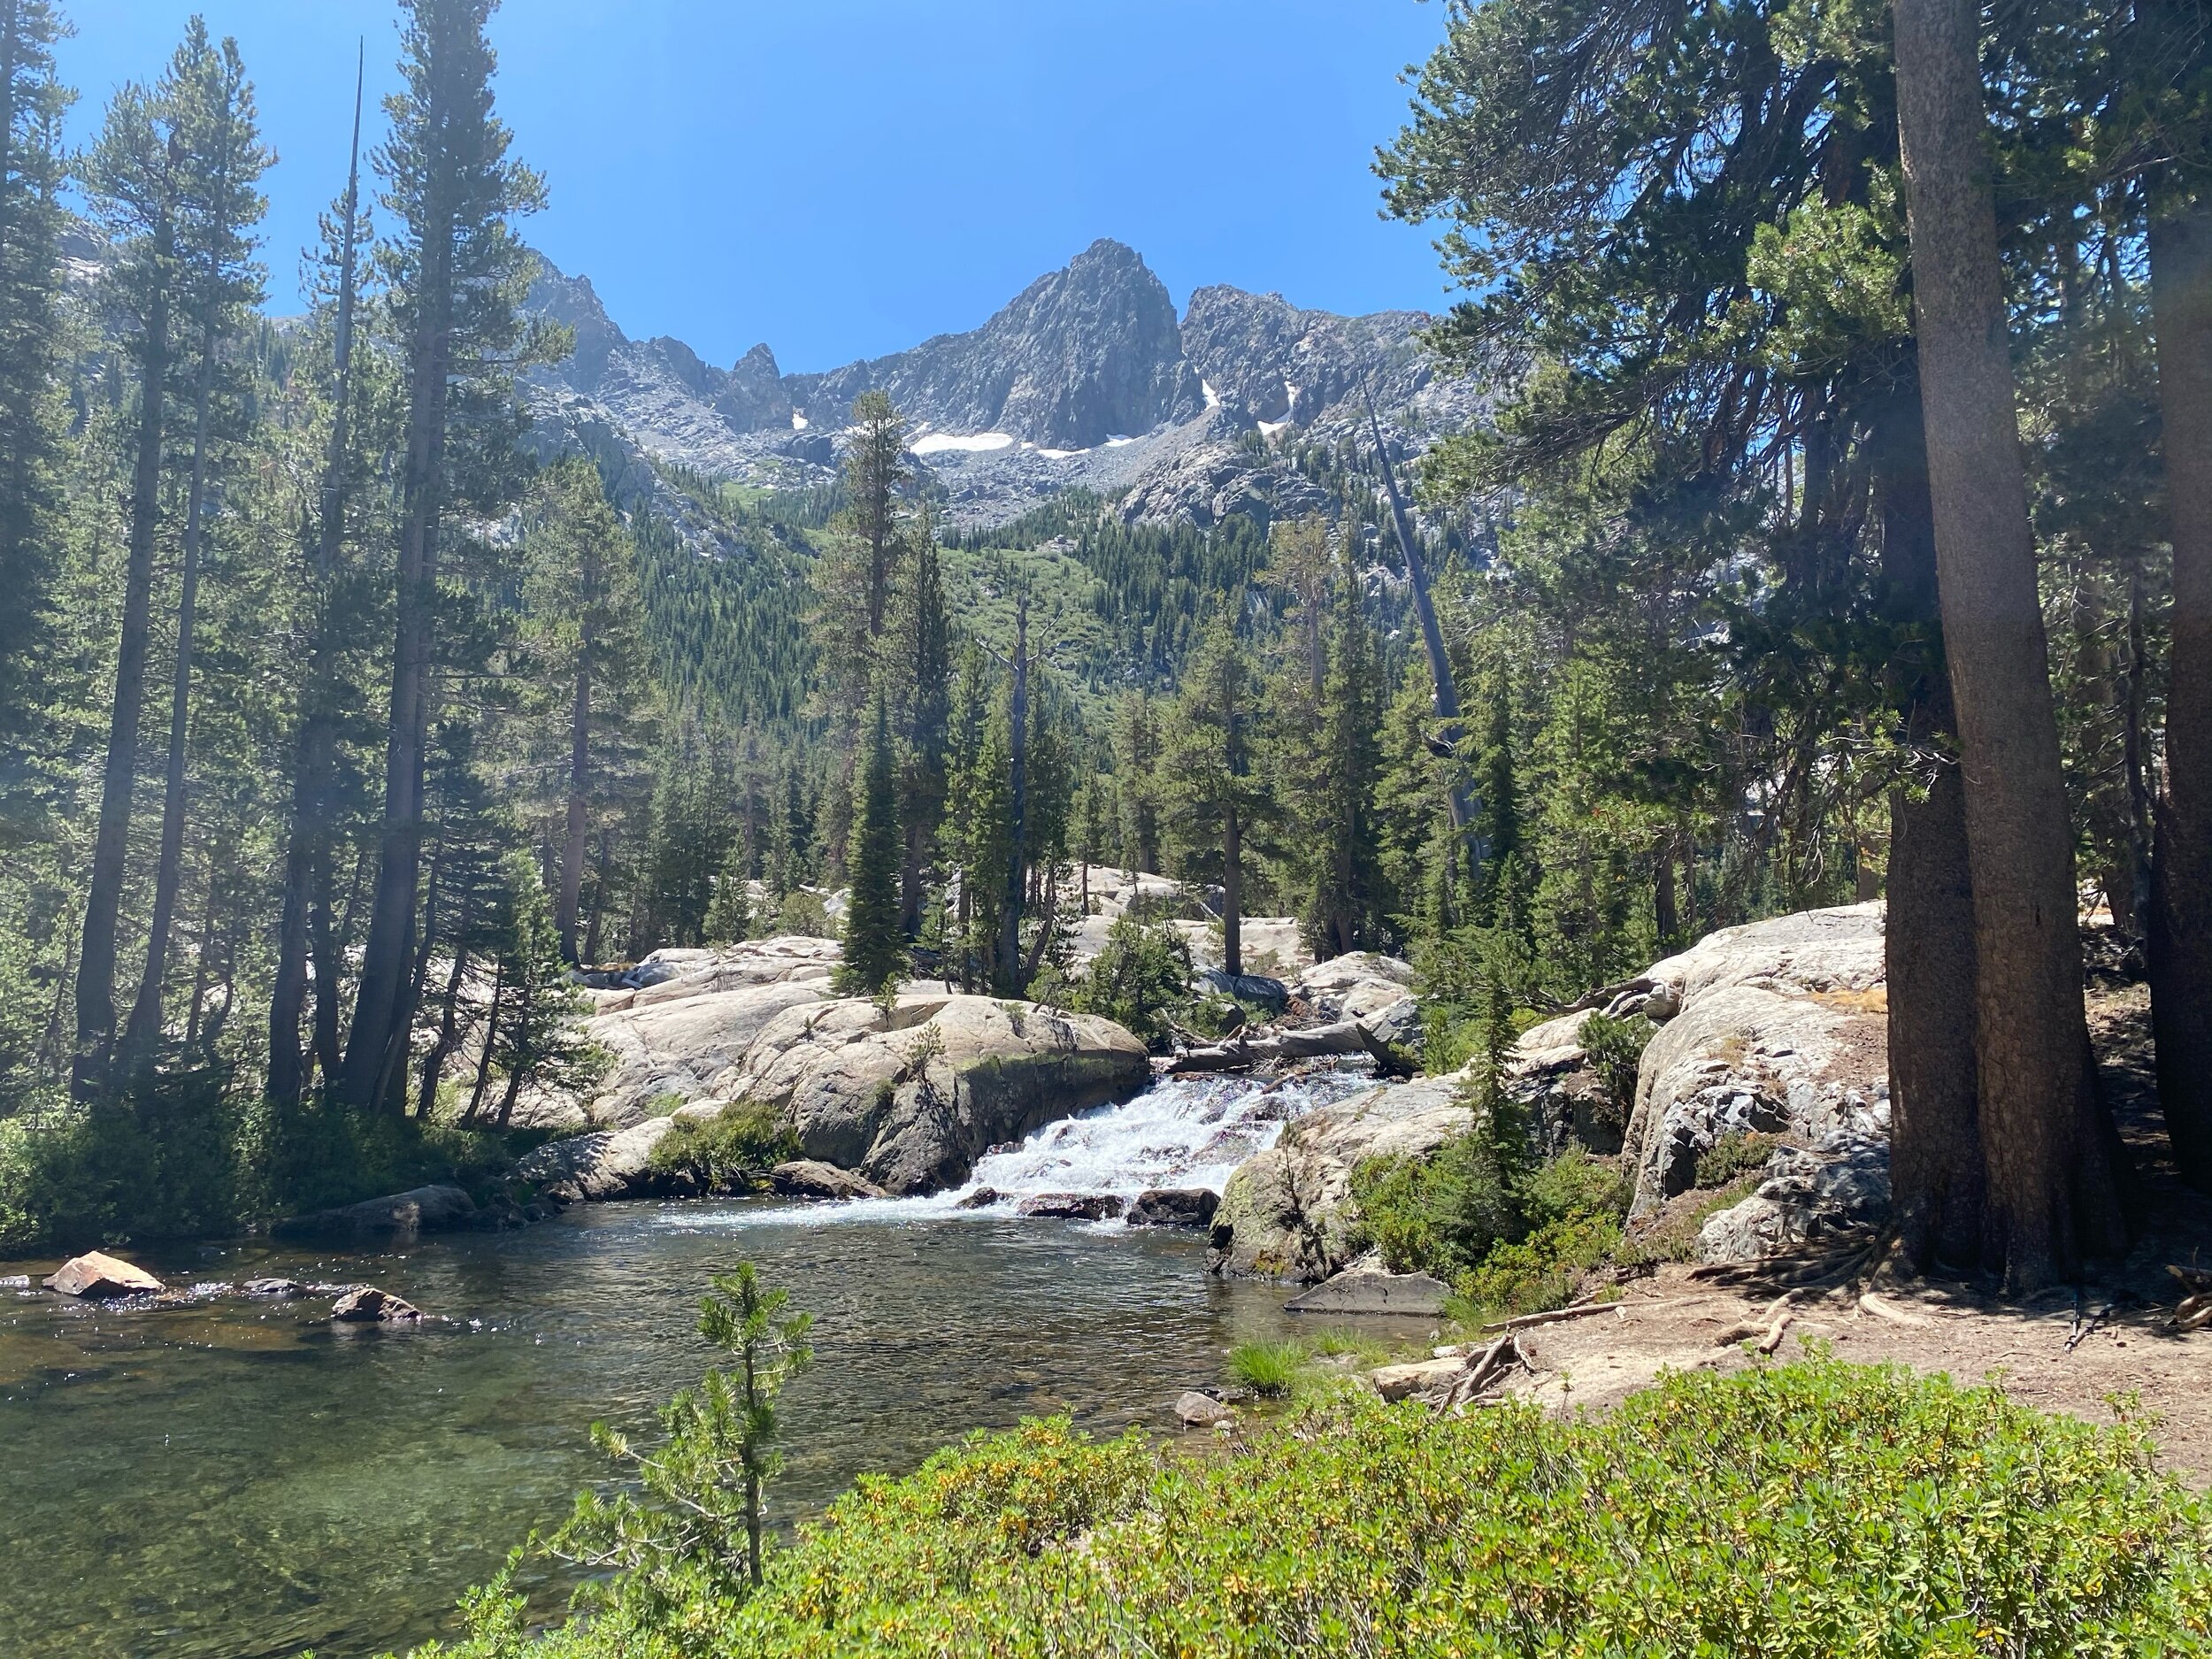
After taking in the views at Iceberg Lake, I continued down to find my backpack and retraced my footsteps from the day before. I stopped for lunch and a mid-day swim at one of the beautiful lakeside campsites on the San Joaquin River. After following the trail along the river, you’ll re-join the John Muir Trail North to head to Garnet Lake.
After re-joining the John Muir Trail, you’ll climb a series of shaded switchbacks to get over a 10,010 ft. pass just above Garnet Lake. There’s no water sources between the San Joaquin River and Garnet Lake, so make sure you fill up with enough water before heading over this pass.
After the pass, the trail descends 425 feet via a series of shaded switchbacks, offering stunning views of Garnet Lake the entire time.
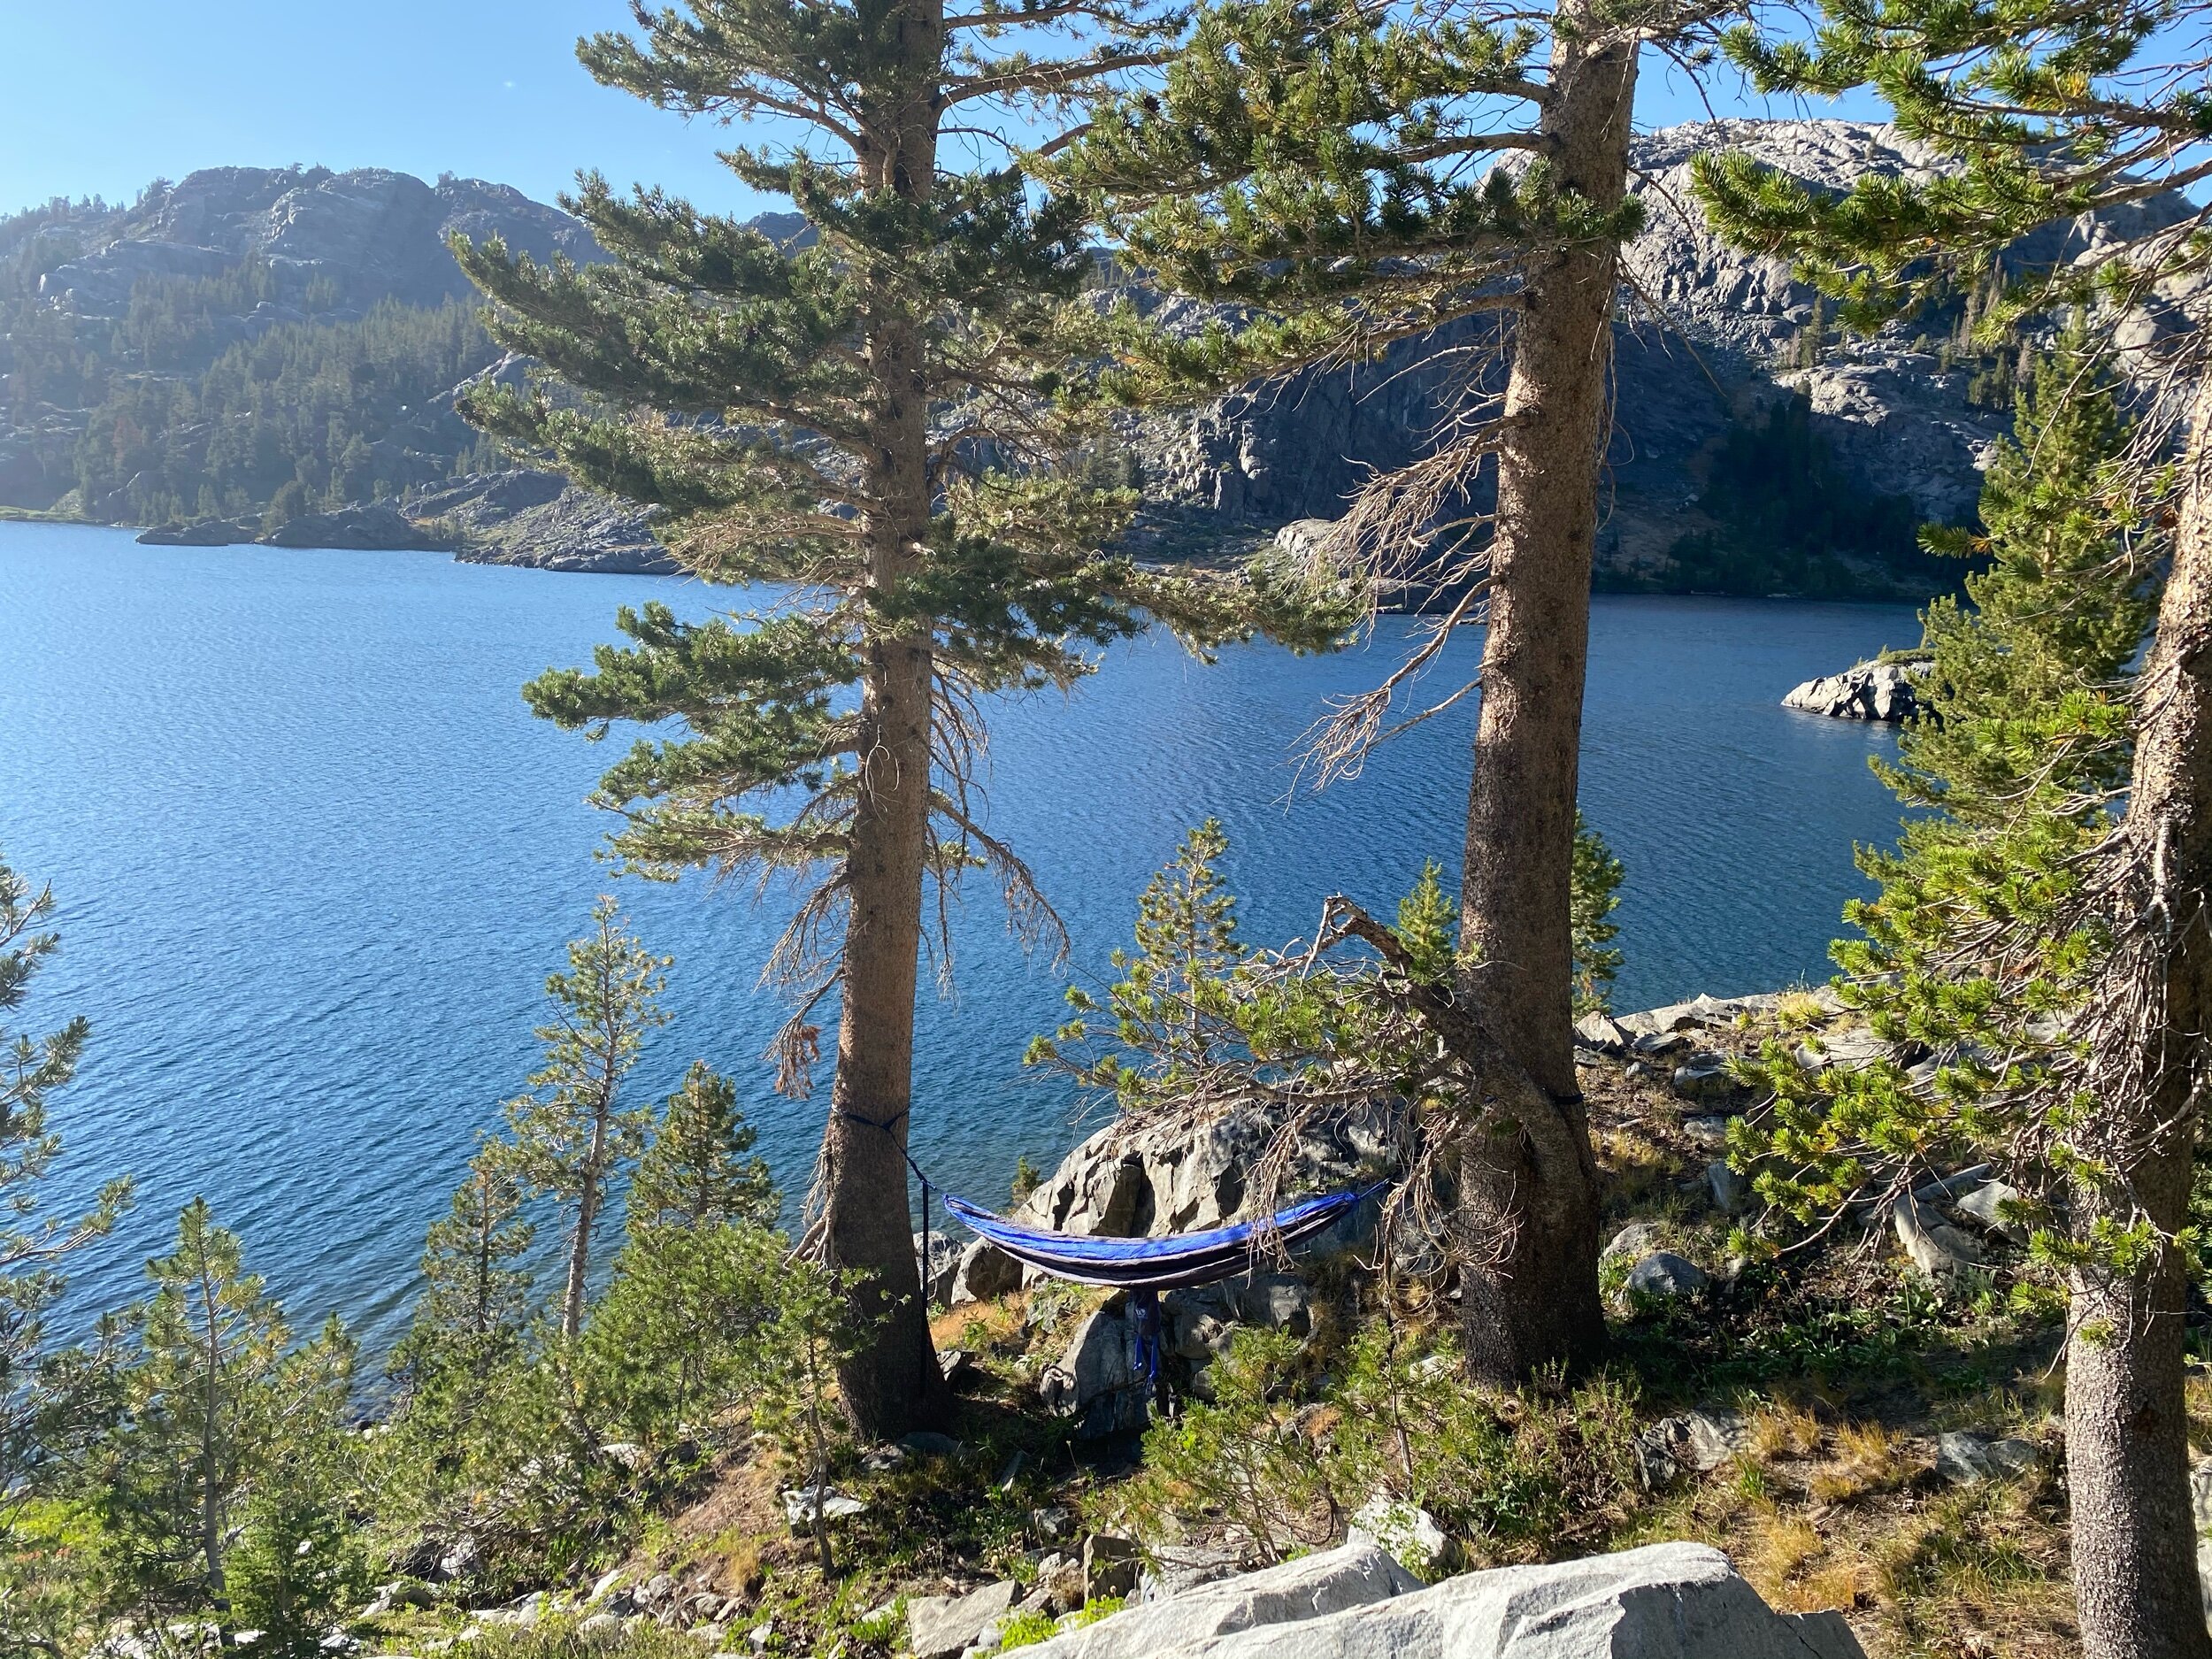
Camping at Garnet Lake: When looking for a campsite at Garnet Lake, please be mindful that there are camping restrictions prohibiting camping within ¼ mile of the outlet of the lake. As you are descending from the ‘pass’ above Garnet, you’ll begin to see campsites to your left. If you walk all the way to the outlet of the lake (before the bridge), you will find a use-trail along the side of the lake. If you follow this use-trail, you’ll see several lakeside campsites with stunning views, tree cover, and access to private beaches. If you choose to camp on the other side of the outlet (there is a footbridge), you’ll find a selection of campsites to your left before you start gaining elevation.
Day 3: Garnet Lake to Thousand Island Lake
via the John Muir Trail
Miles: 3 miles
Elevation gain: 500 ft.
Water sources: plenty of water sources
Garnet Lake, Ruby Lake, Emerald Lake (must be walked down to), Thousand Island Lake
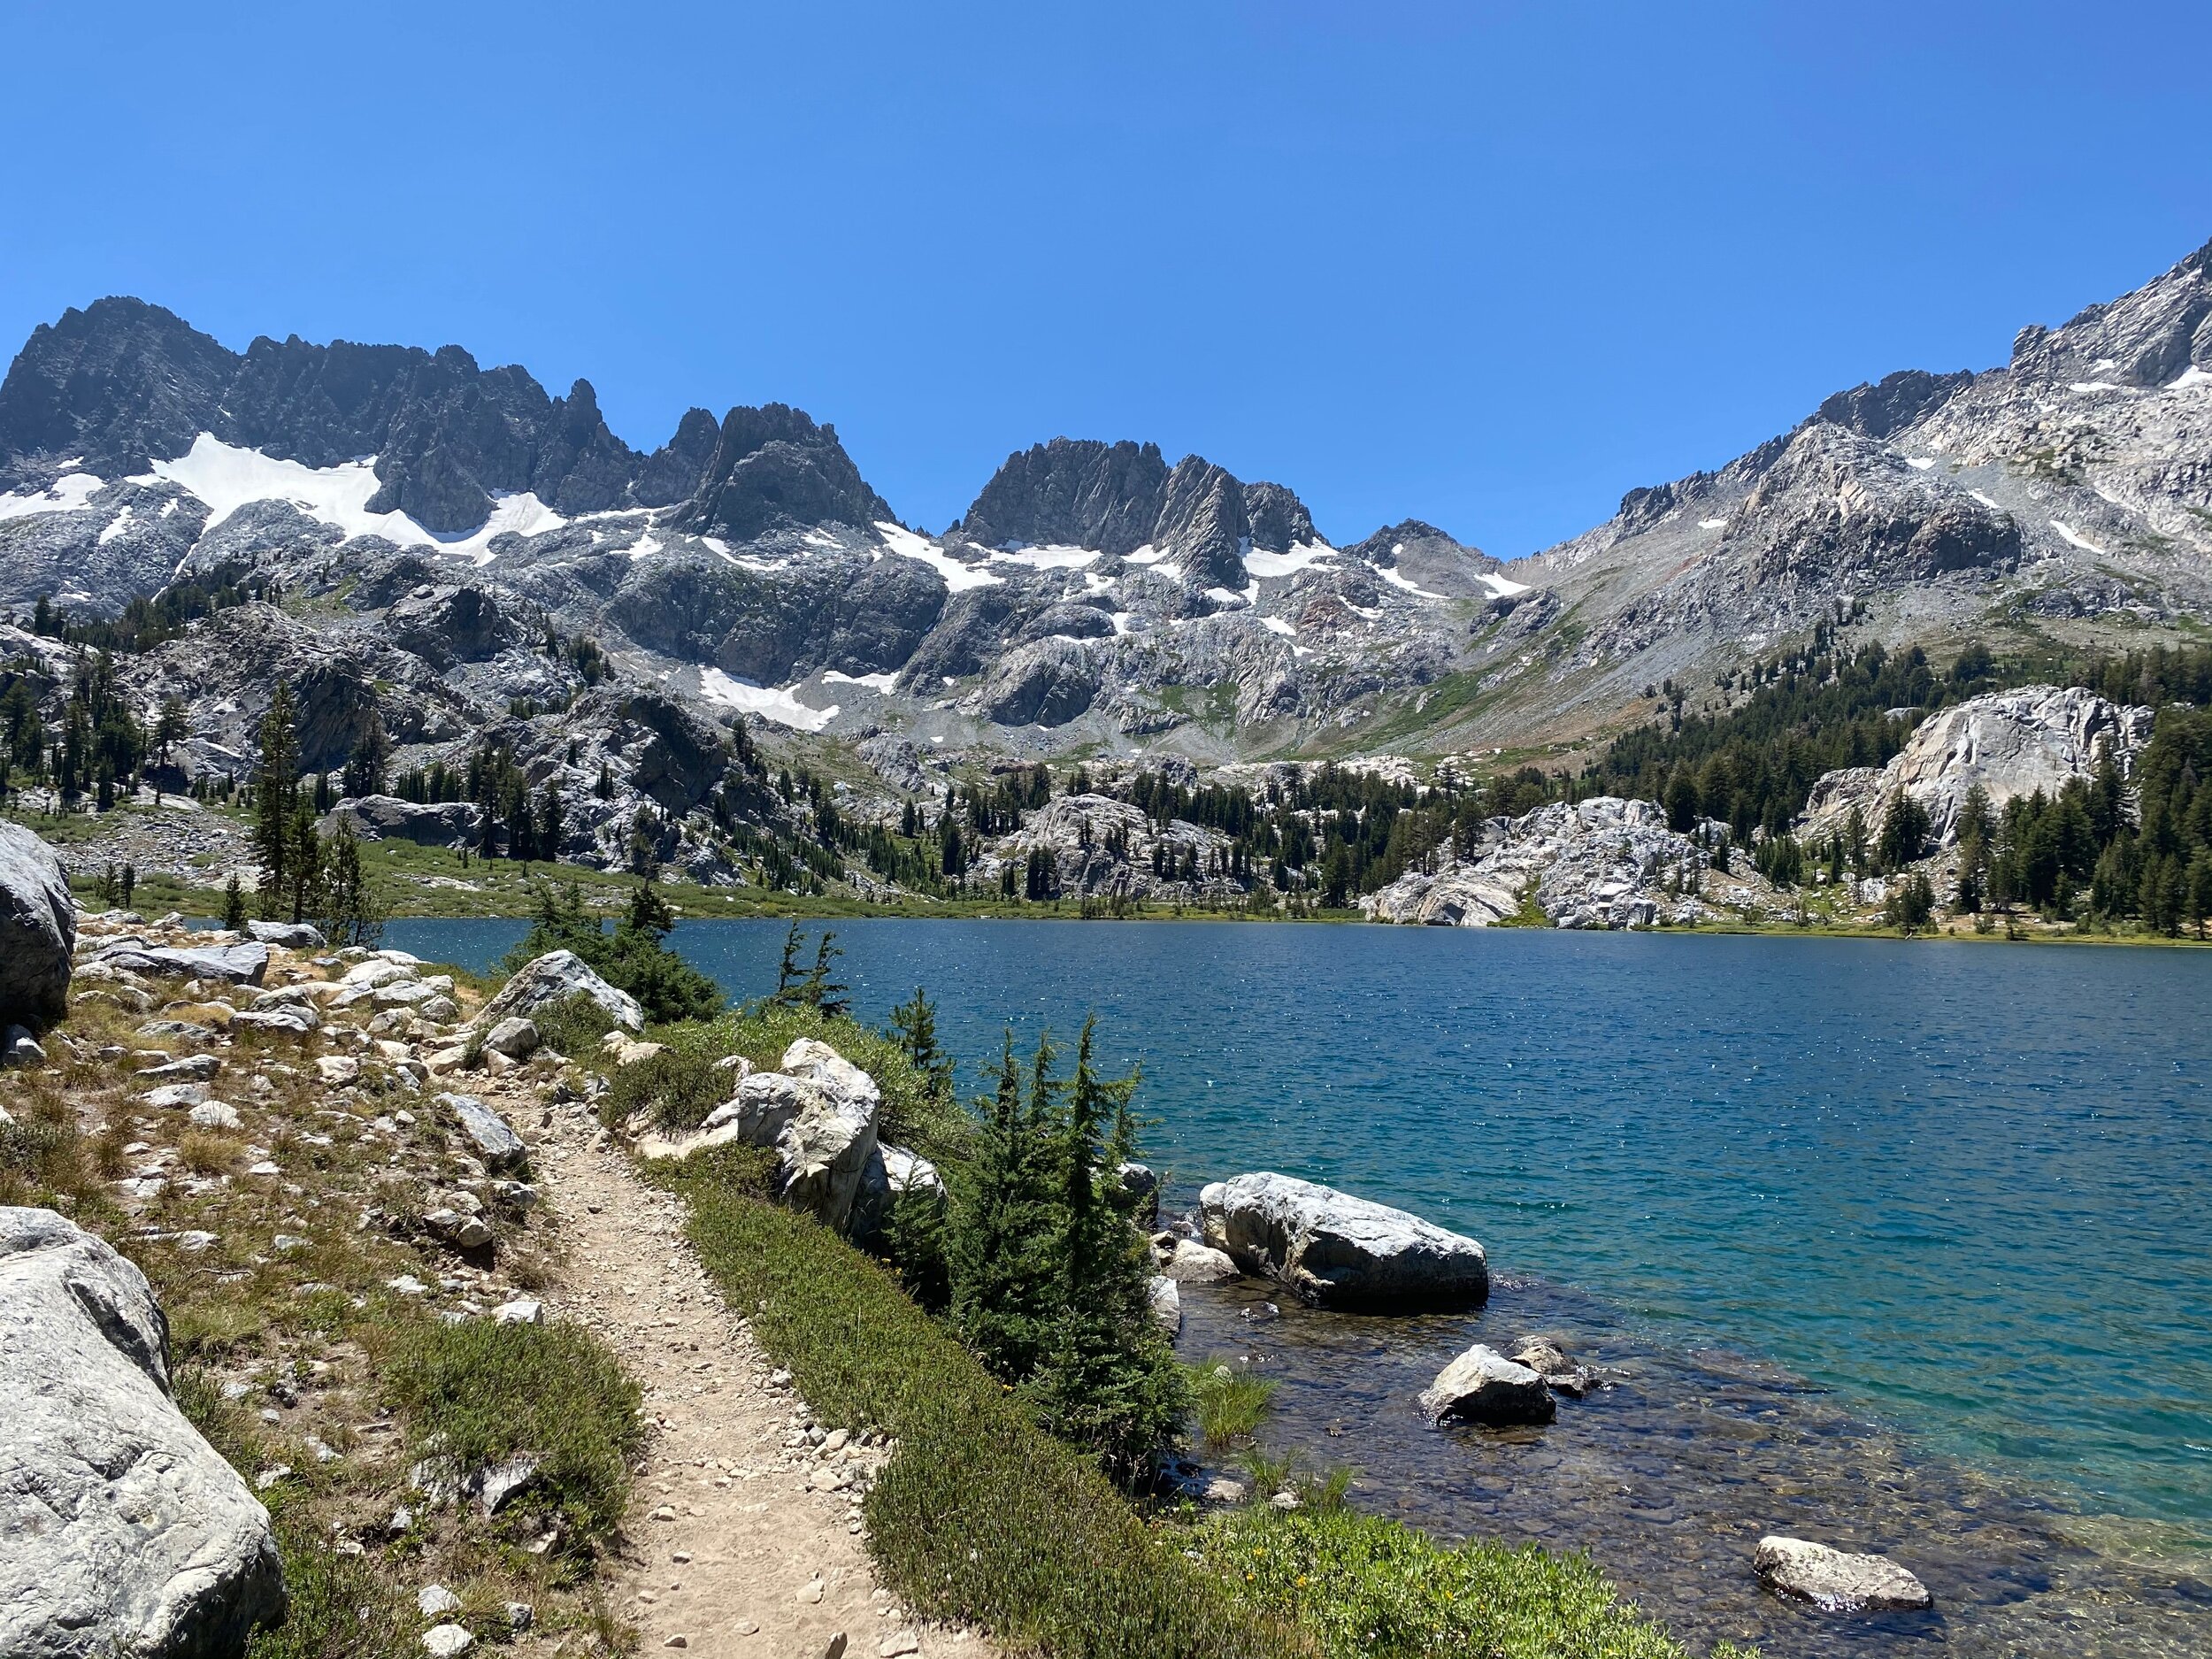
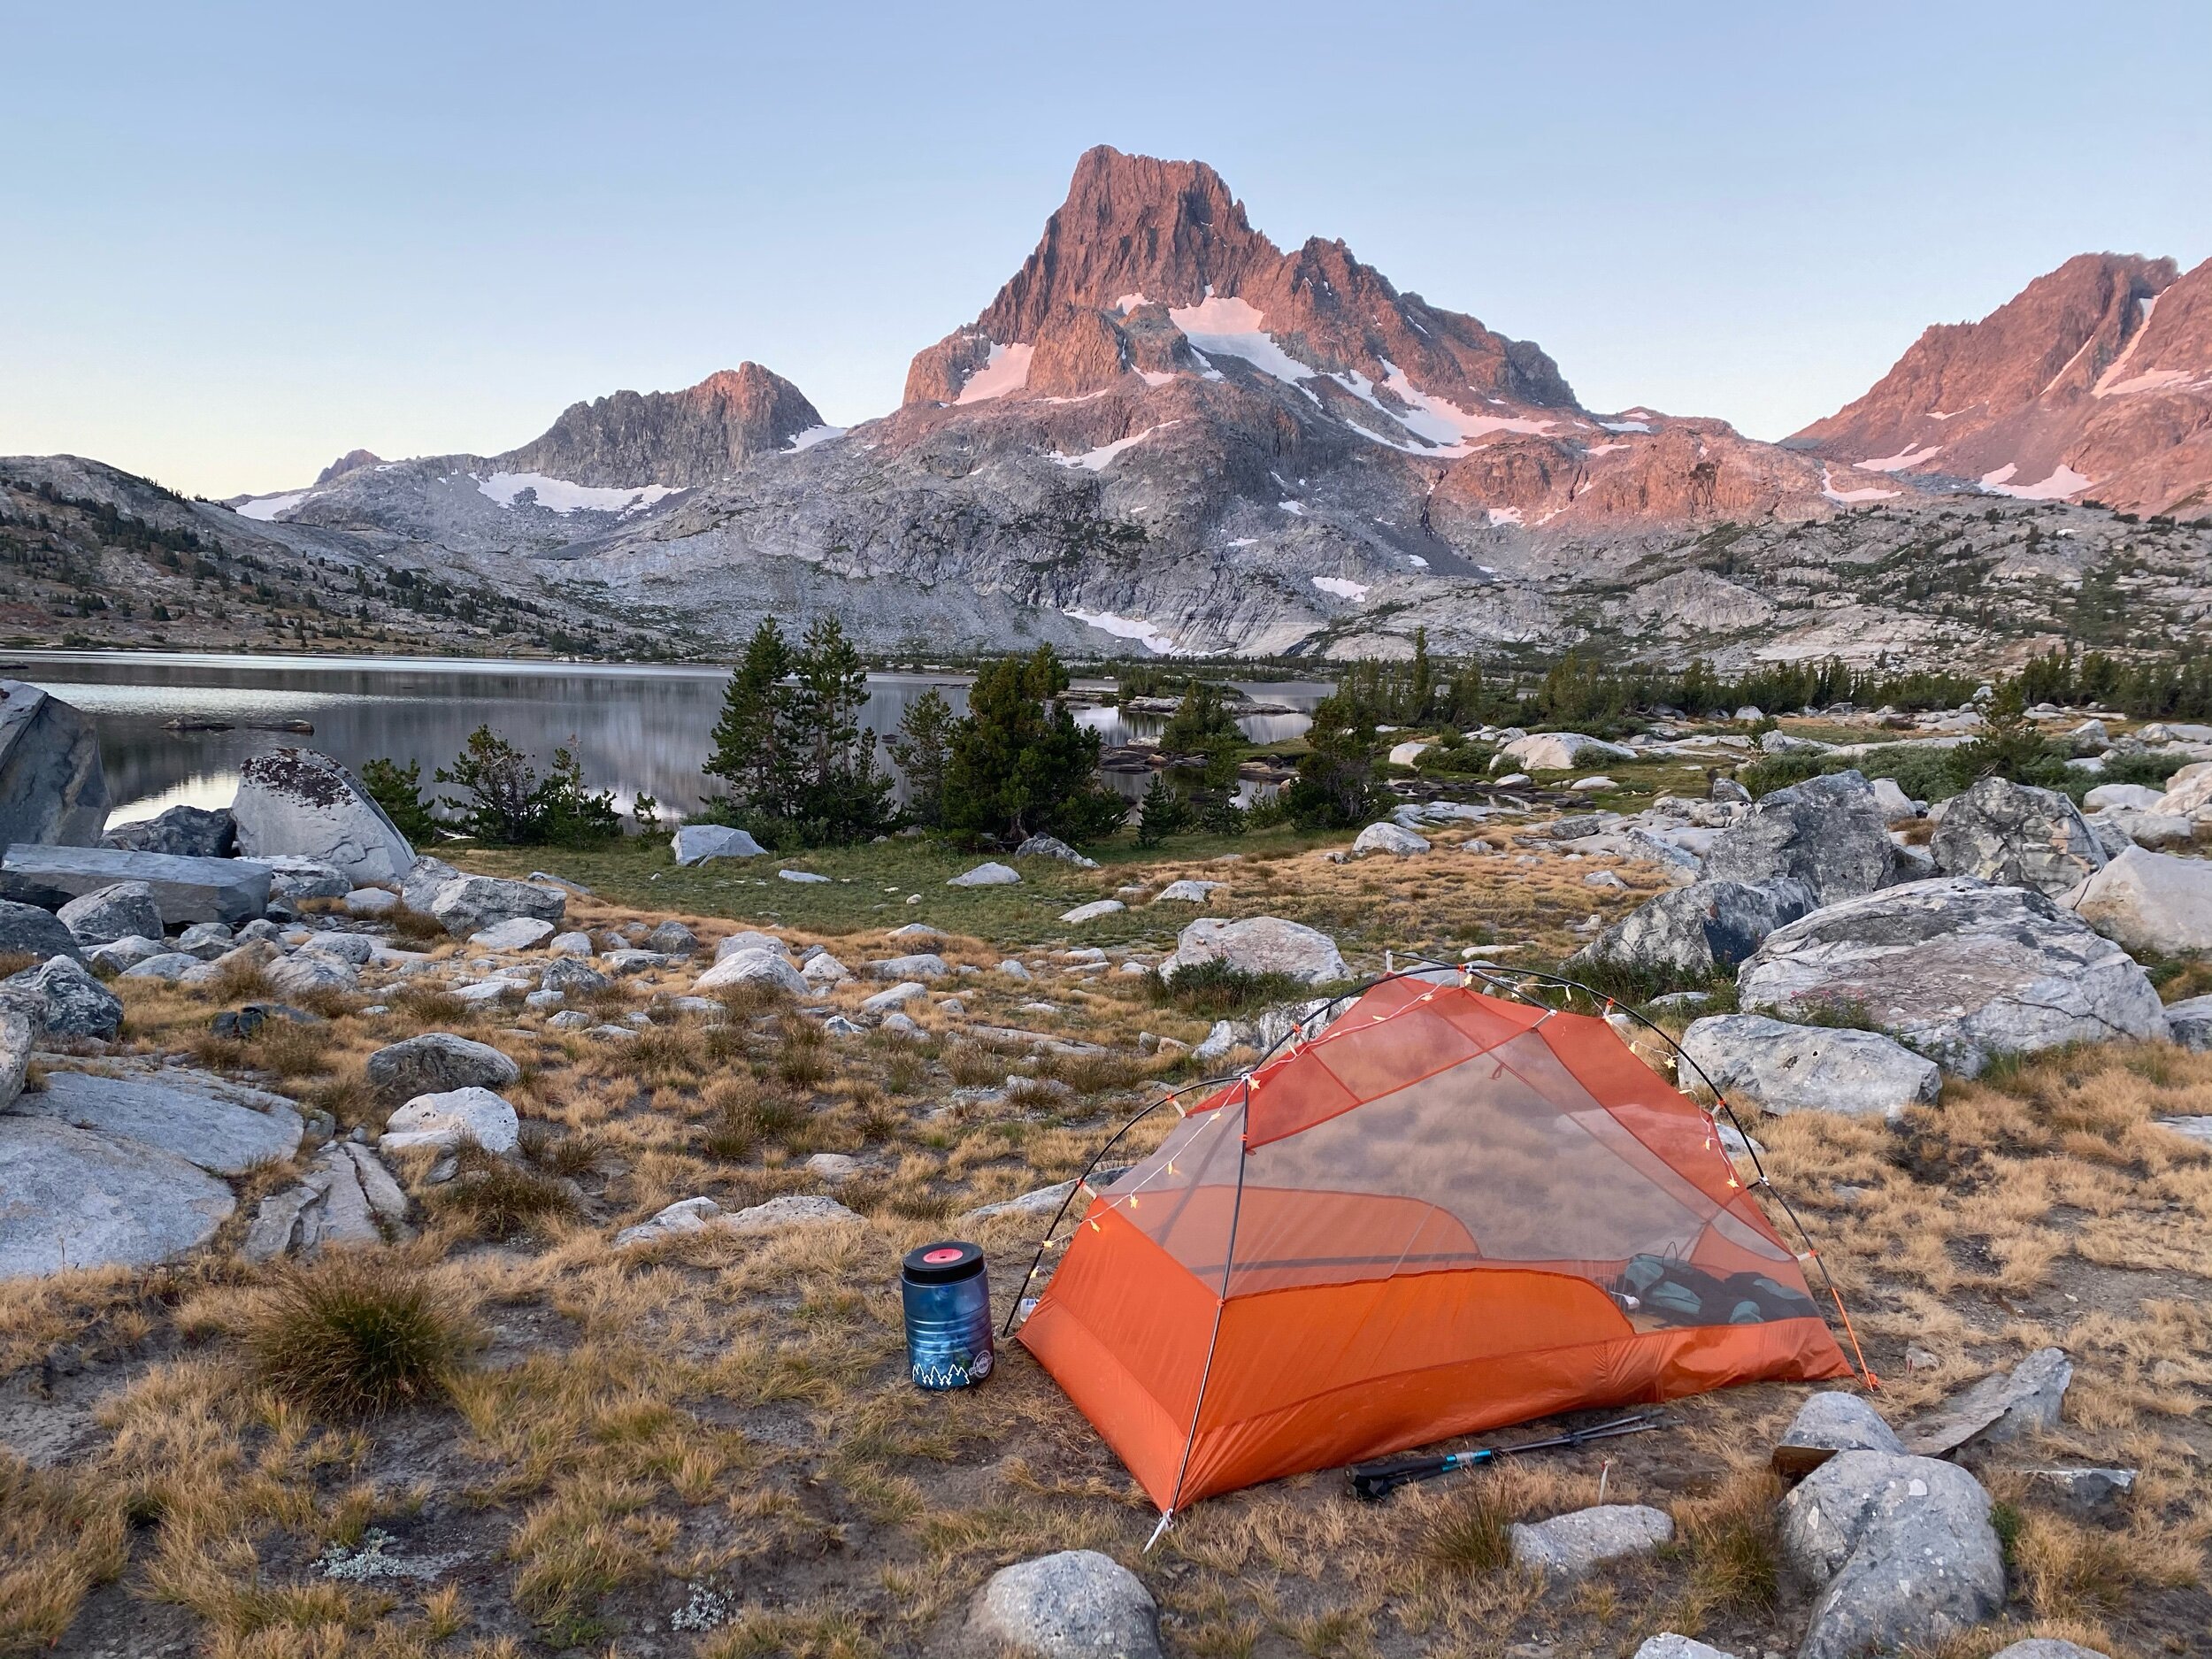
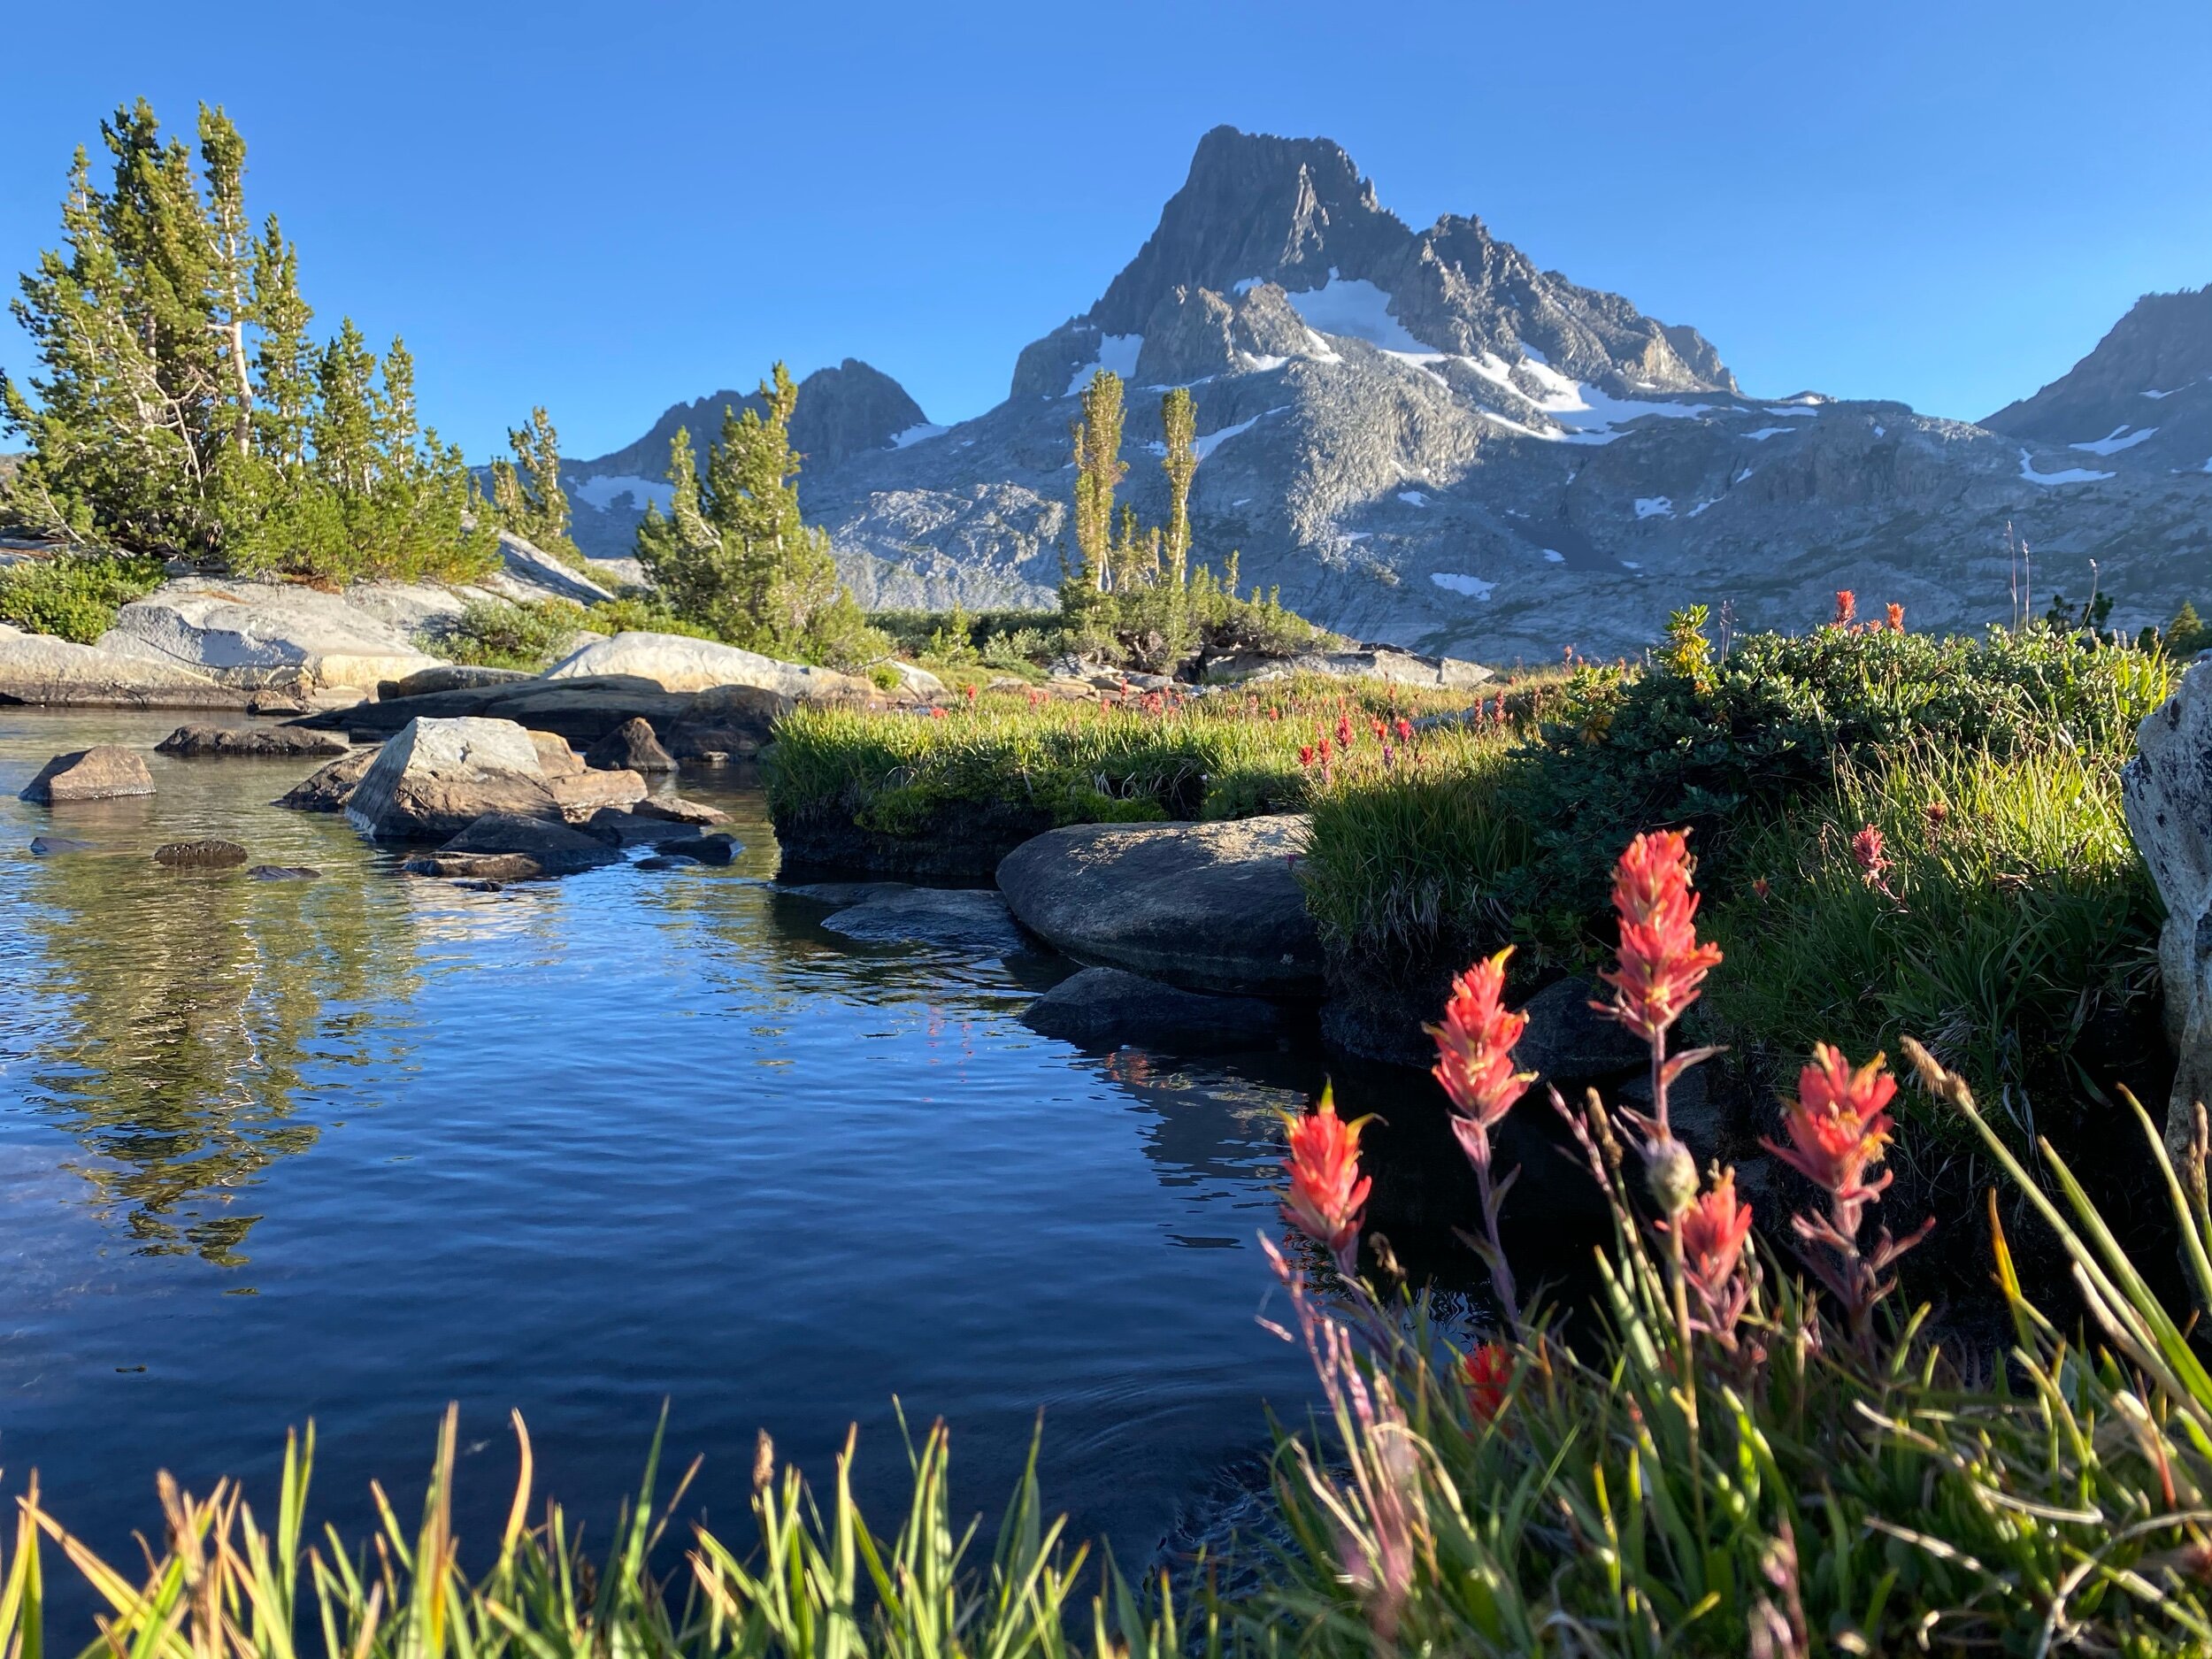
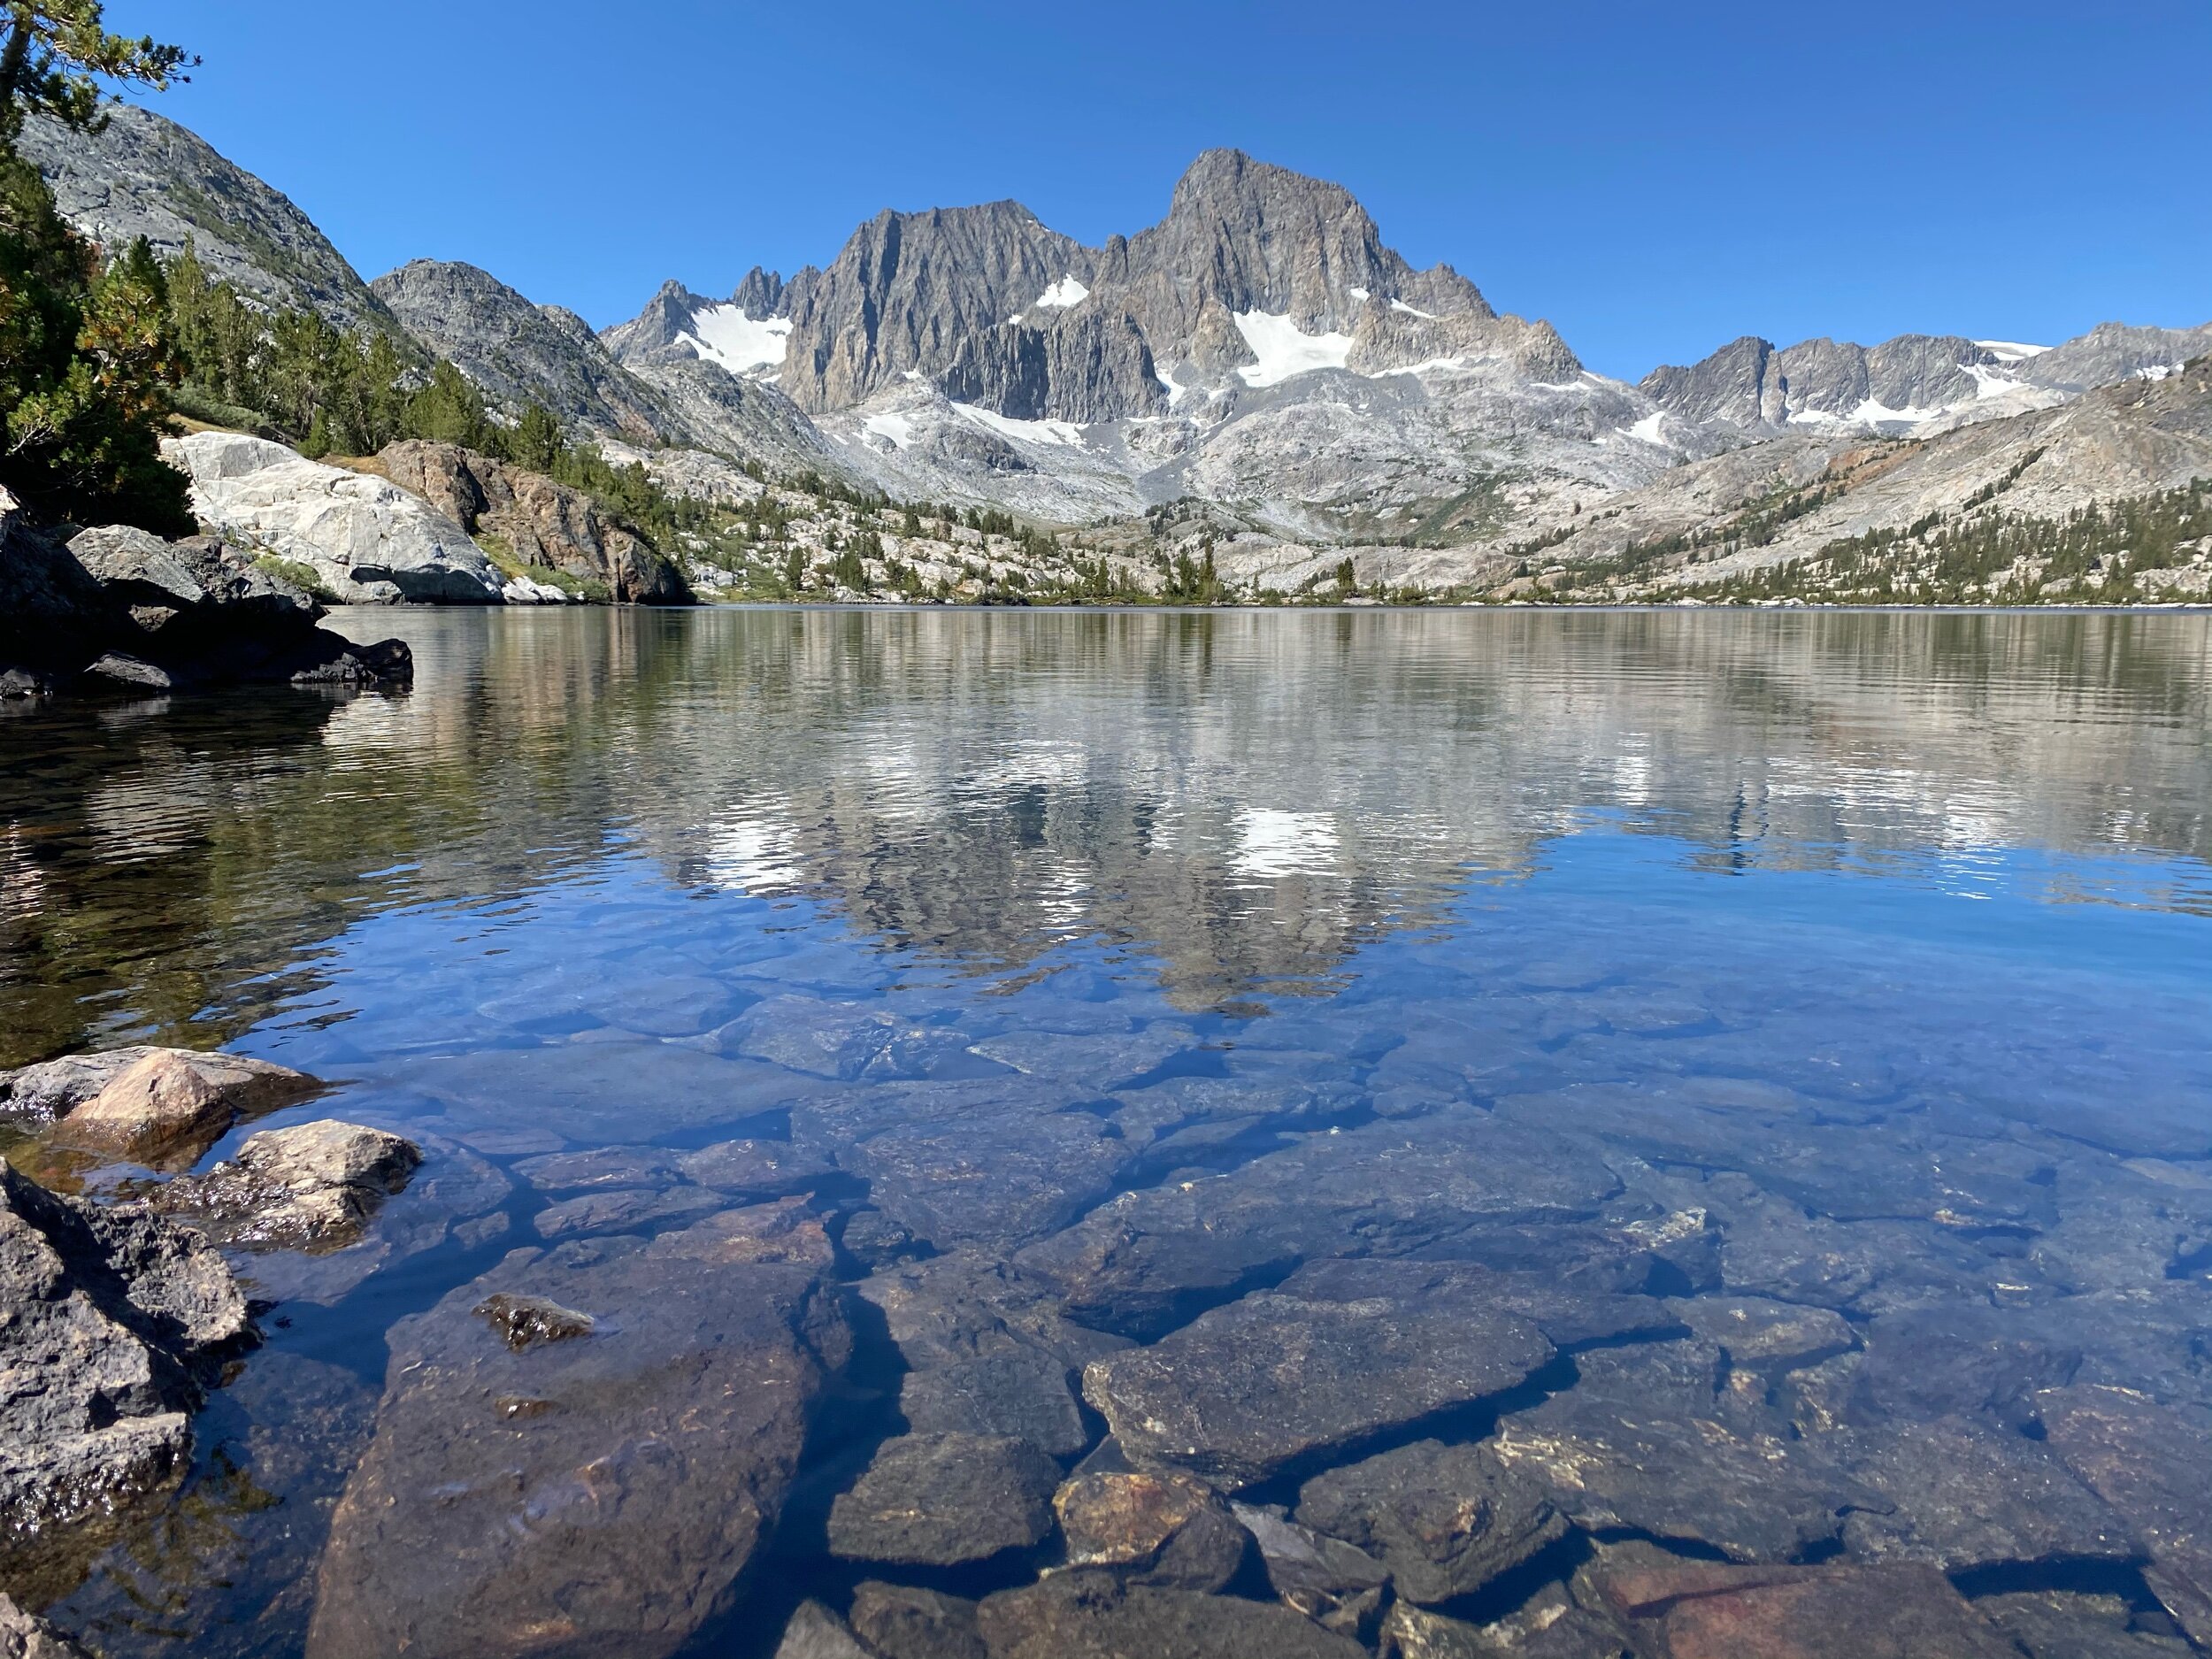
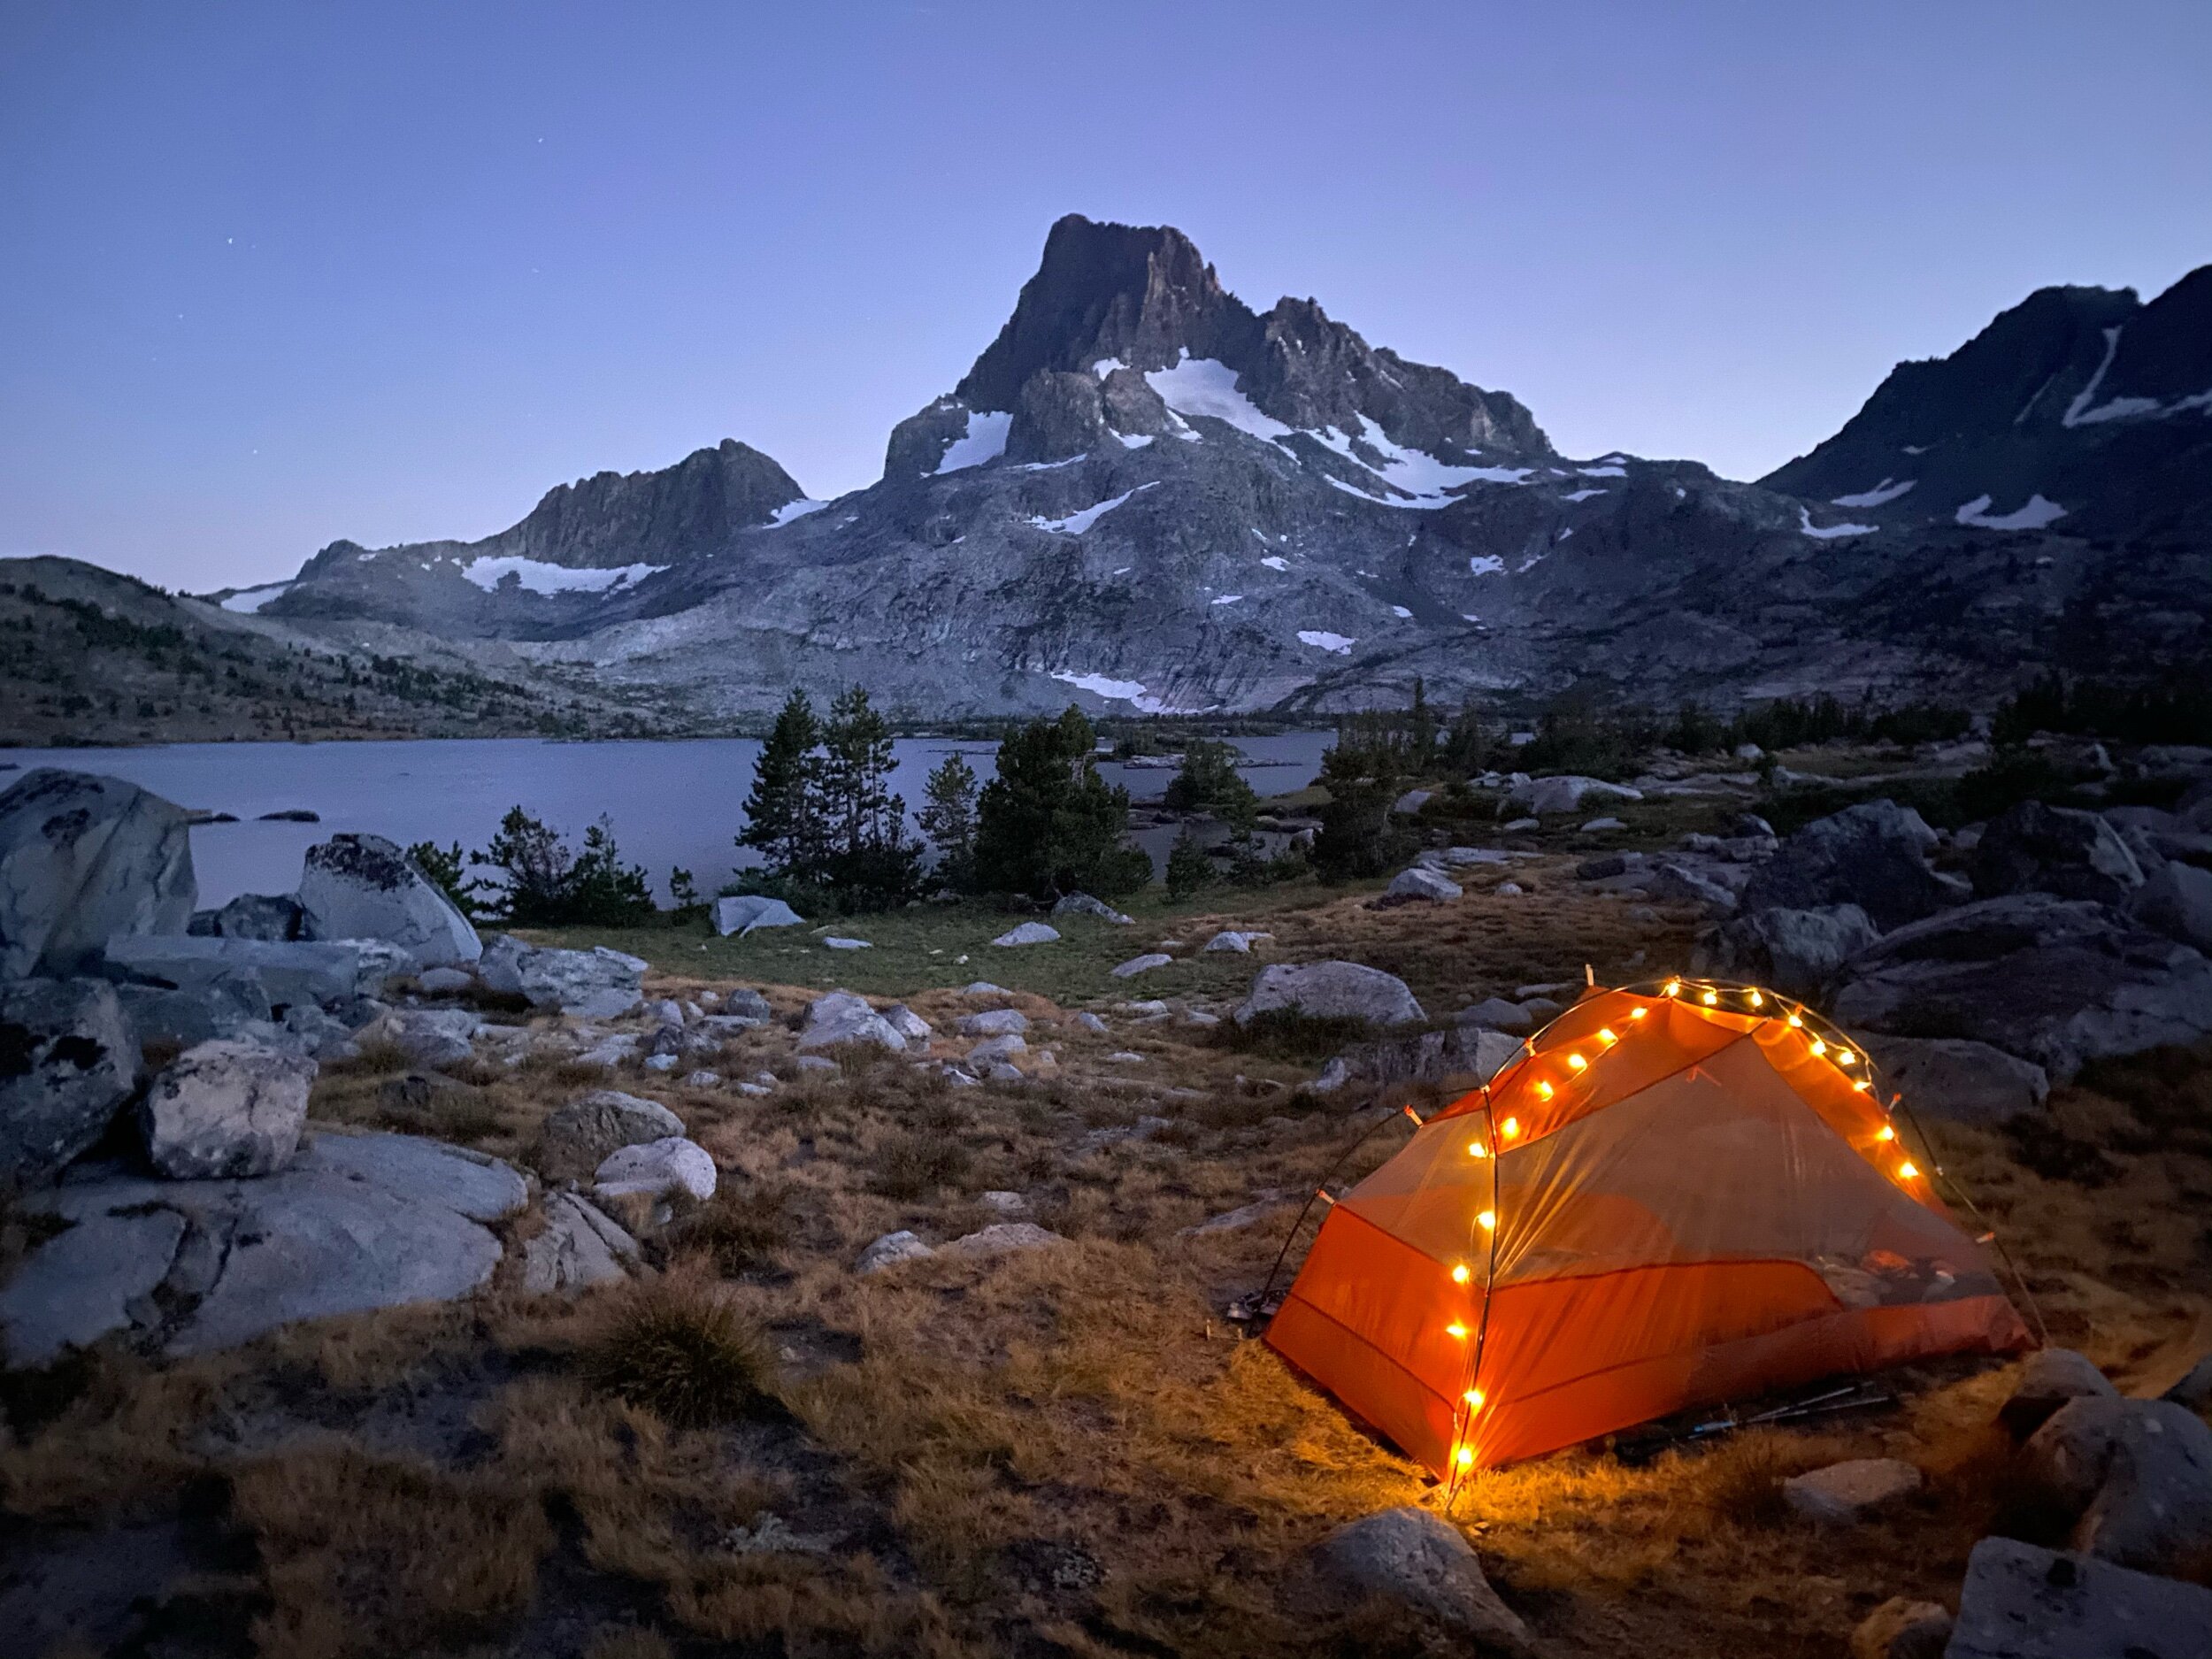
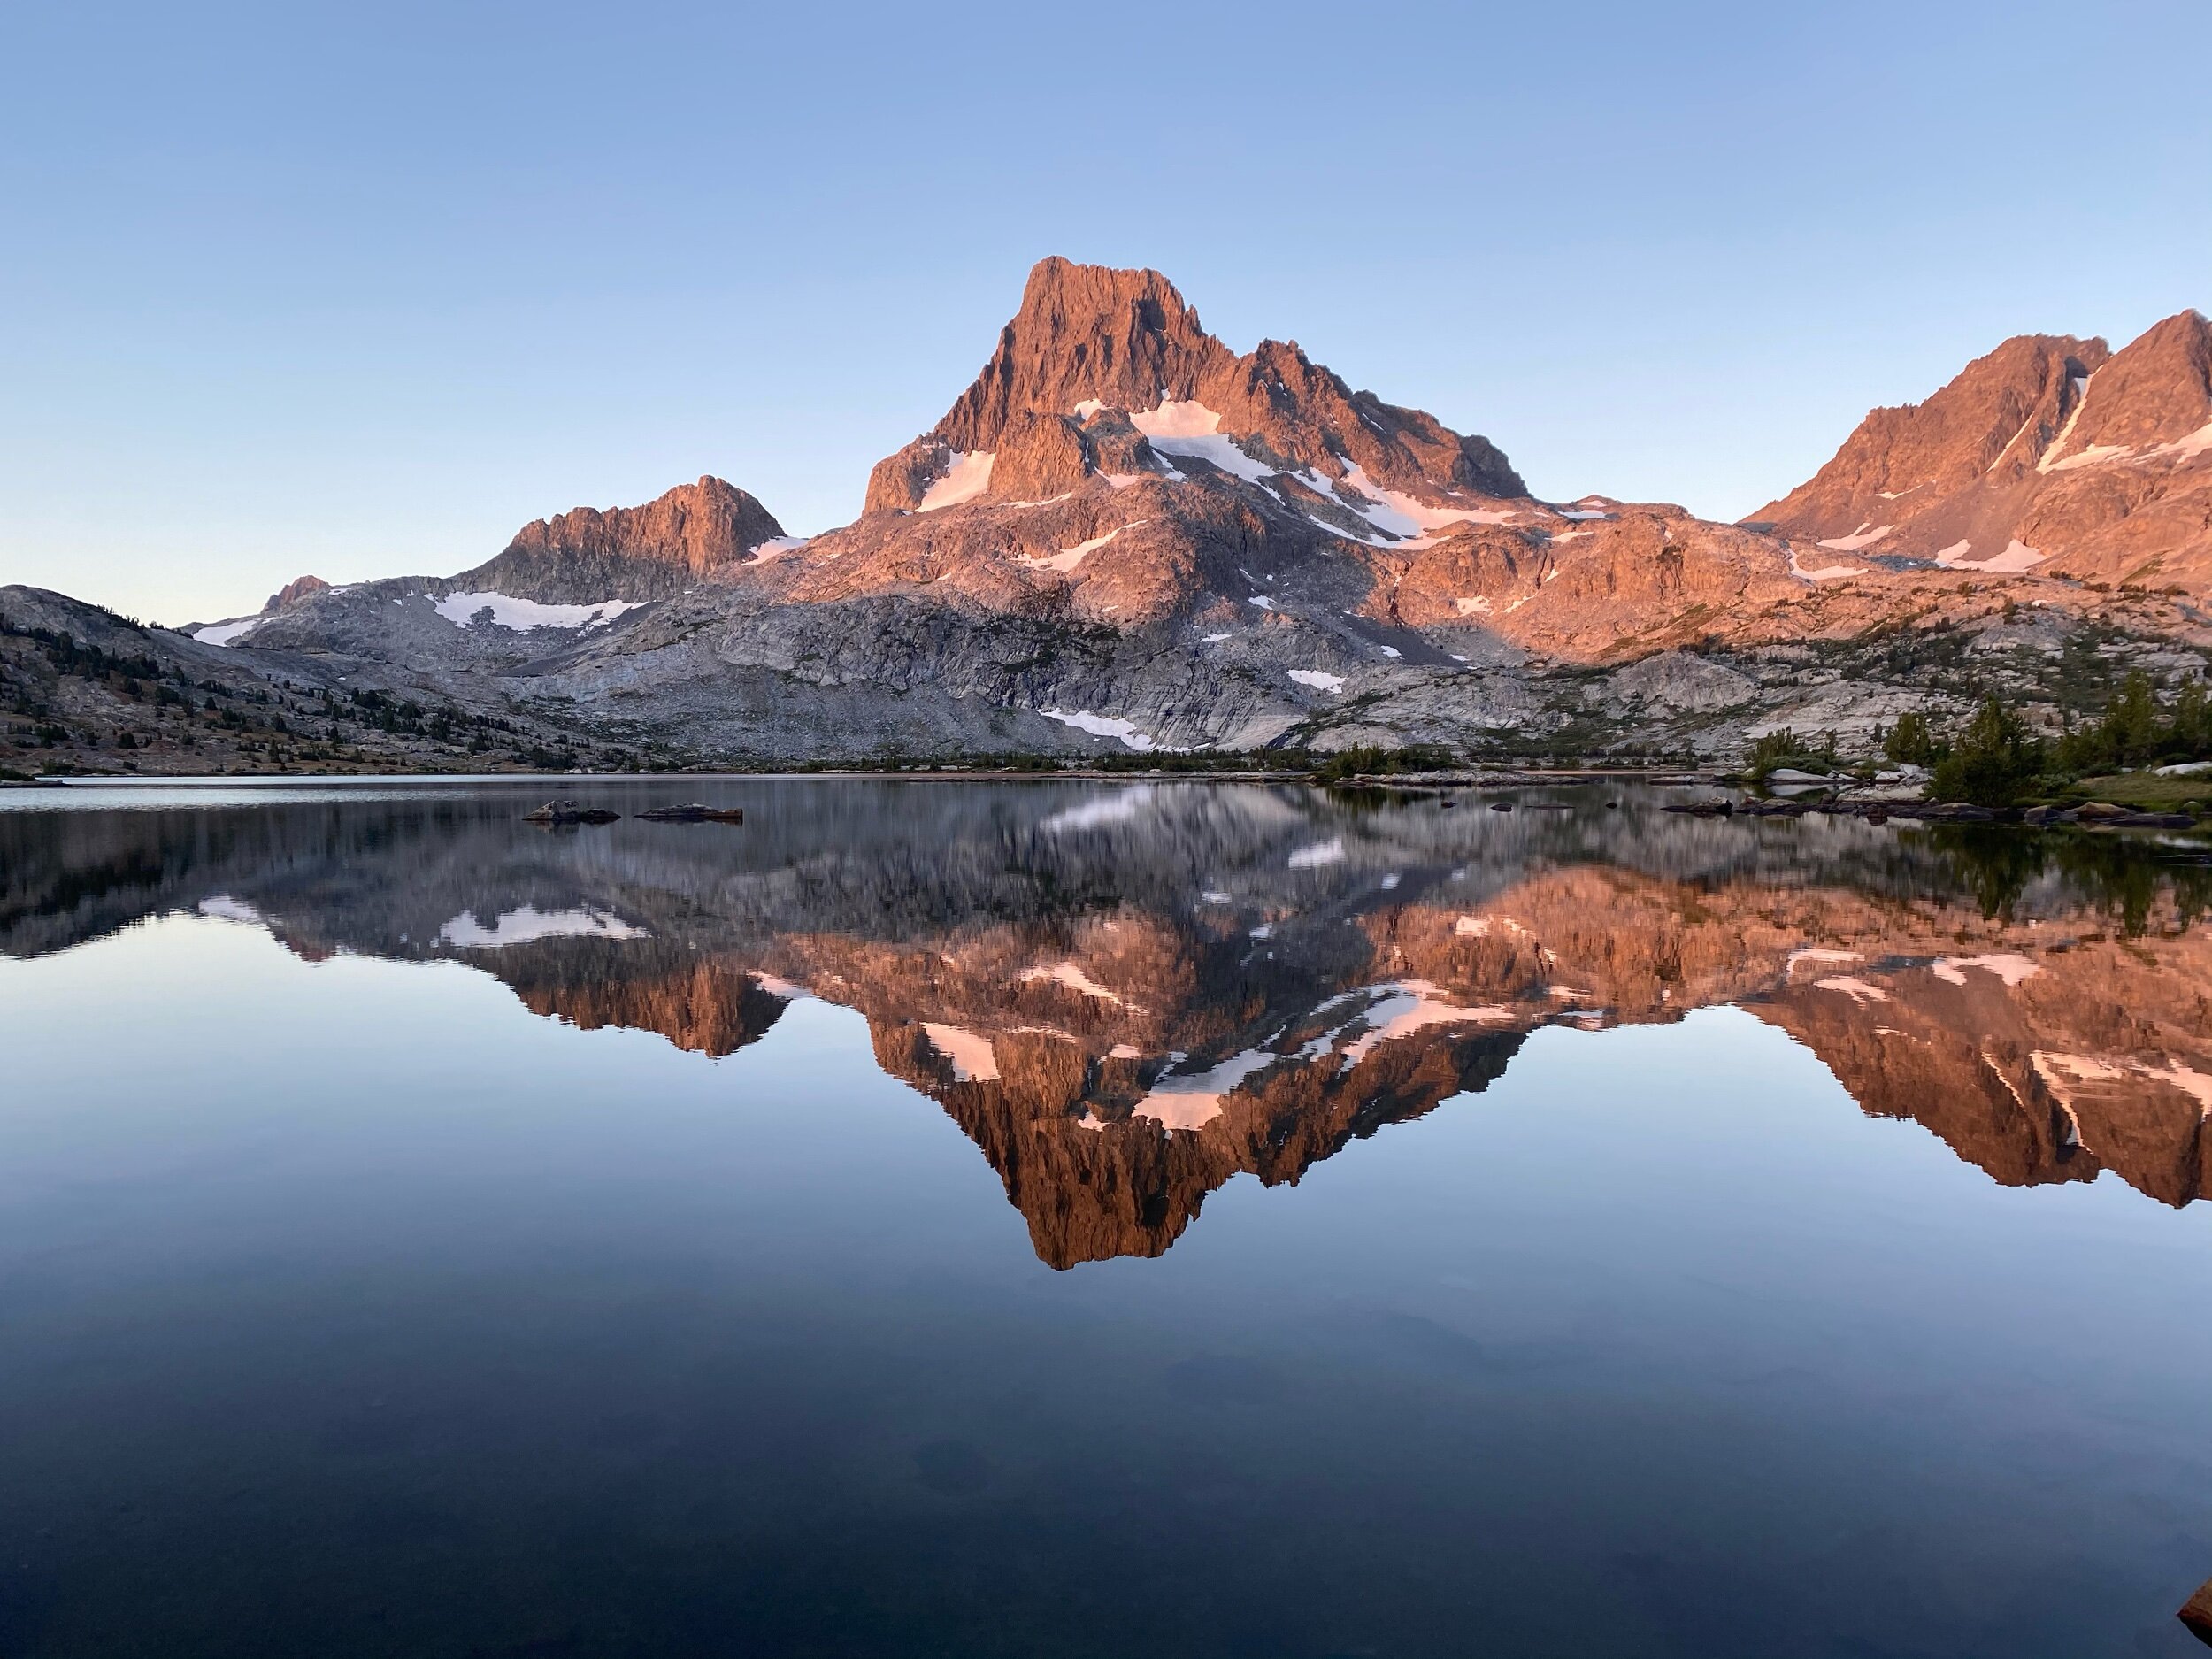
Garnet Lake is another alpine lake worthy of a sunrise start (aren’t they all?). When the water is still in the early morning, you’ll witness beautiful reflections of Banner Peak. If you camped before the outlet of Garnet Lake, you’ll begin the day by crossing over the footbridge at the outlet. After the outlet, you’ll climb out of the other side of the Garnet Basin. While this side of the lake is technically higher, it’s a slightly easier climb than the pass you did the day before.
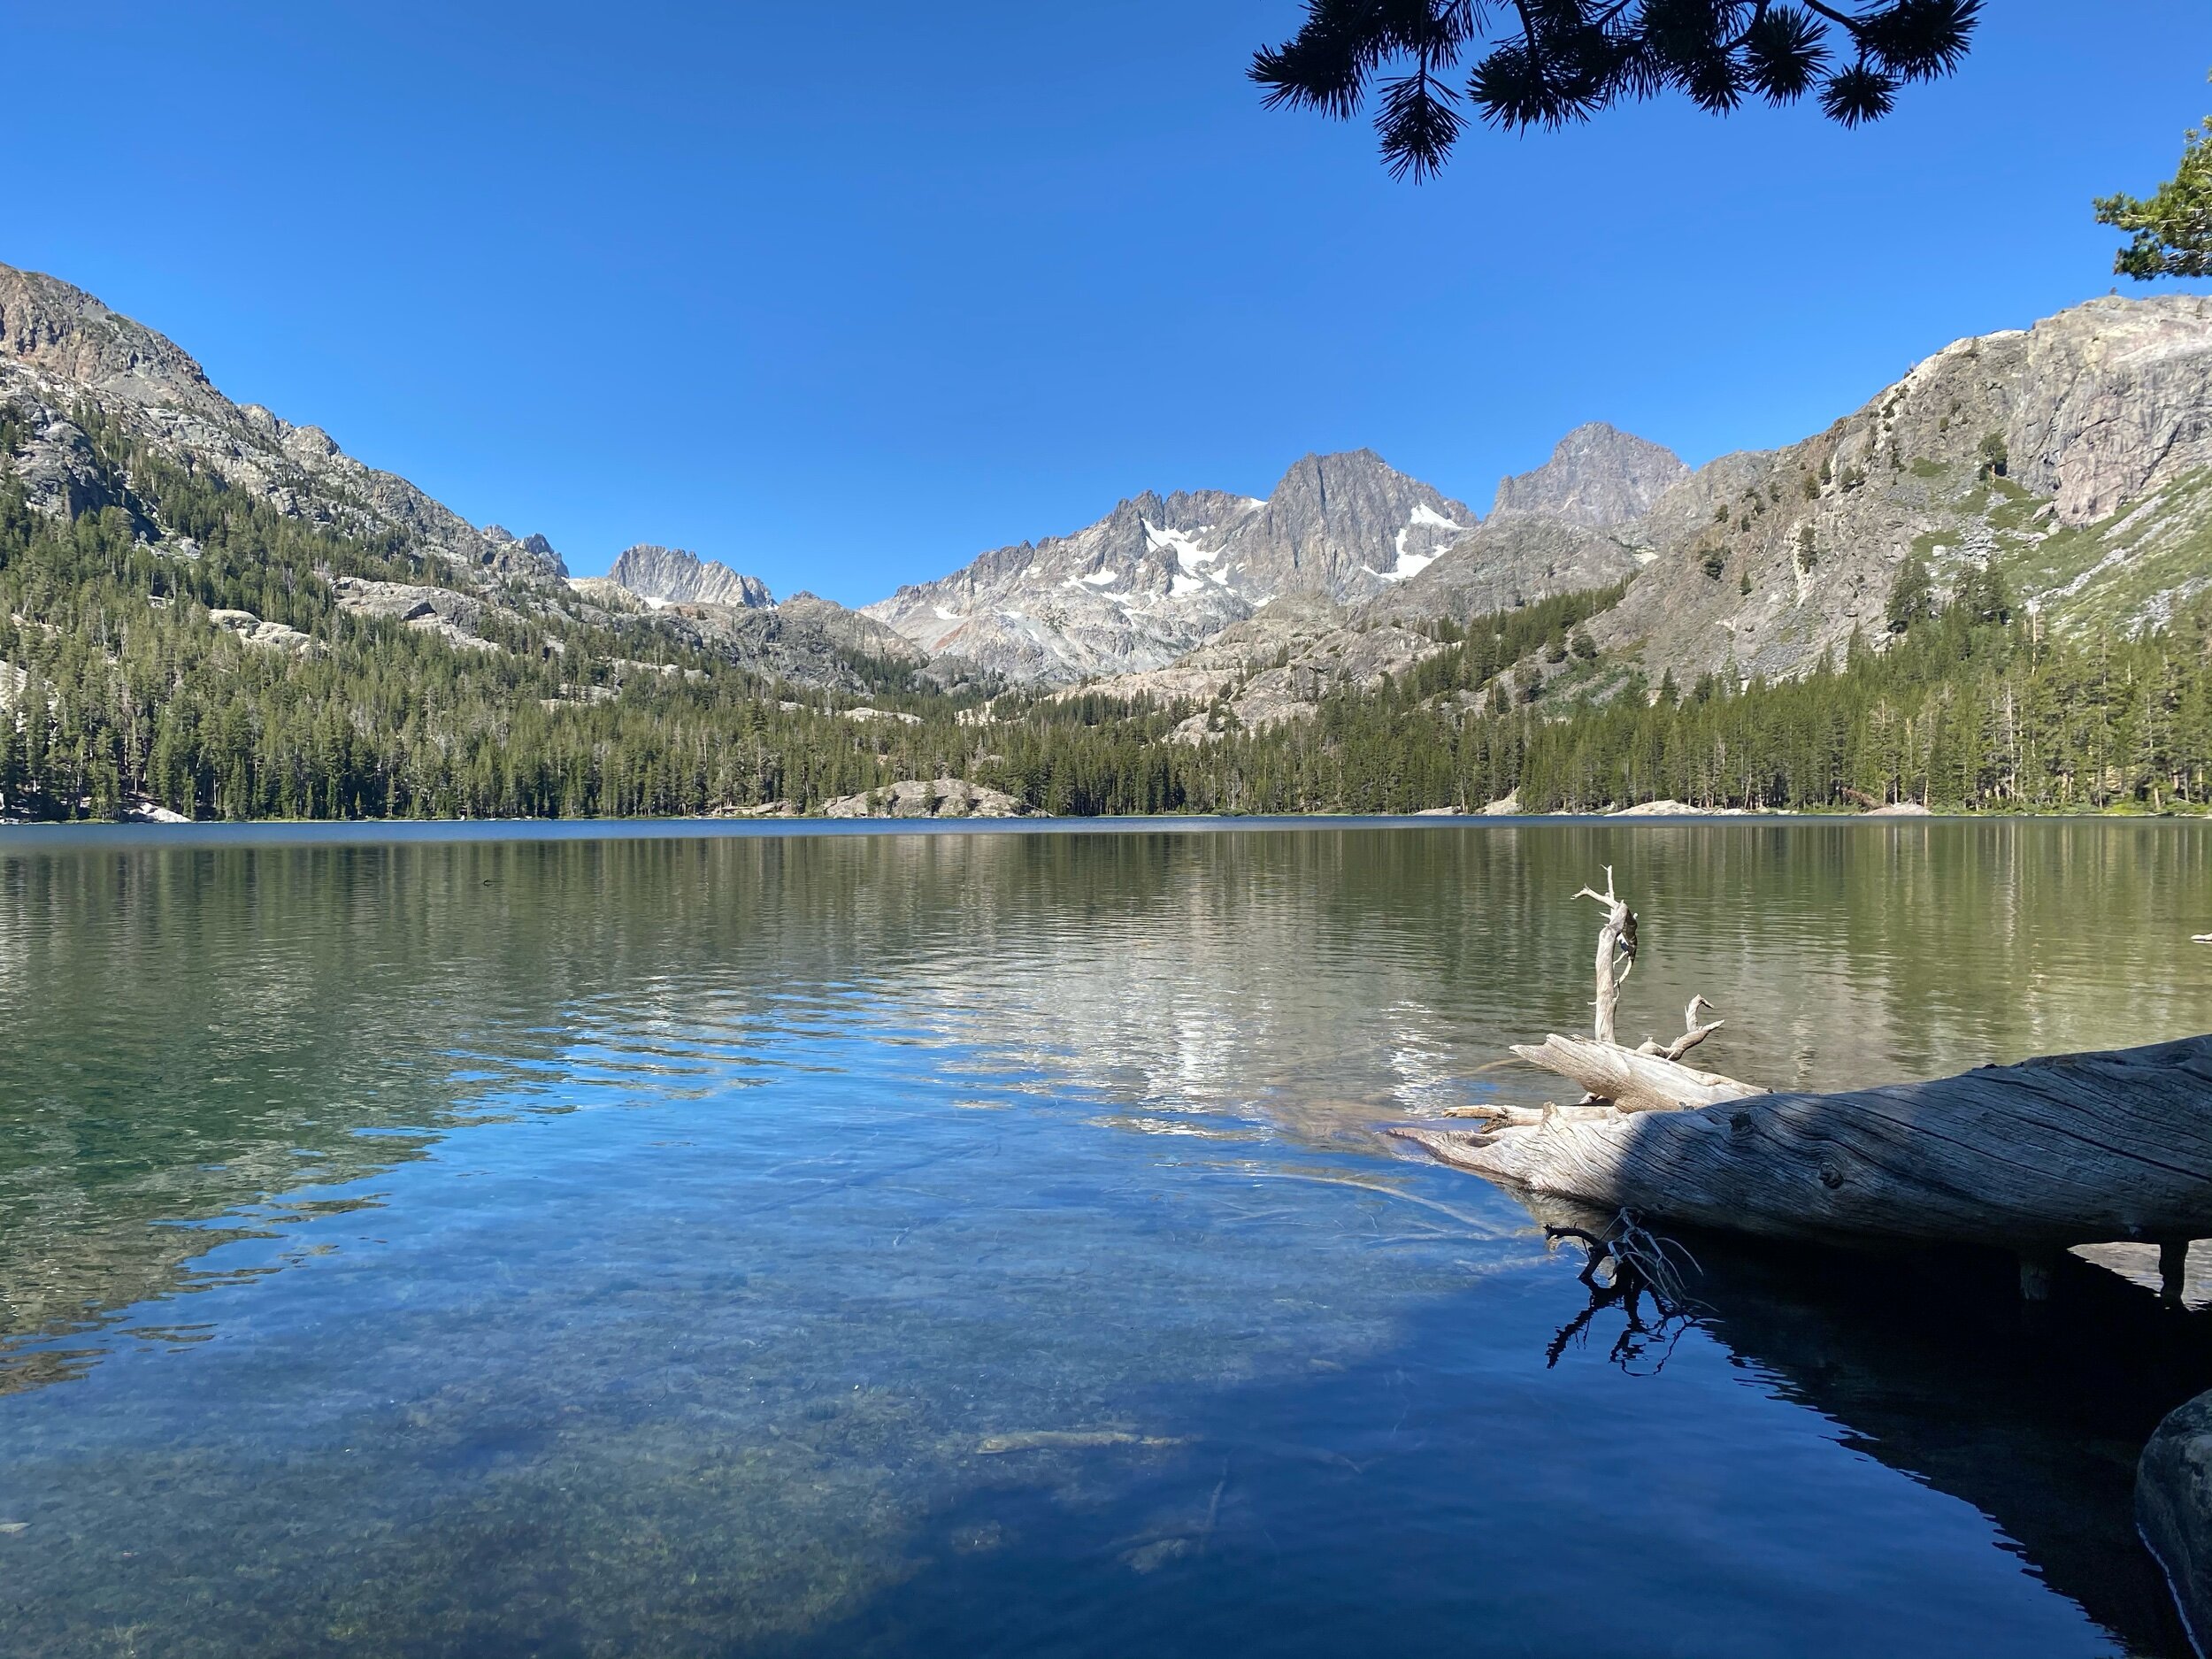
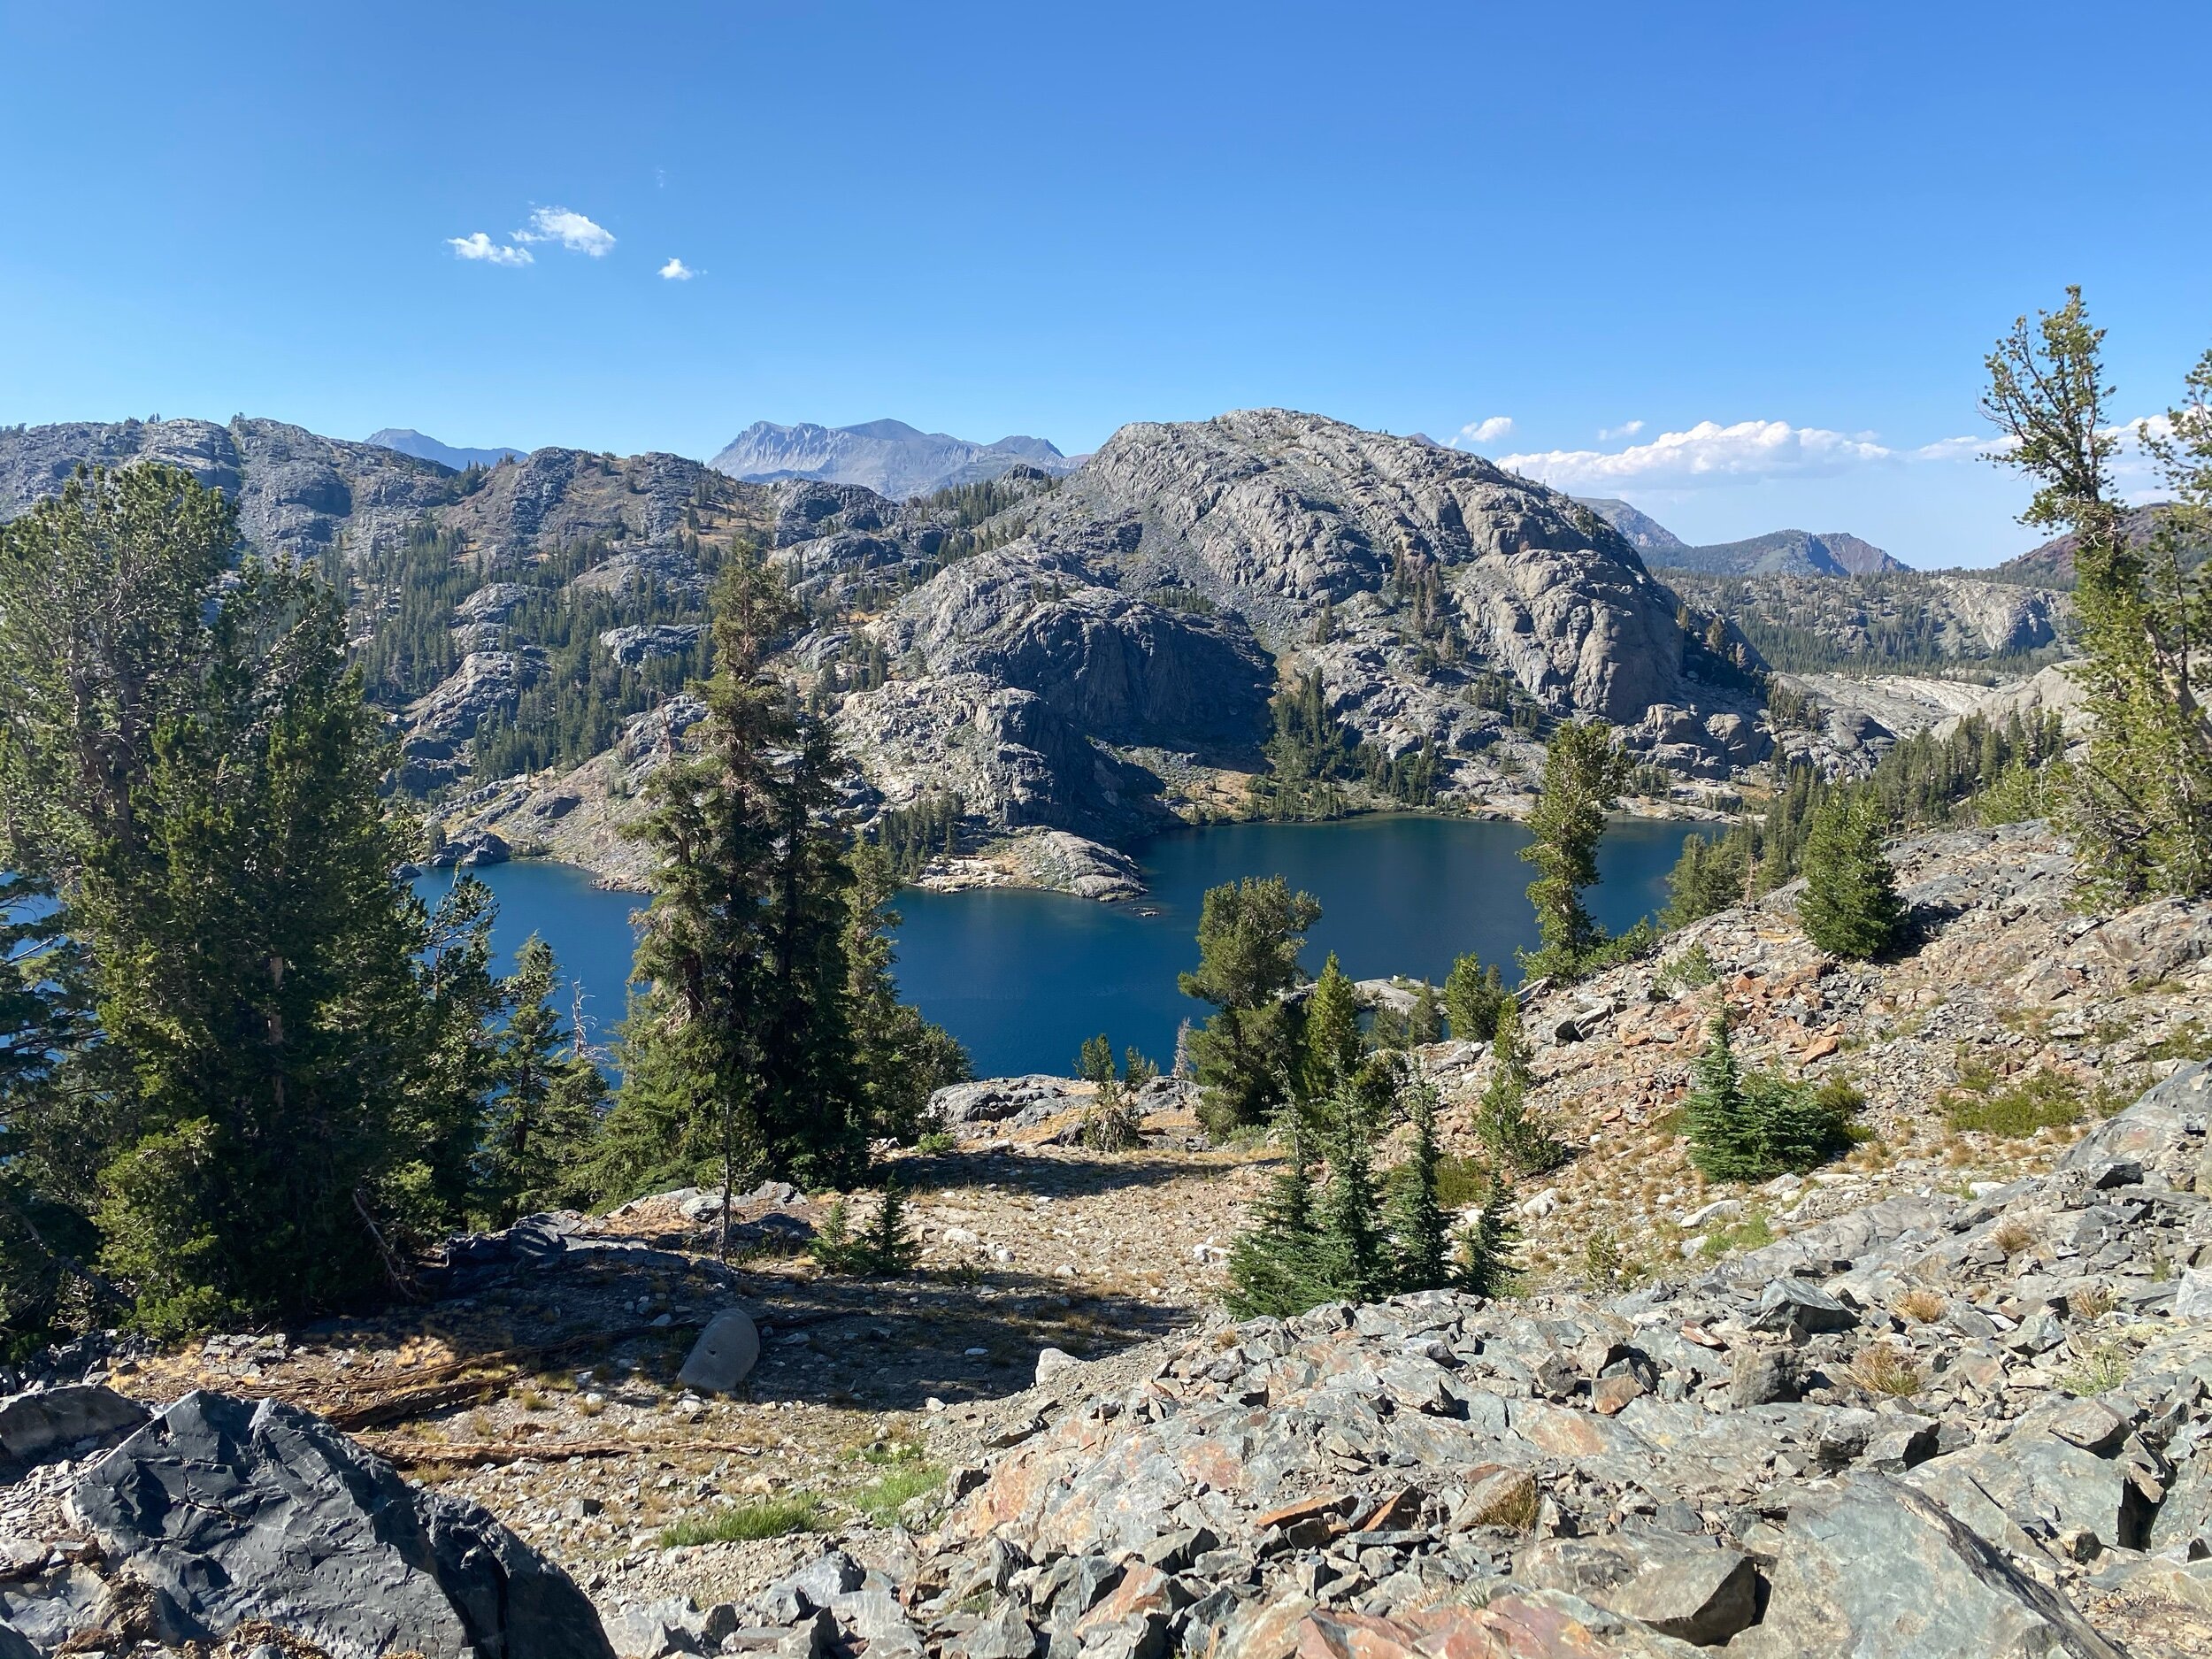
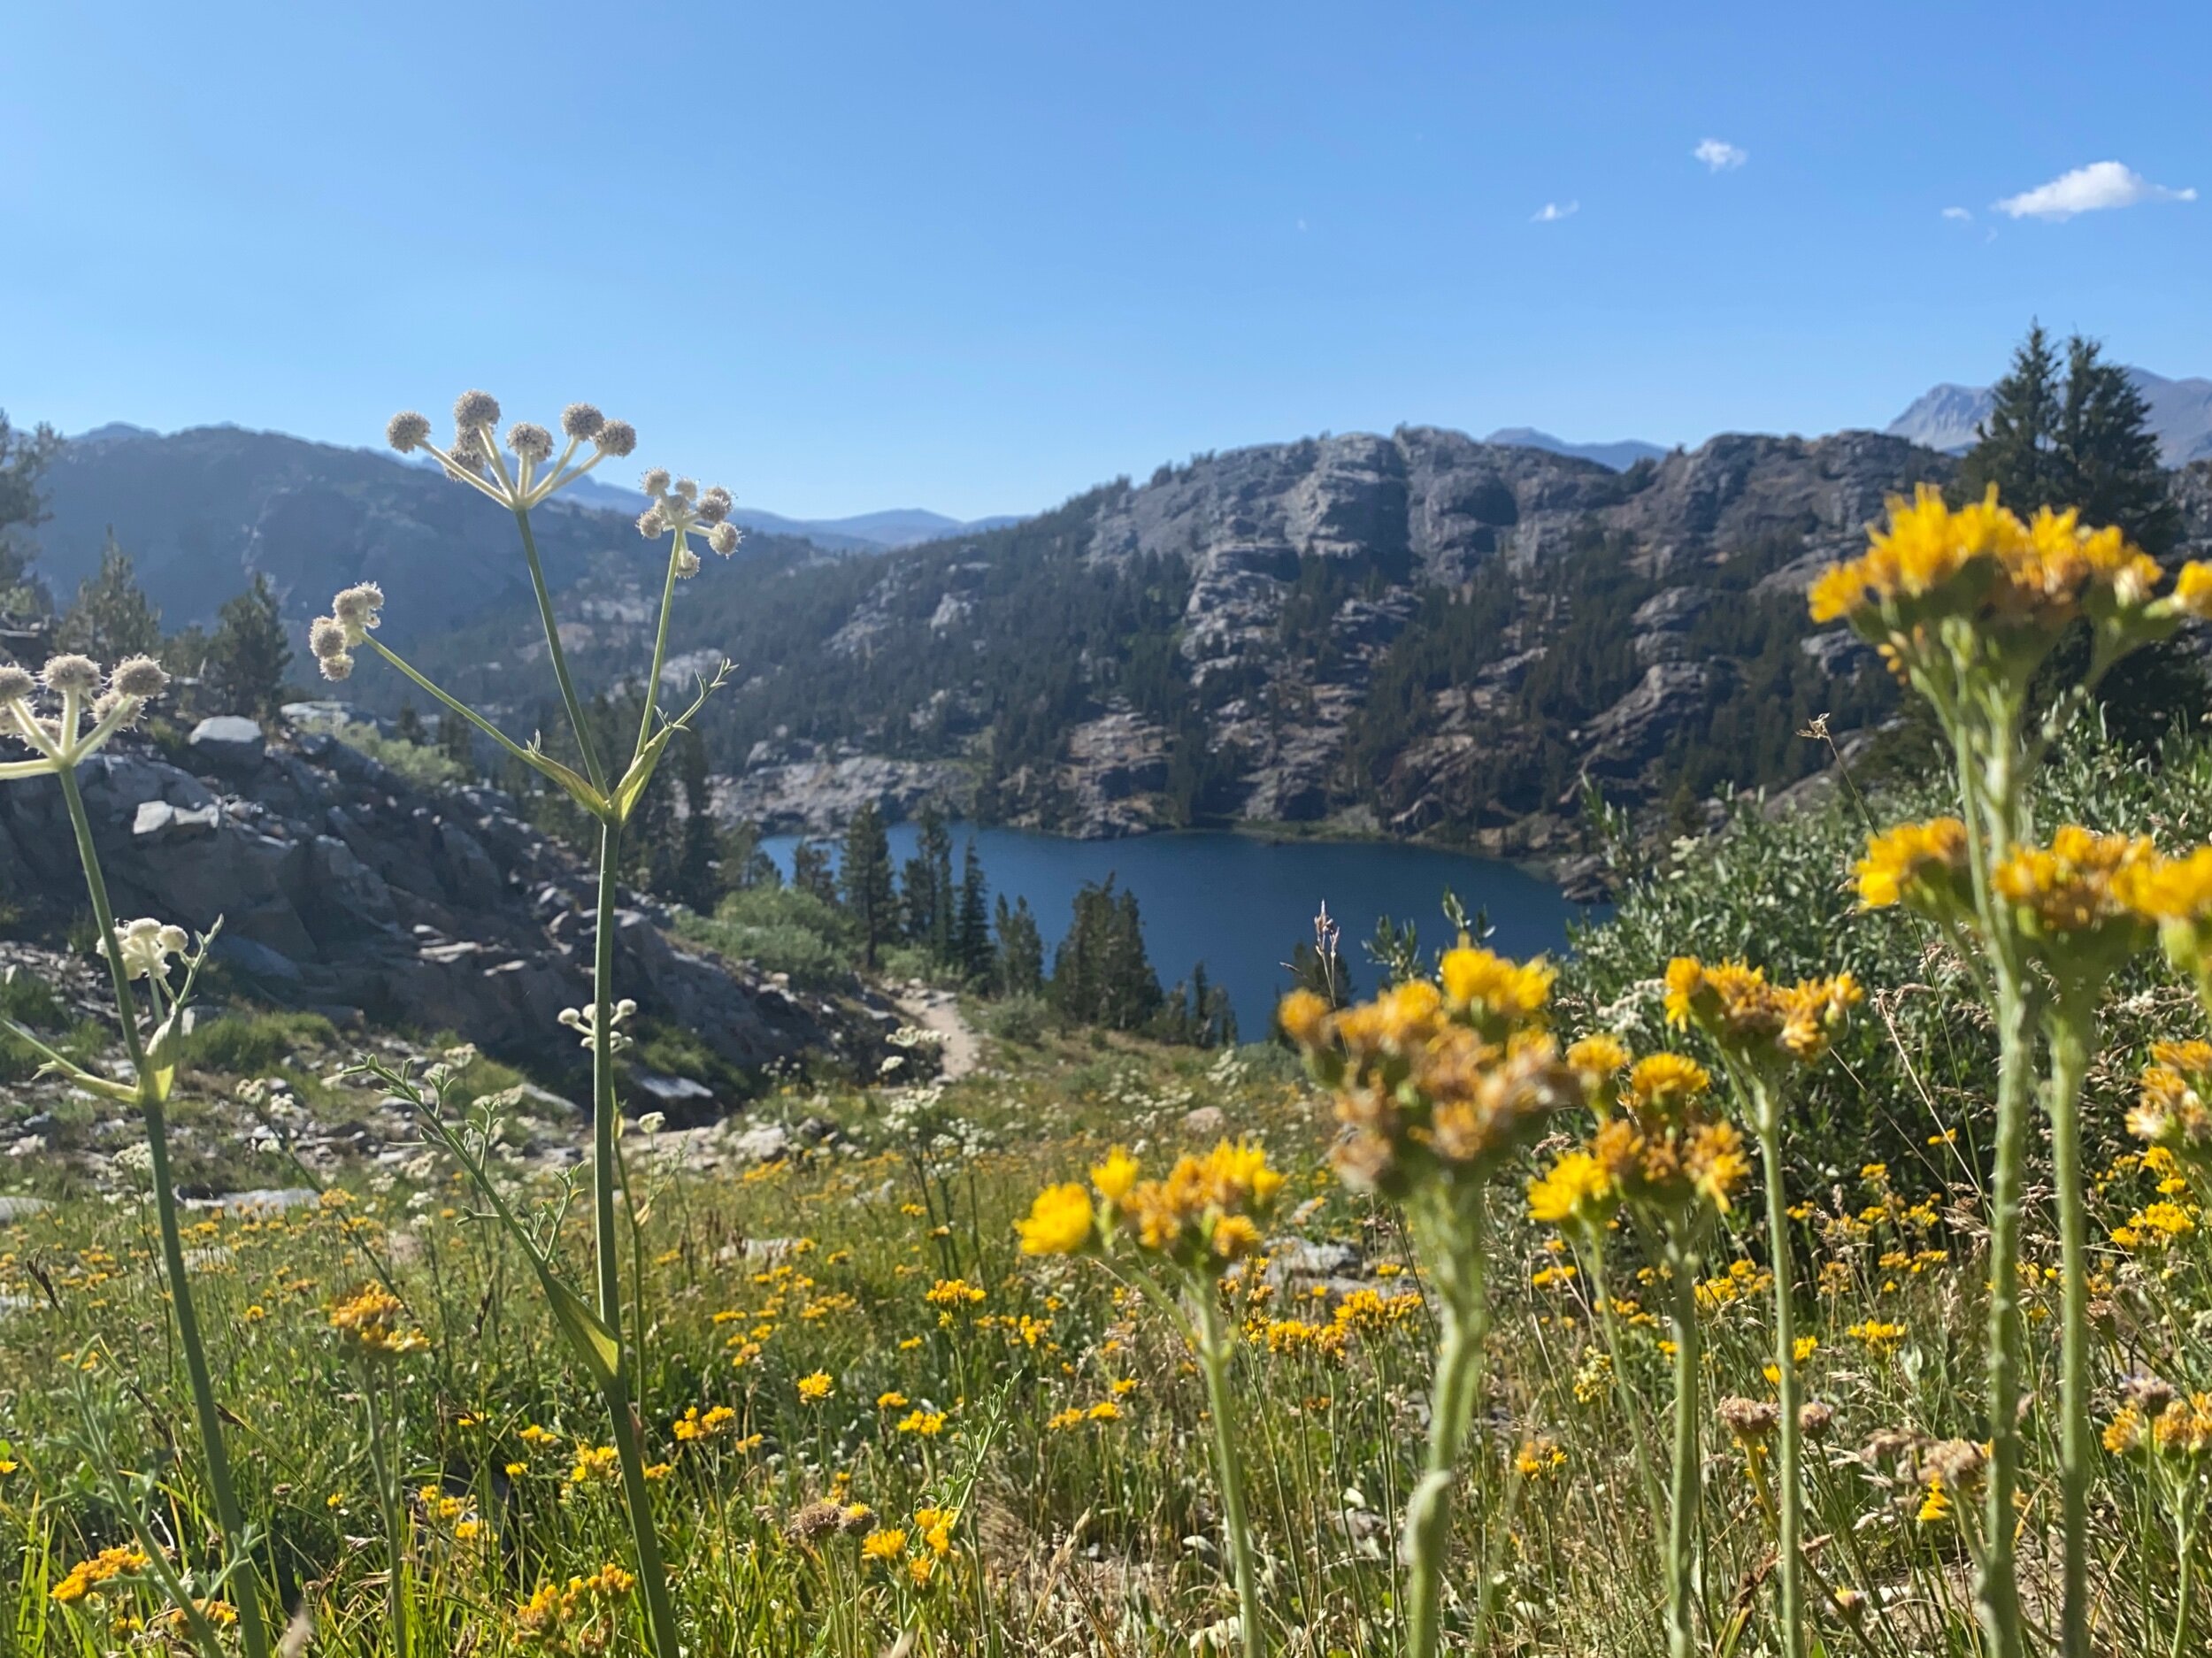
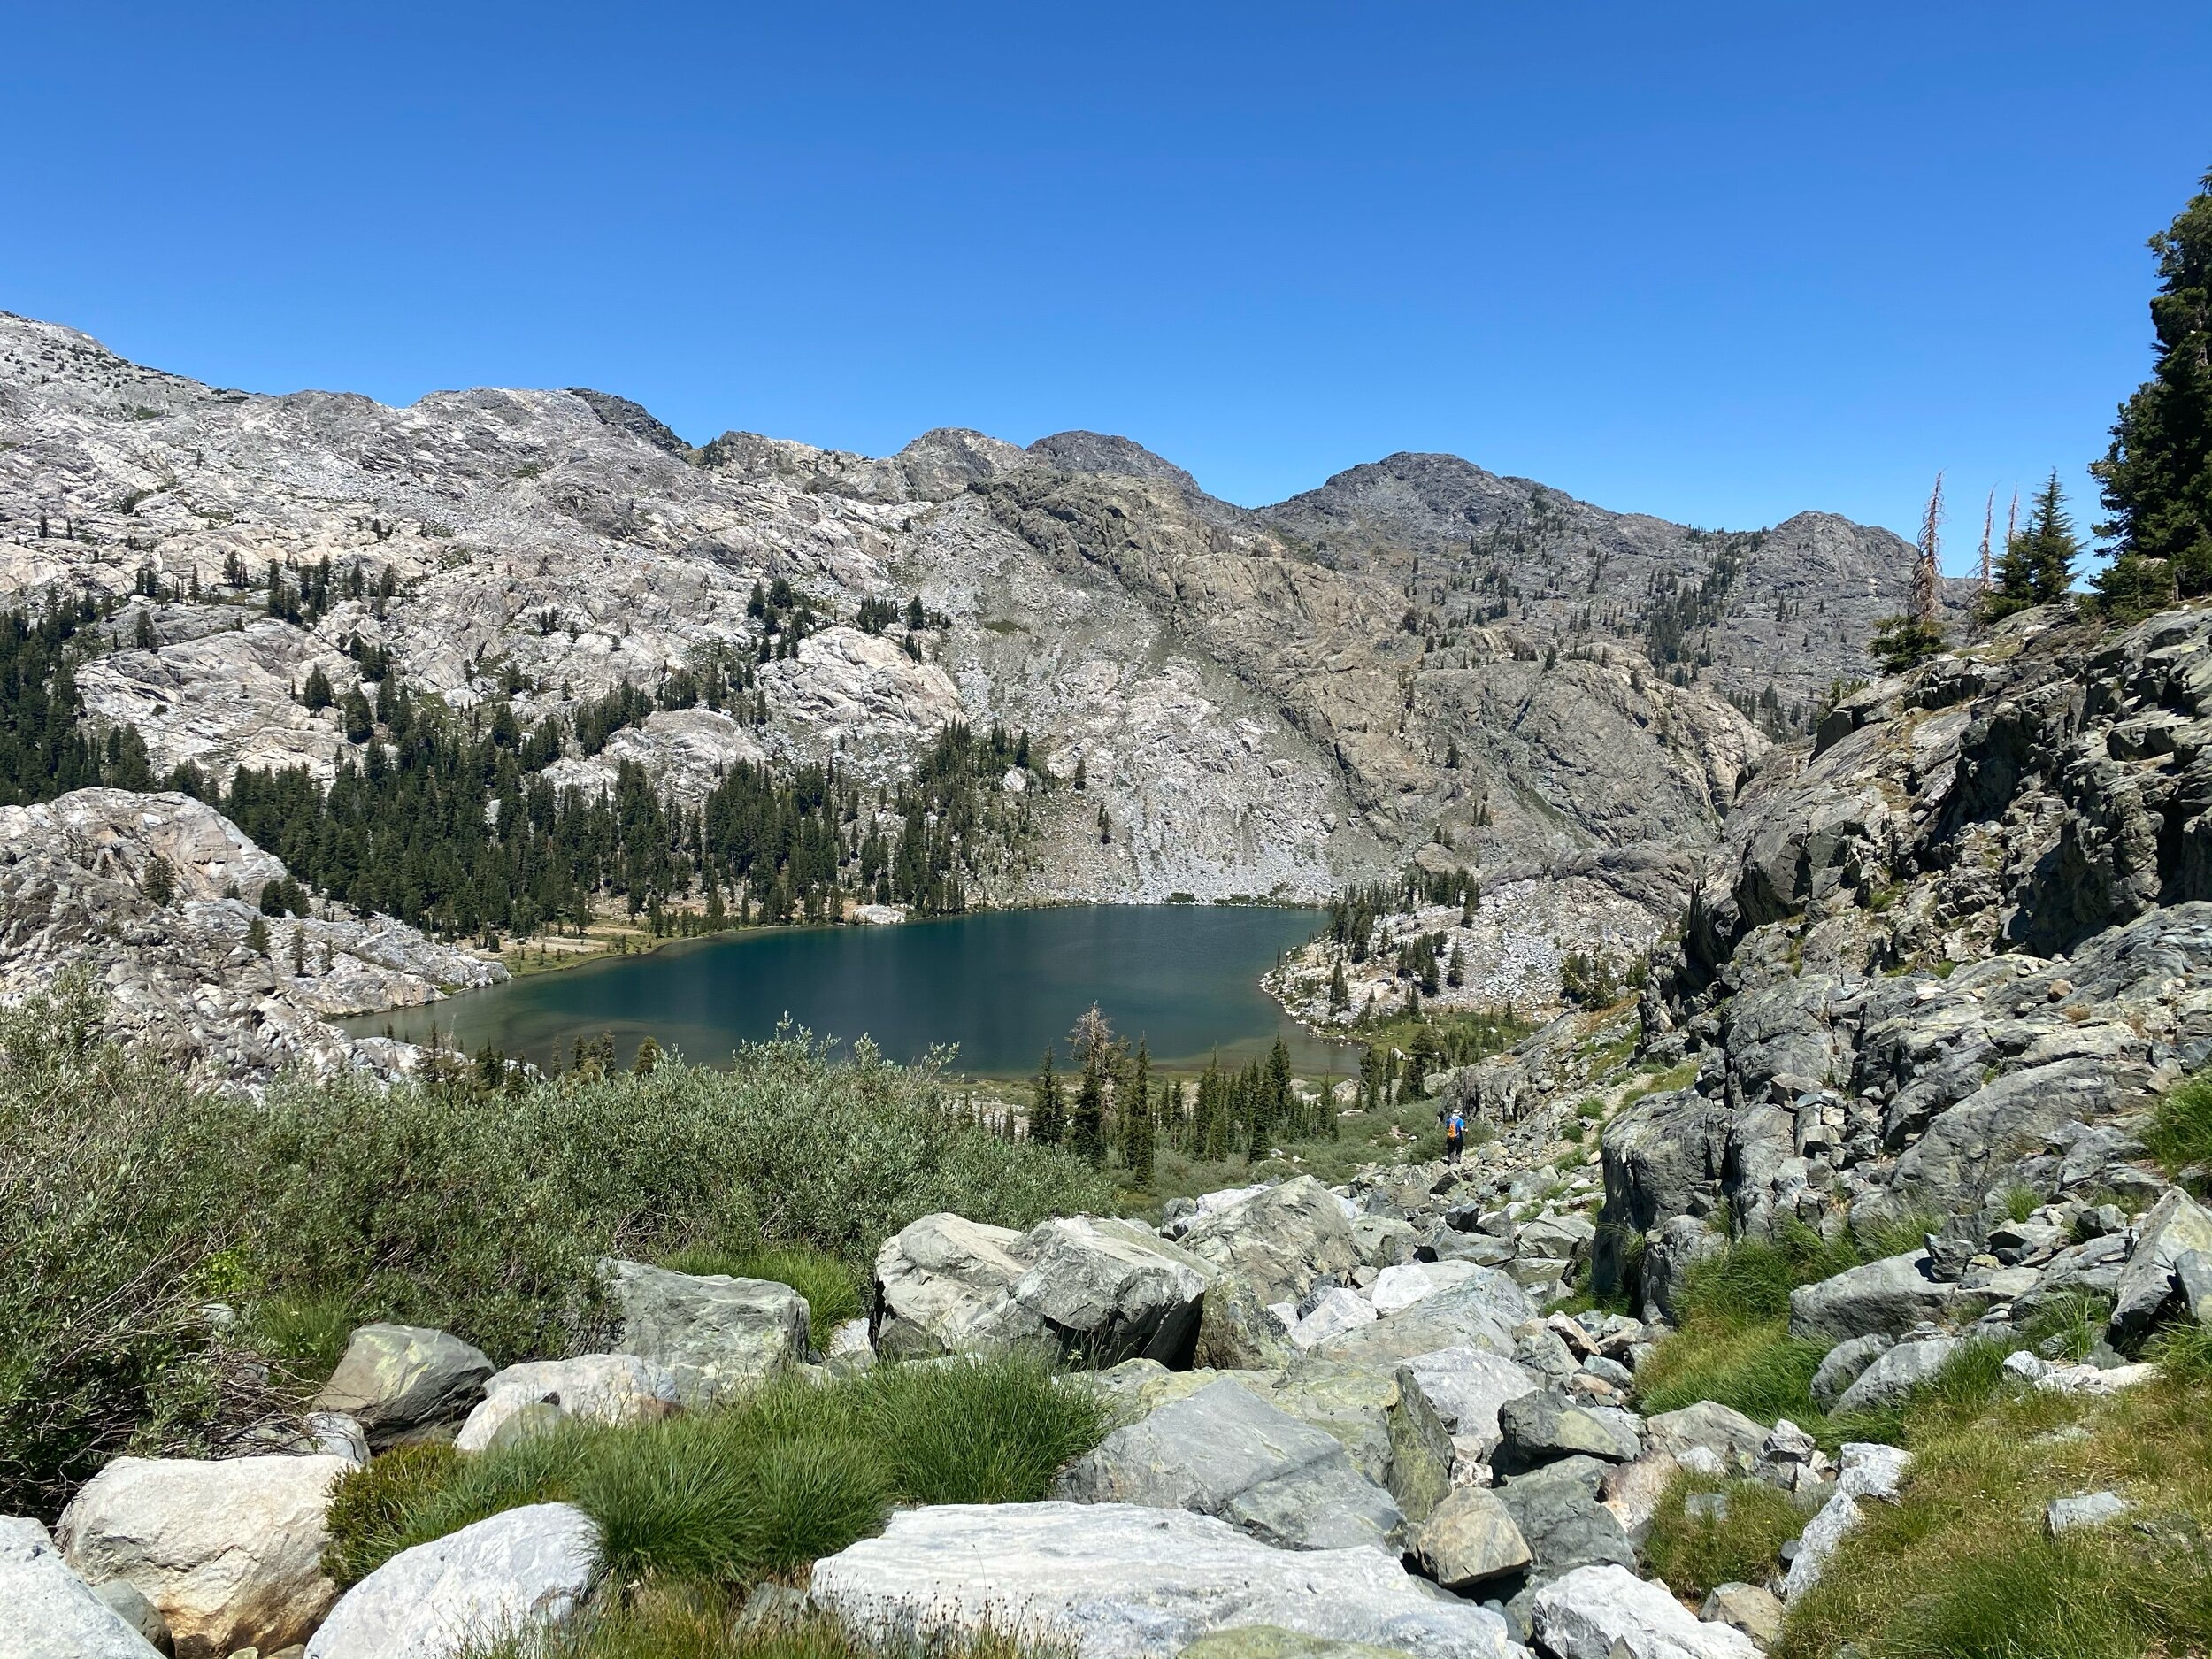
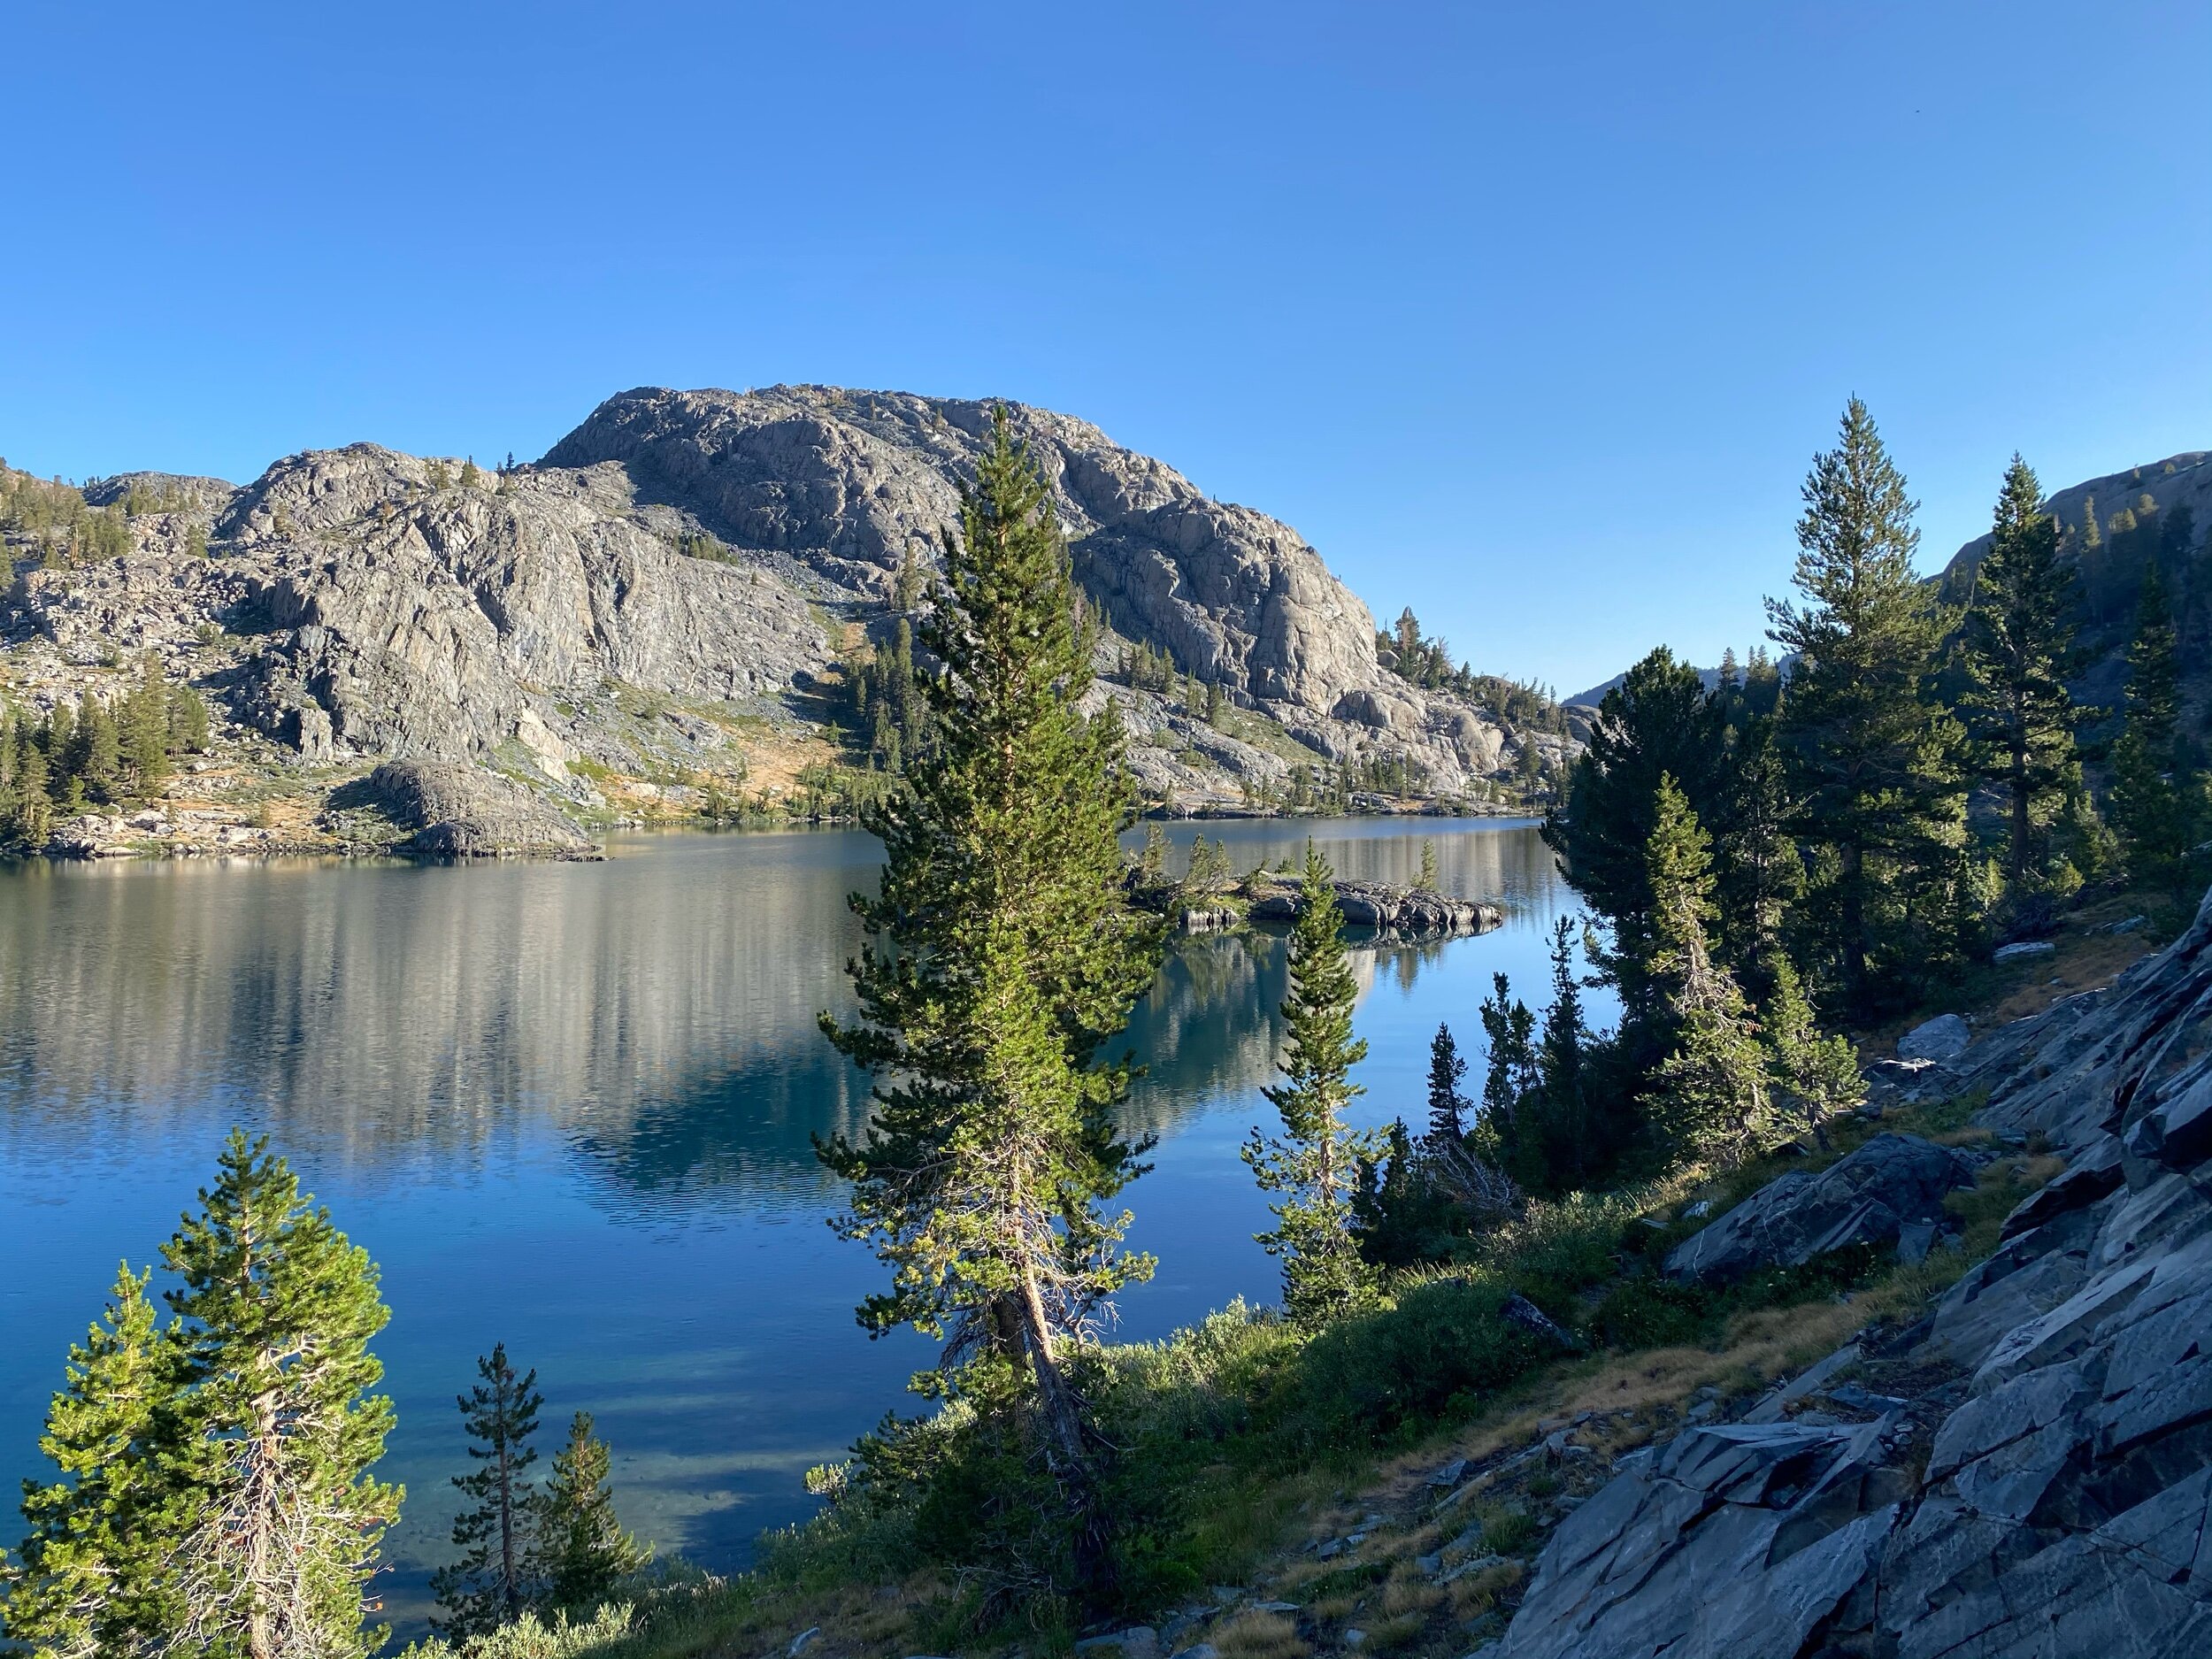
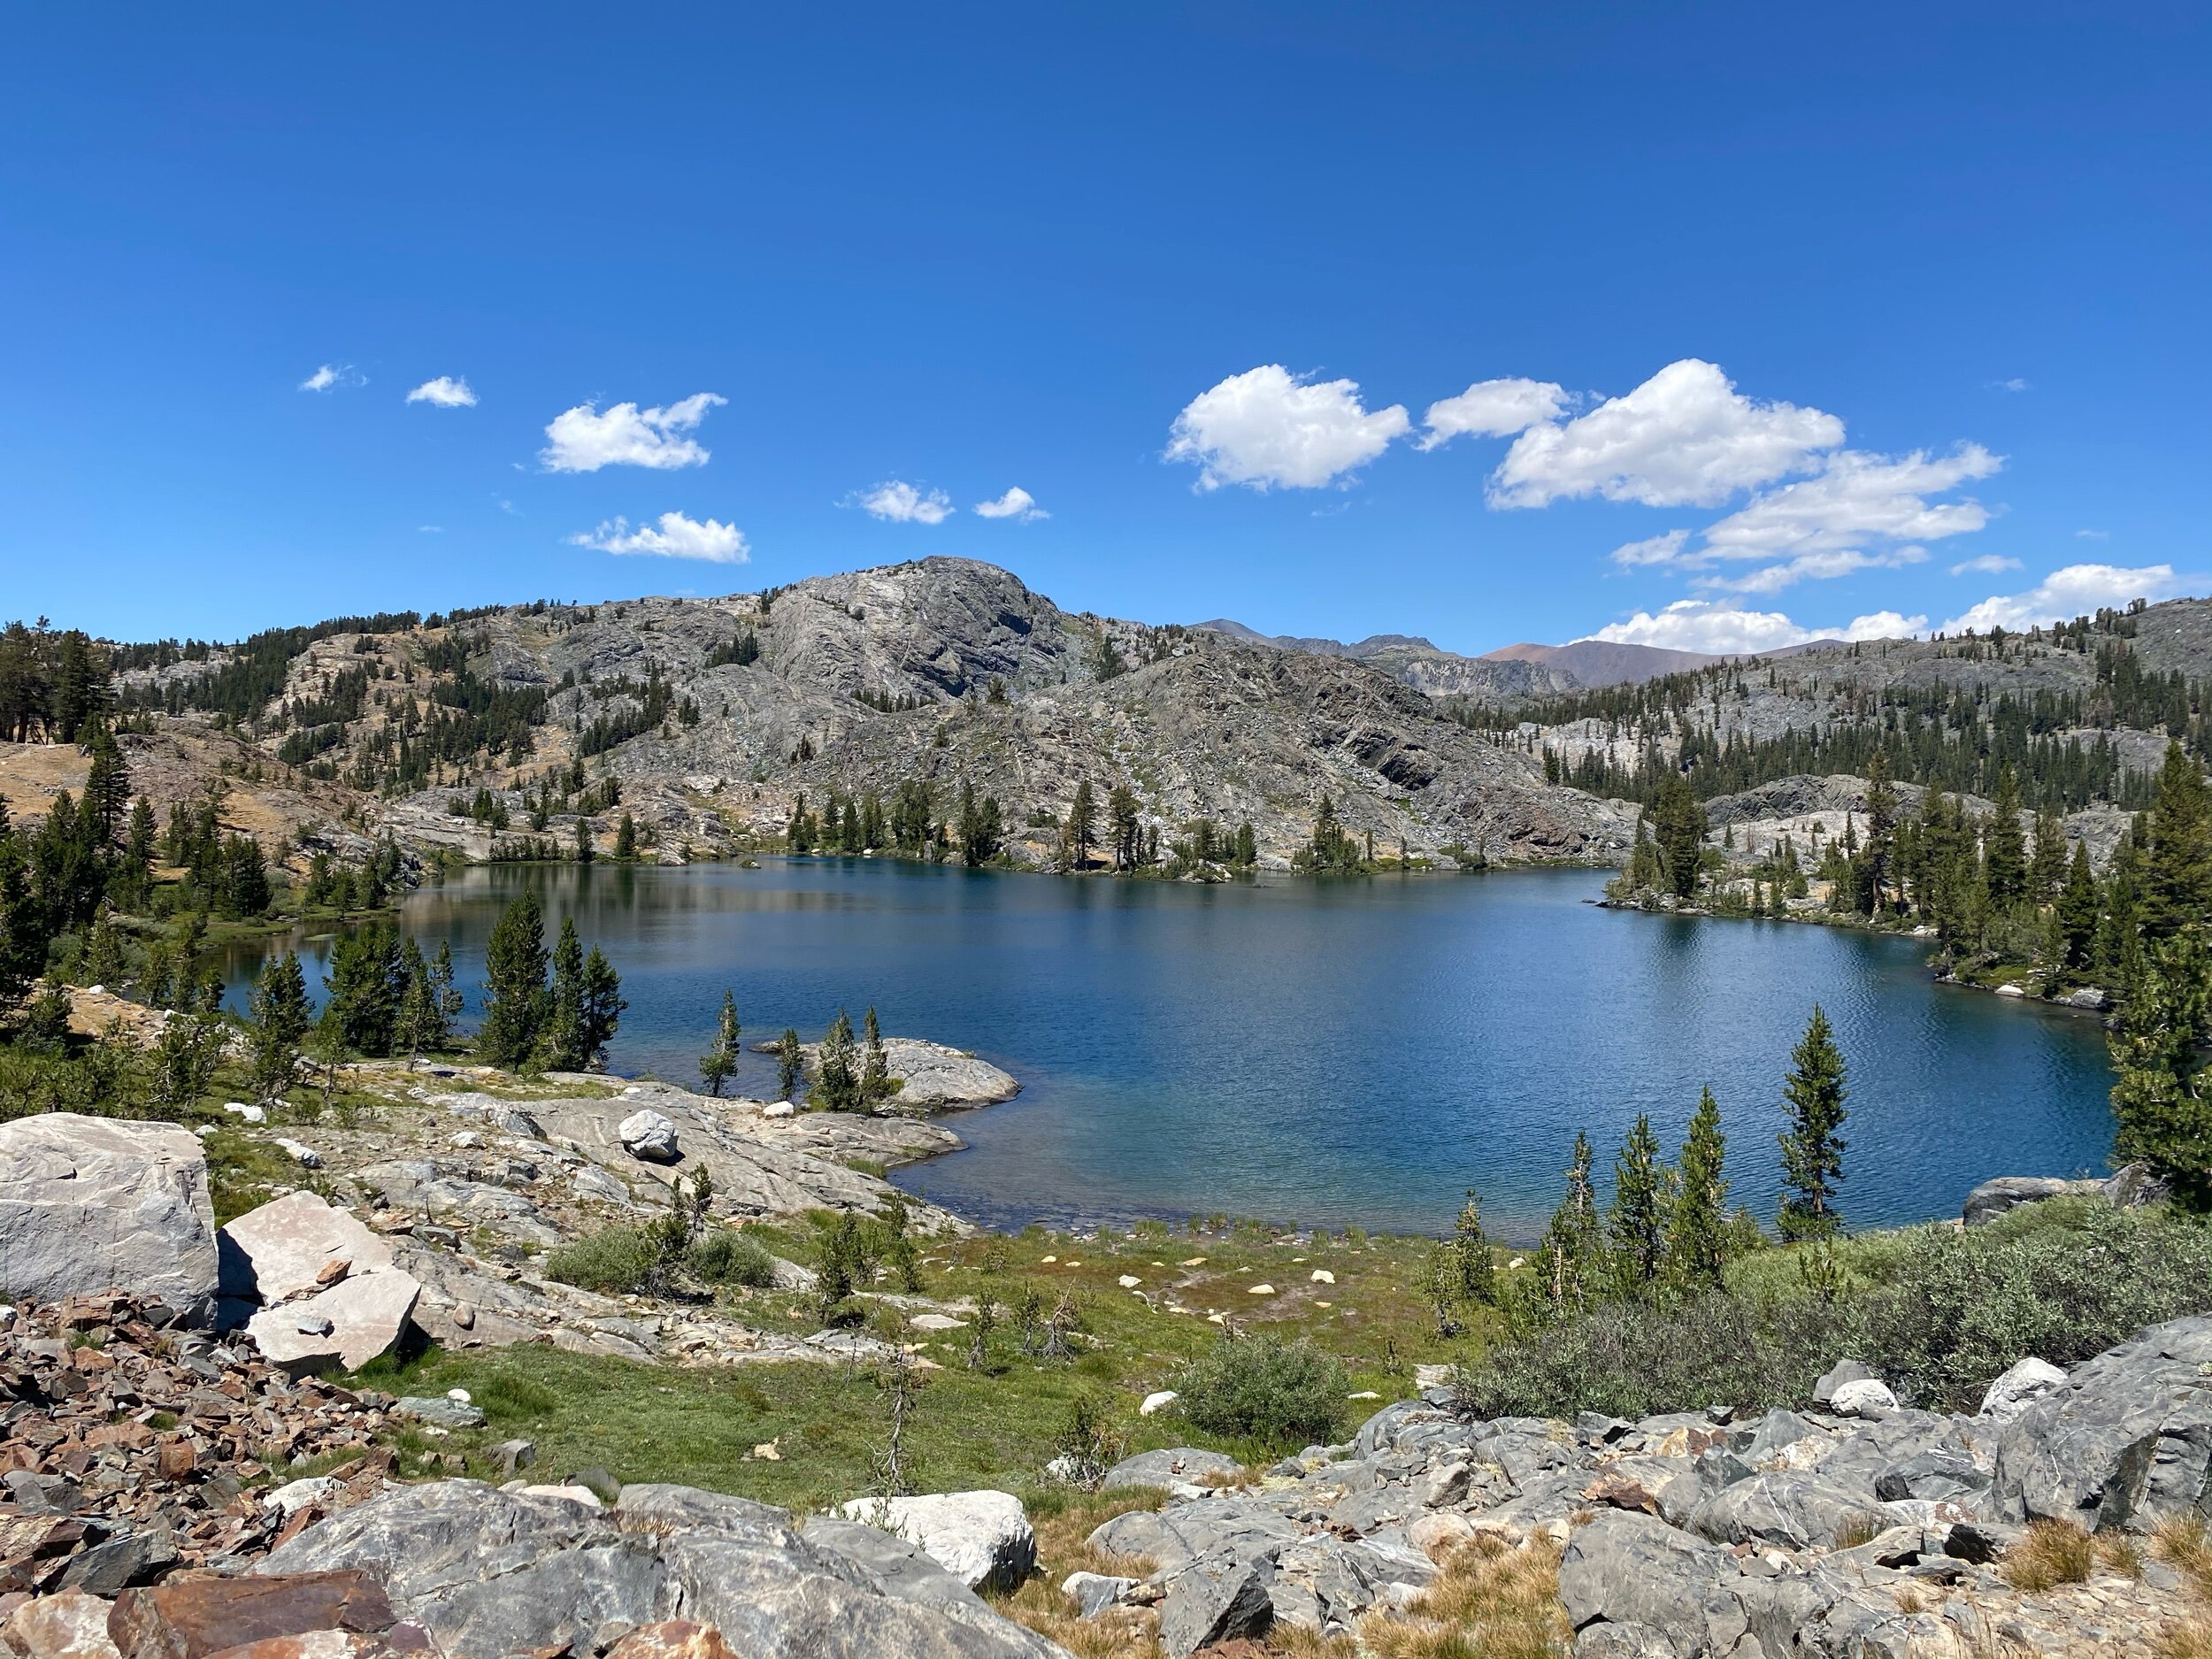
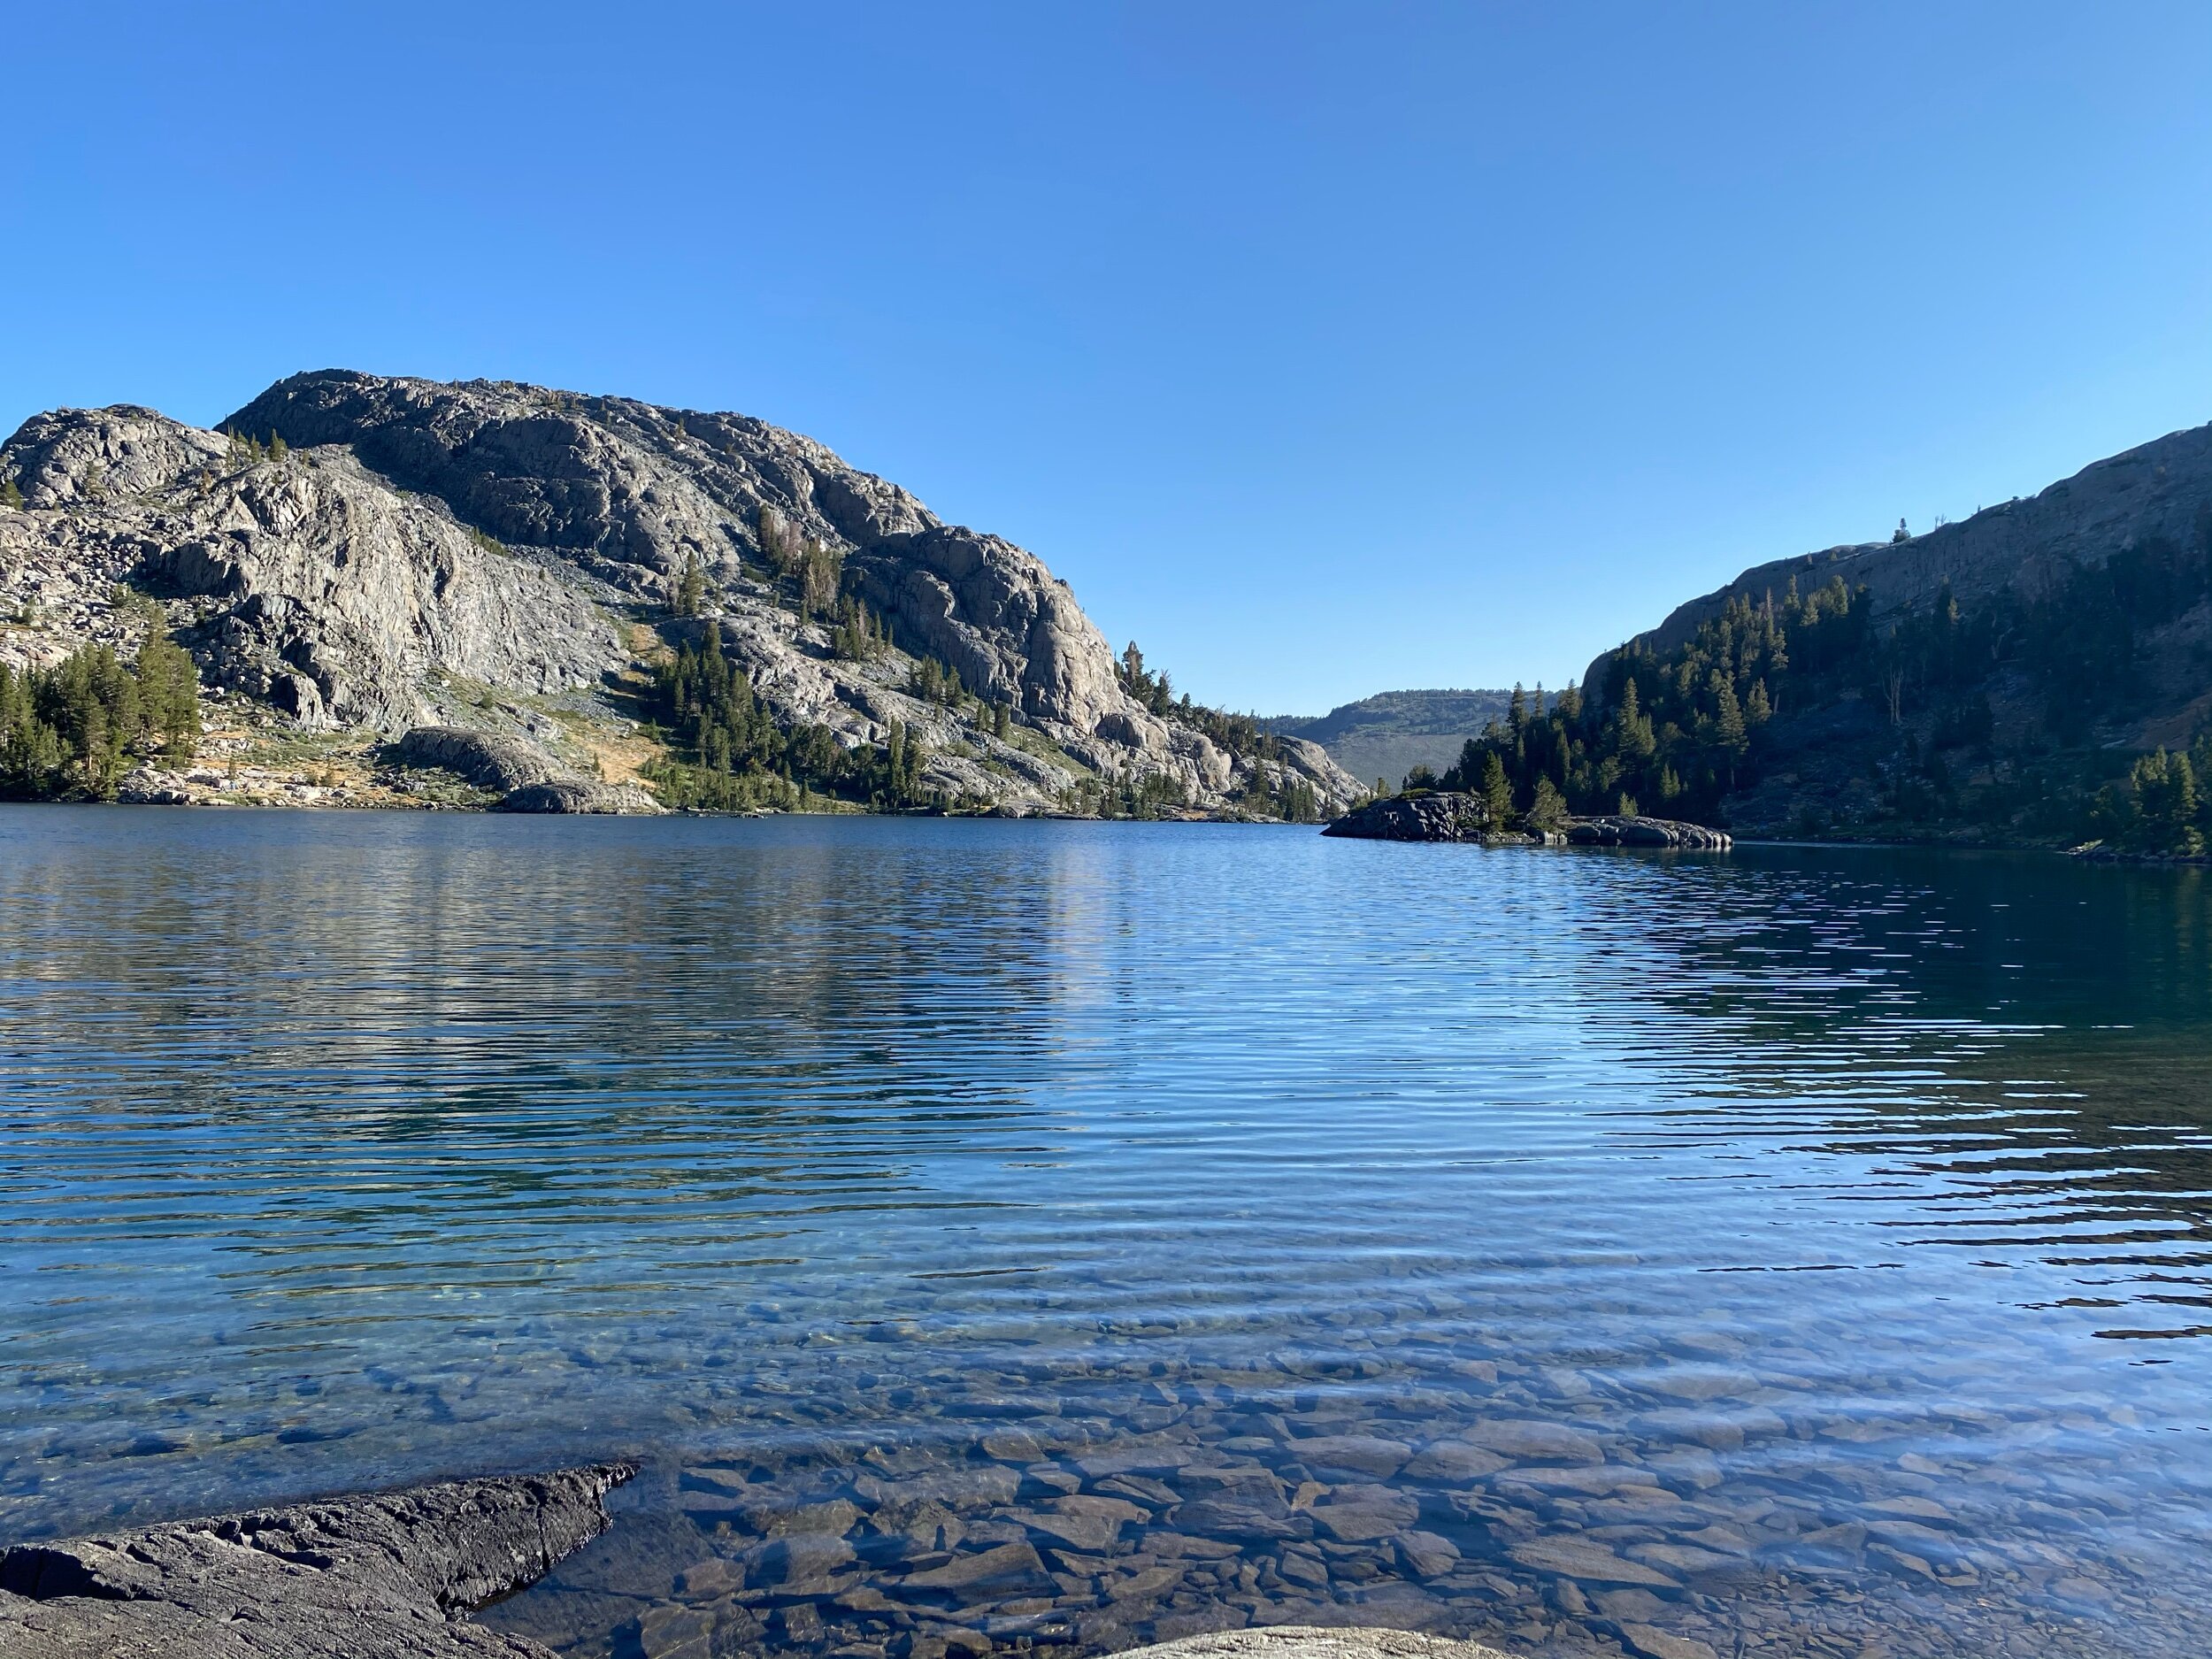
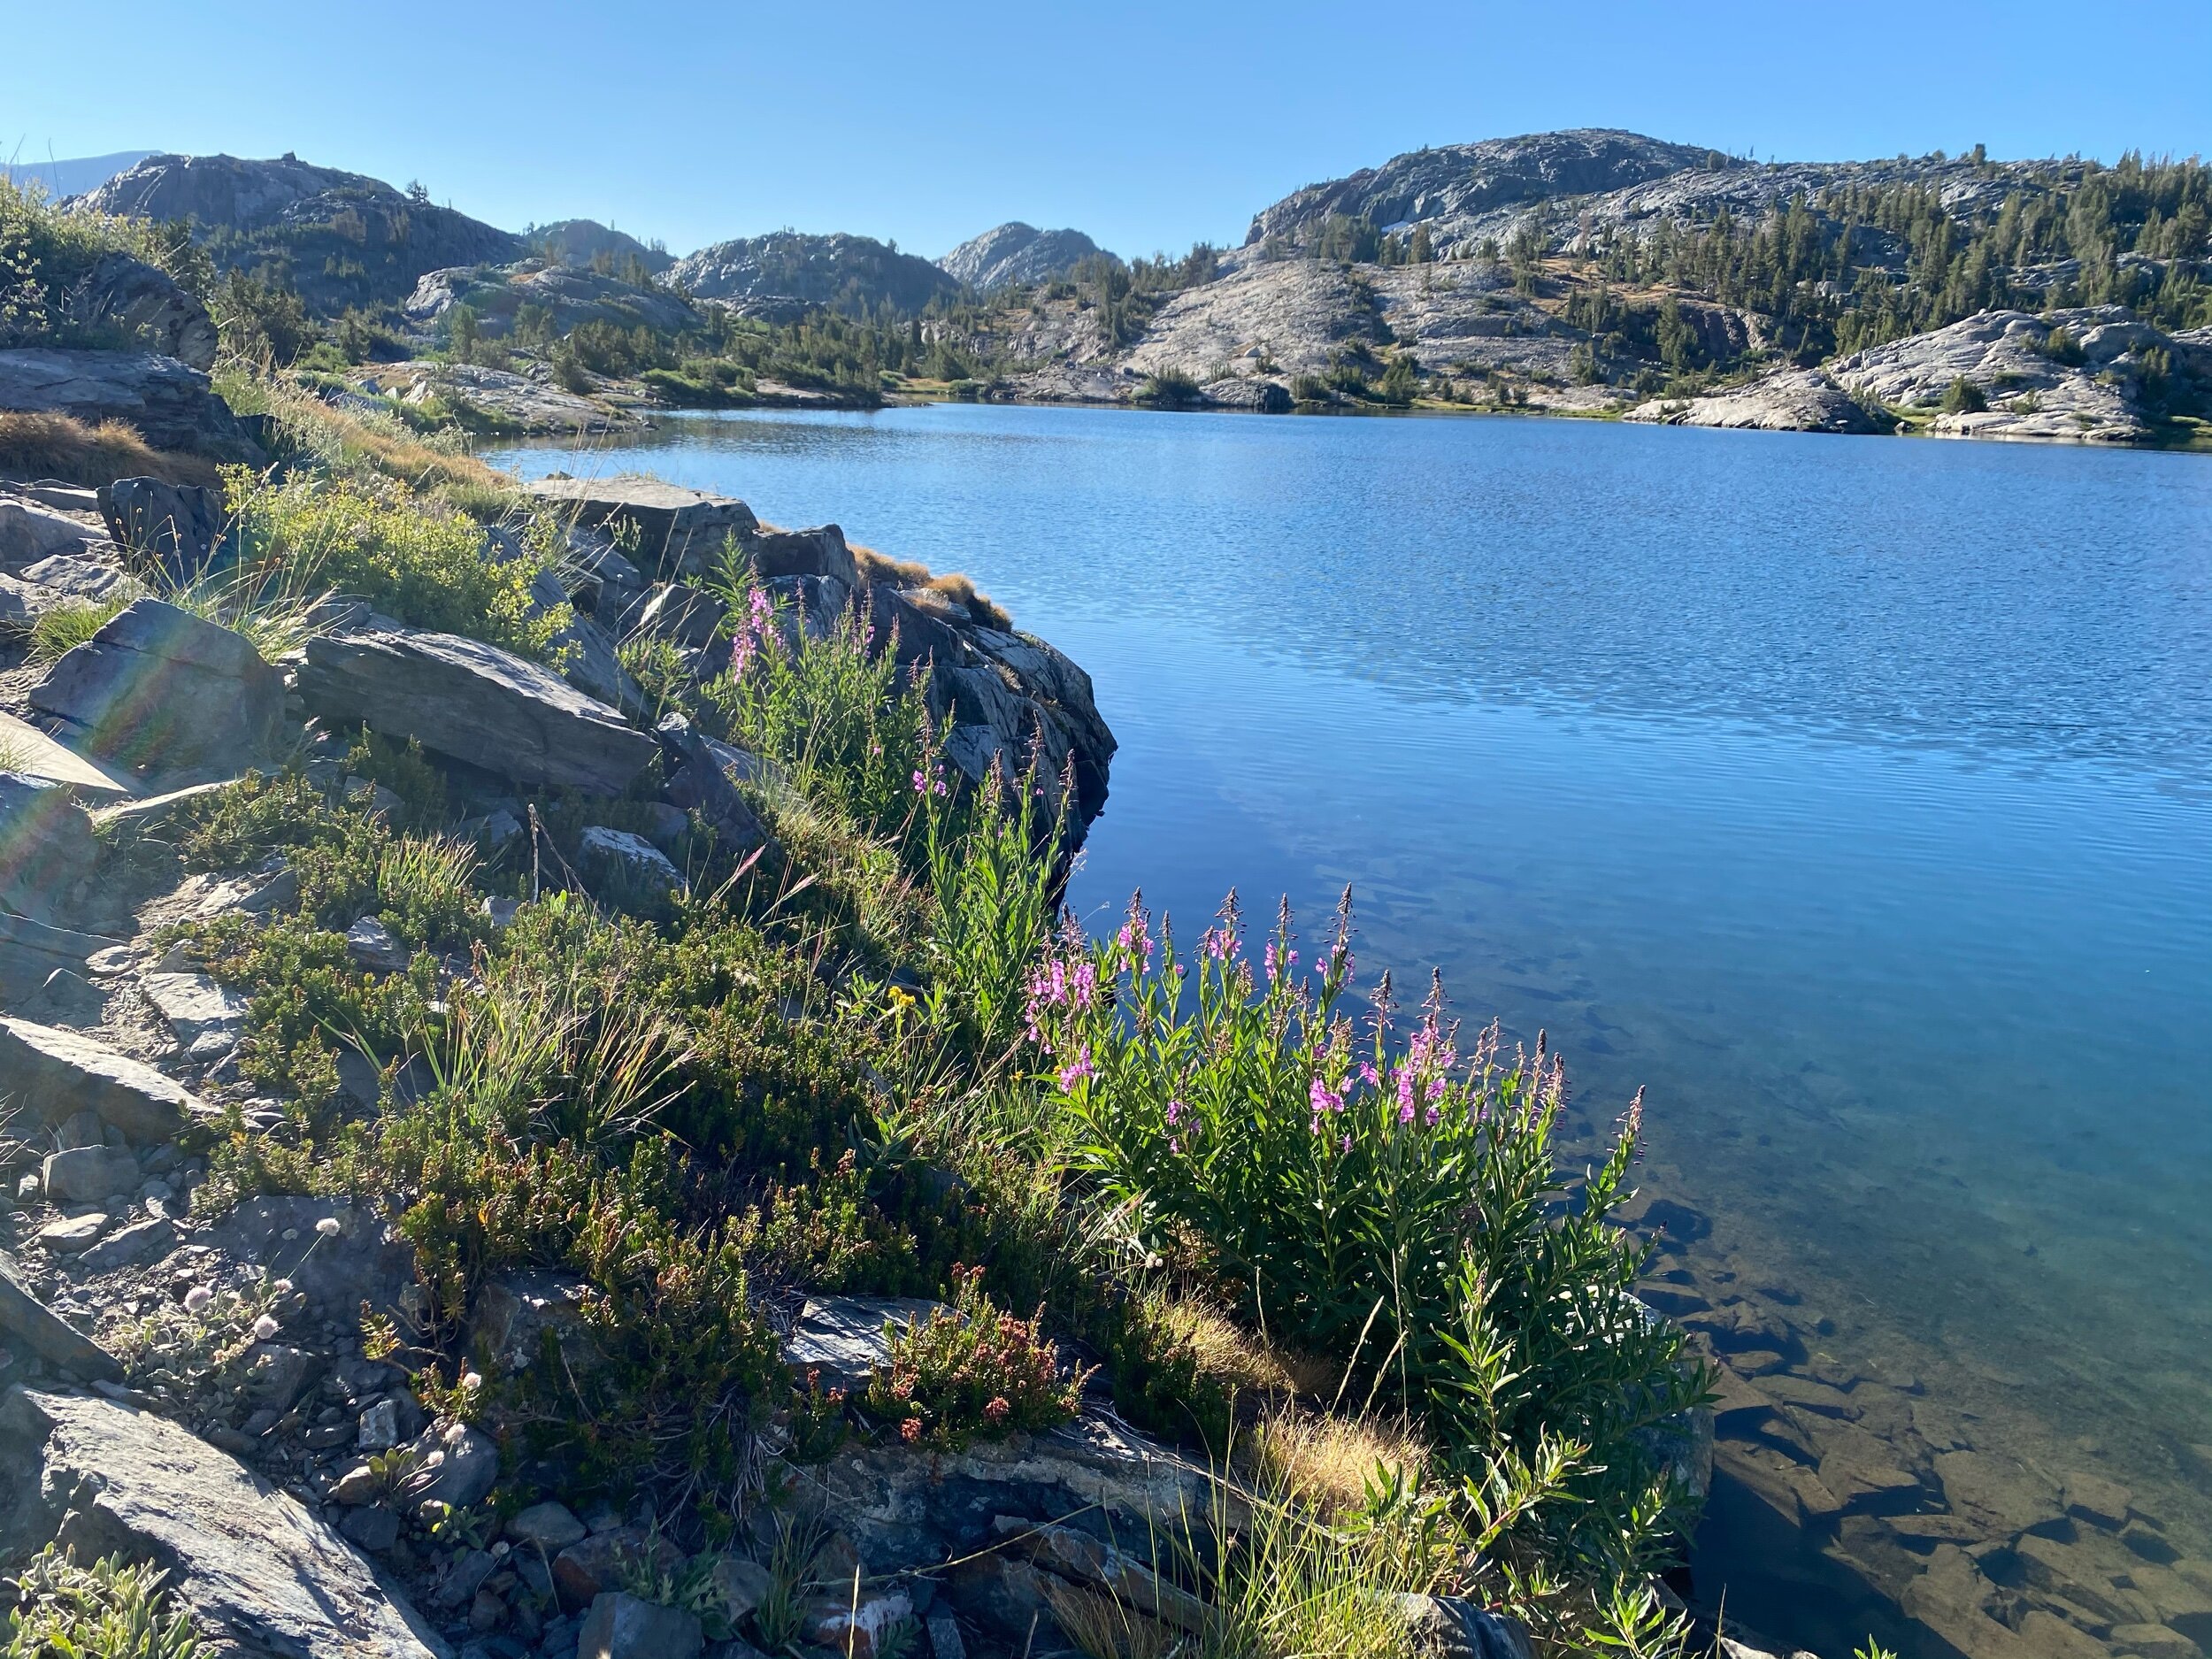
Once you’ve reached the top of this pass, you’ll actually have cell service to check in with friends or family if you’d like. The stretch of trail from Garnet Lake to Thousand Island is lake heaven. You’ll descend into pine groves until you arrive at Ruby Lake. You’ll continue along the John Muir Trail until another lake comes into view. You’ll walk around Emerald Lake, where I’d highly recommend stopping for a lunch break. After taking a break at Emerald Lake, you’ll do a little bit of climbing before dropping down to the outlet of Thousand Island Lake.
Upon arriving at Thousand Island Lake, you’ll cross another footbridge and see a junction sign. When you reach the JMT junction, make sure to stay to the left. If you start climbing again, you’ve accidentally missed the lakeside trail and are still walking on the JMT. Follow the trail around the lake to where campsites are.
Camping at Thousand Island Lake: When looking for a campsite at Thousand Island Lake, please be mindful that there are camping restrictions prohibiting camping within ¼ mile of the outlet of the lake. Thousand Island Lake also seems to be one of the places where camping within 200 ft of a water source is broken far too frequently. While I almost guarantee there will be people camped on the islands, peninsulas, or generally too close to the lake, please do your part and camp in an appropriate place. When looking for a campsite, please do not use any of the sites that are to the left (the side closer to the lake) of the footpath. If you walk about .75 miles or further, you’ll find the best, most ethical campsites to the right of the lakeside trail.
Day 4: Thousand Island Lake to Agnew Meadows
via the Pacific Crest Trail High Route

Miles: 9.5 miles
Elevation gain: 1,515 ft.
Water sources: Thousand Island Lake,
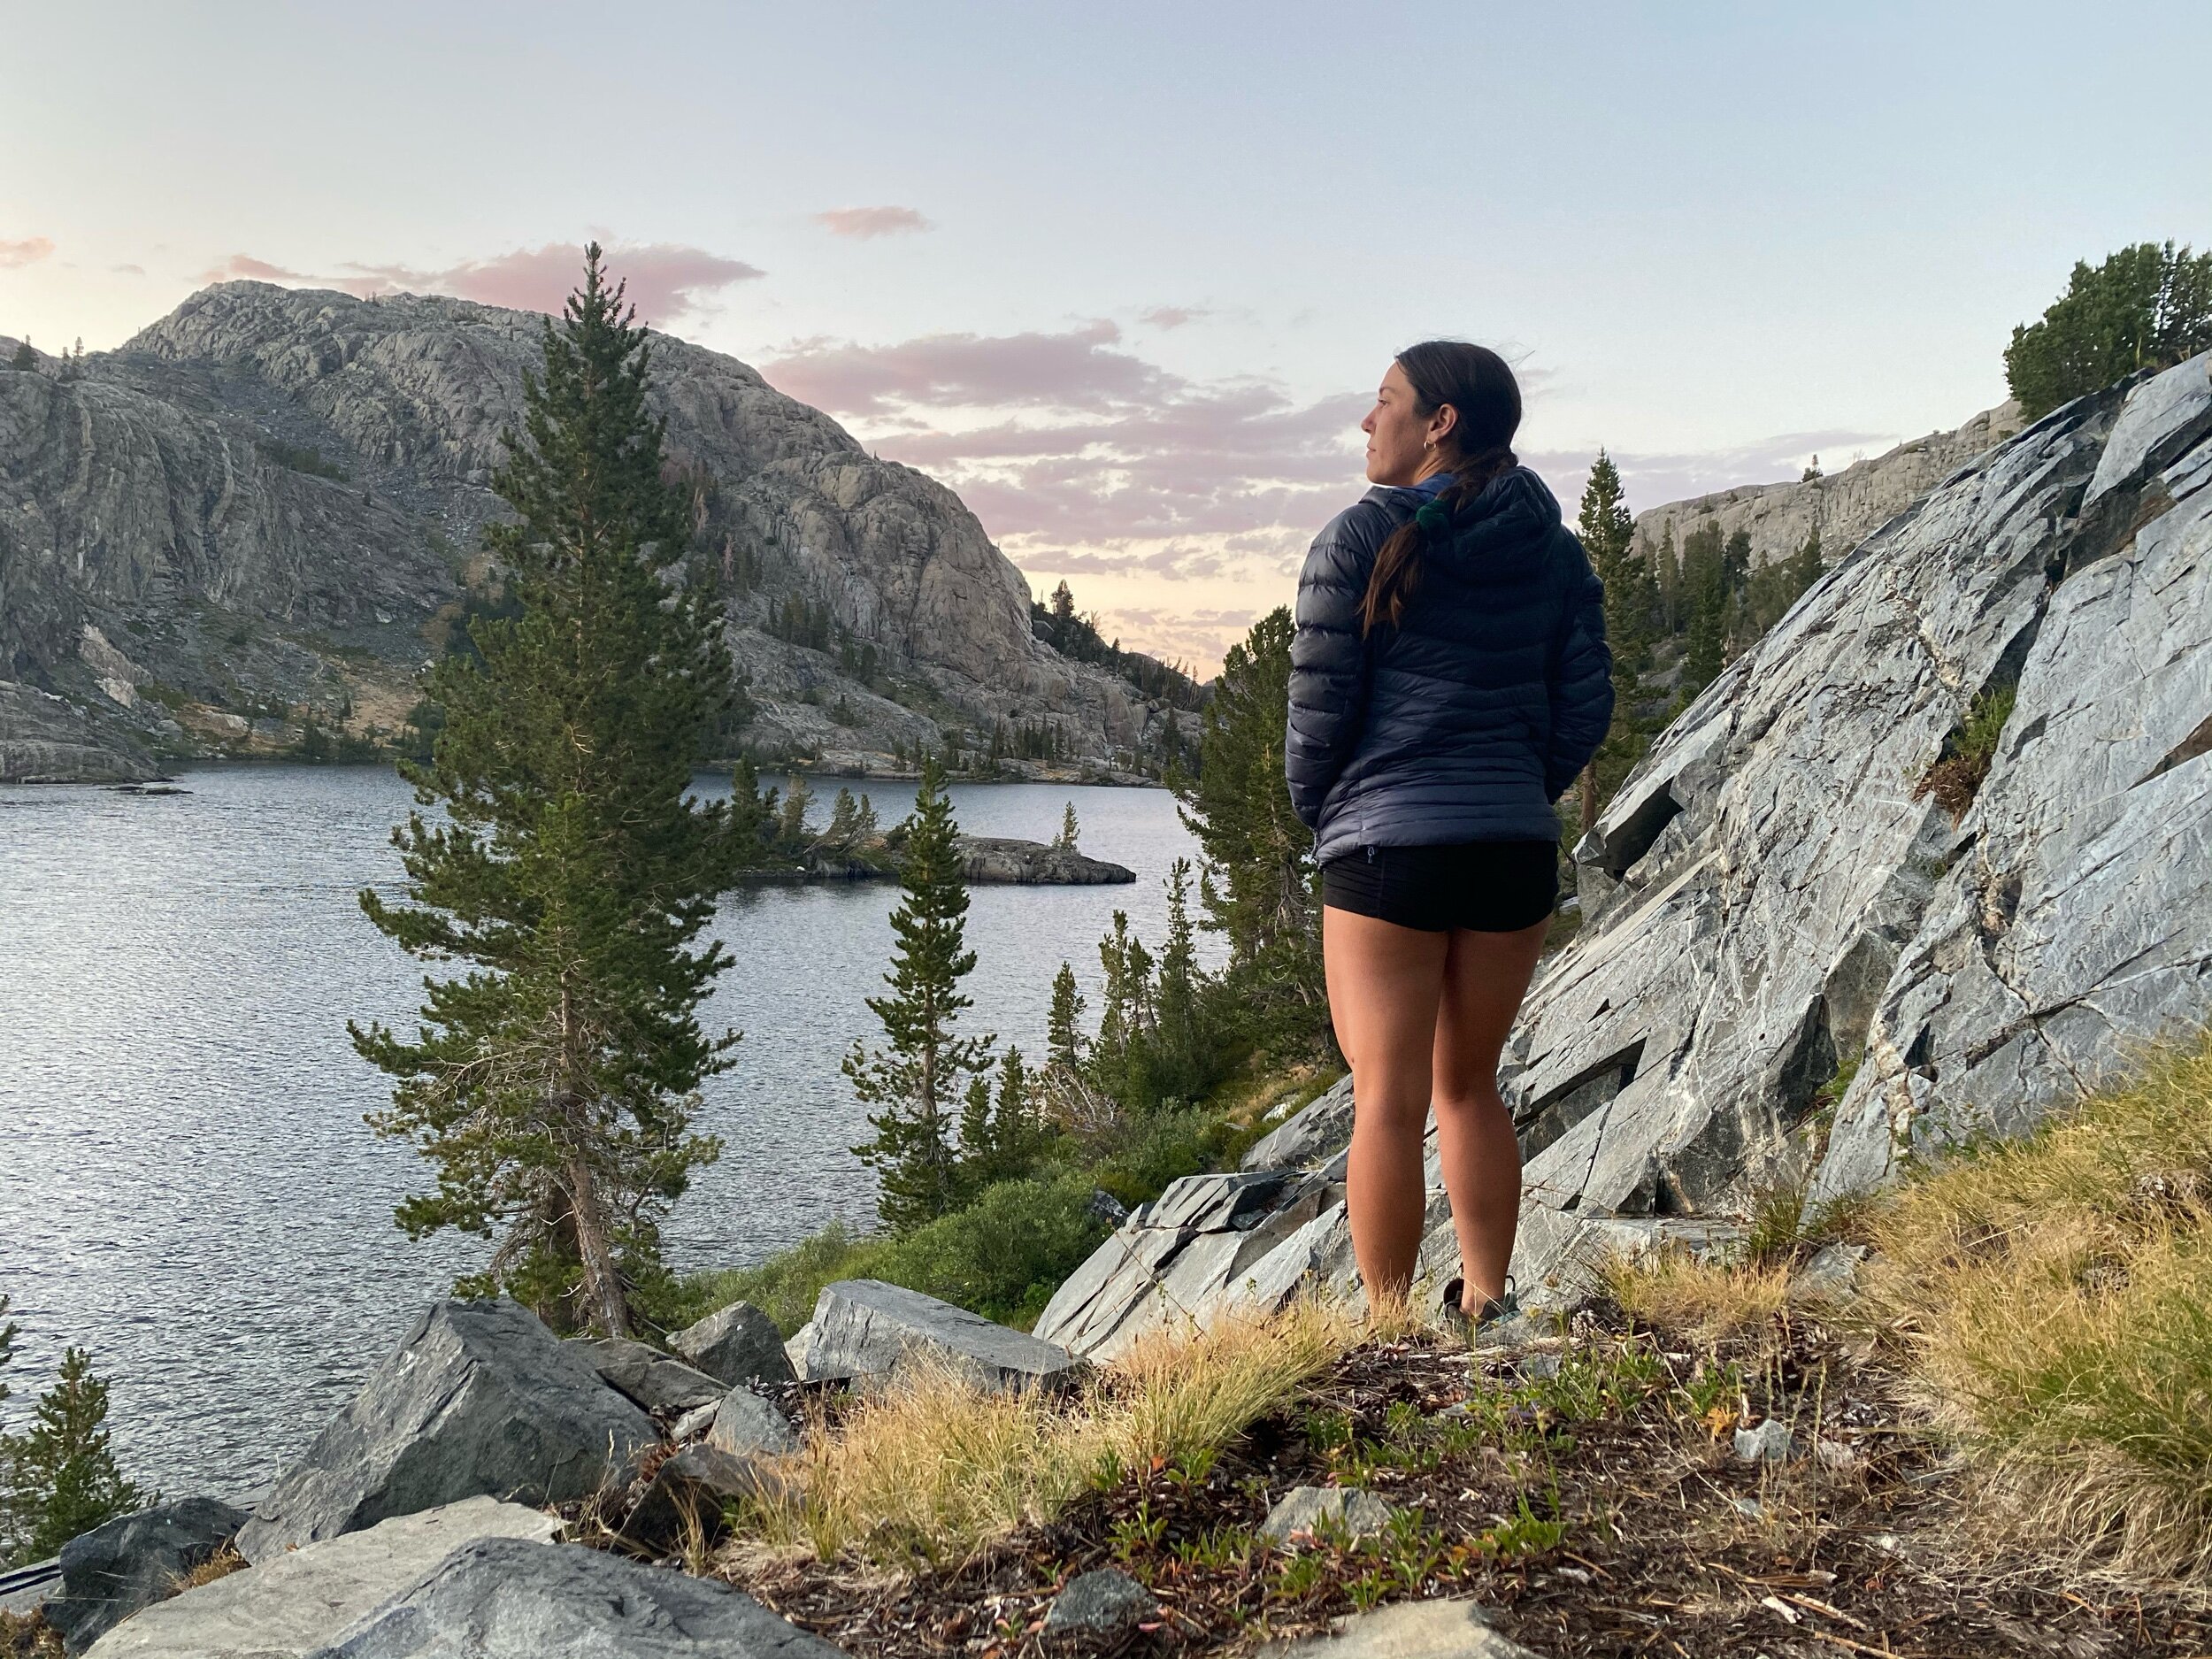
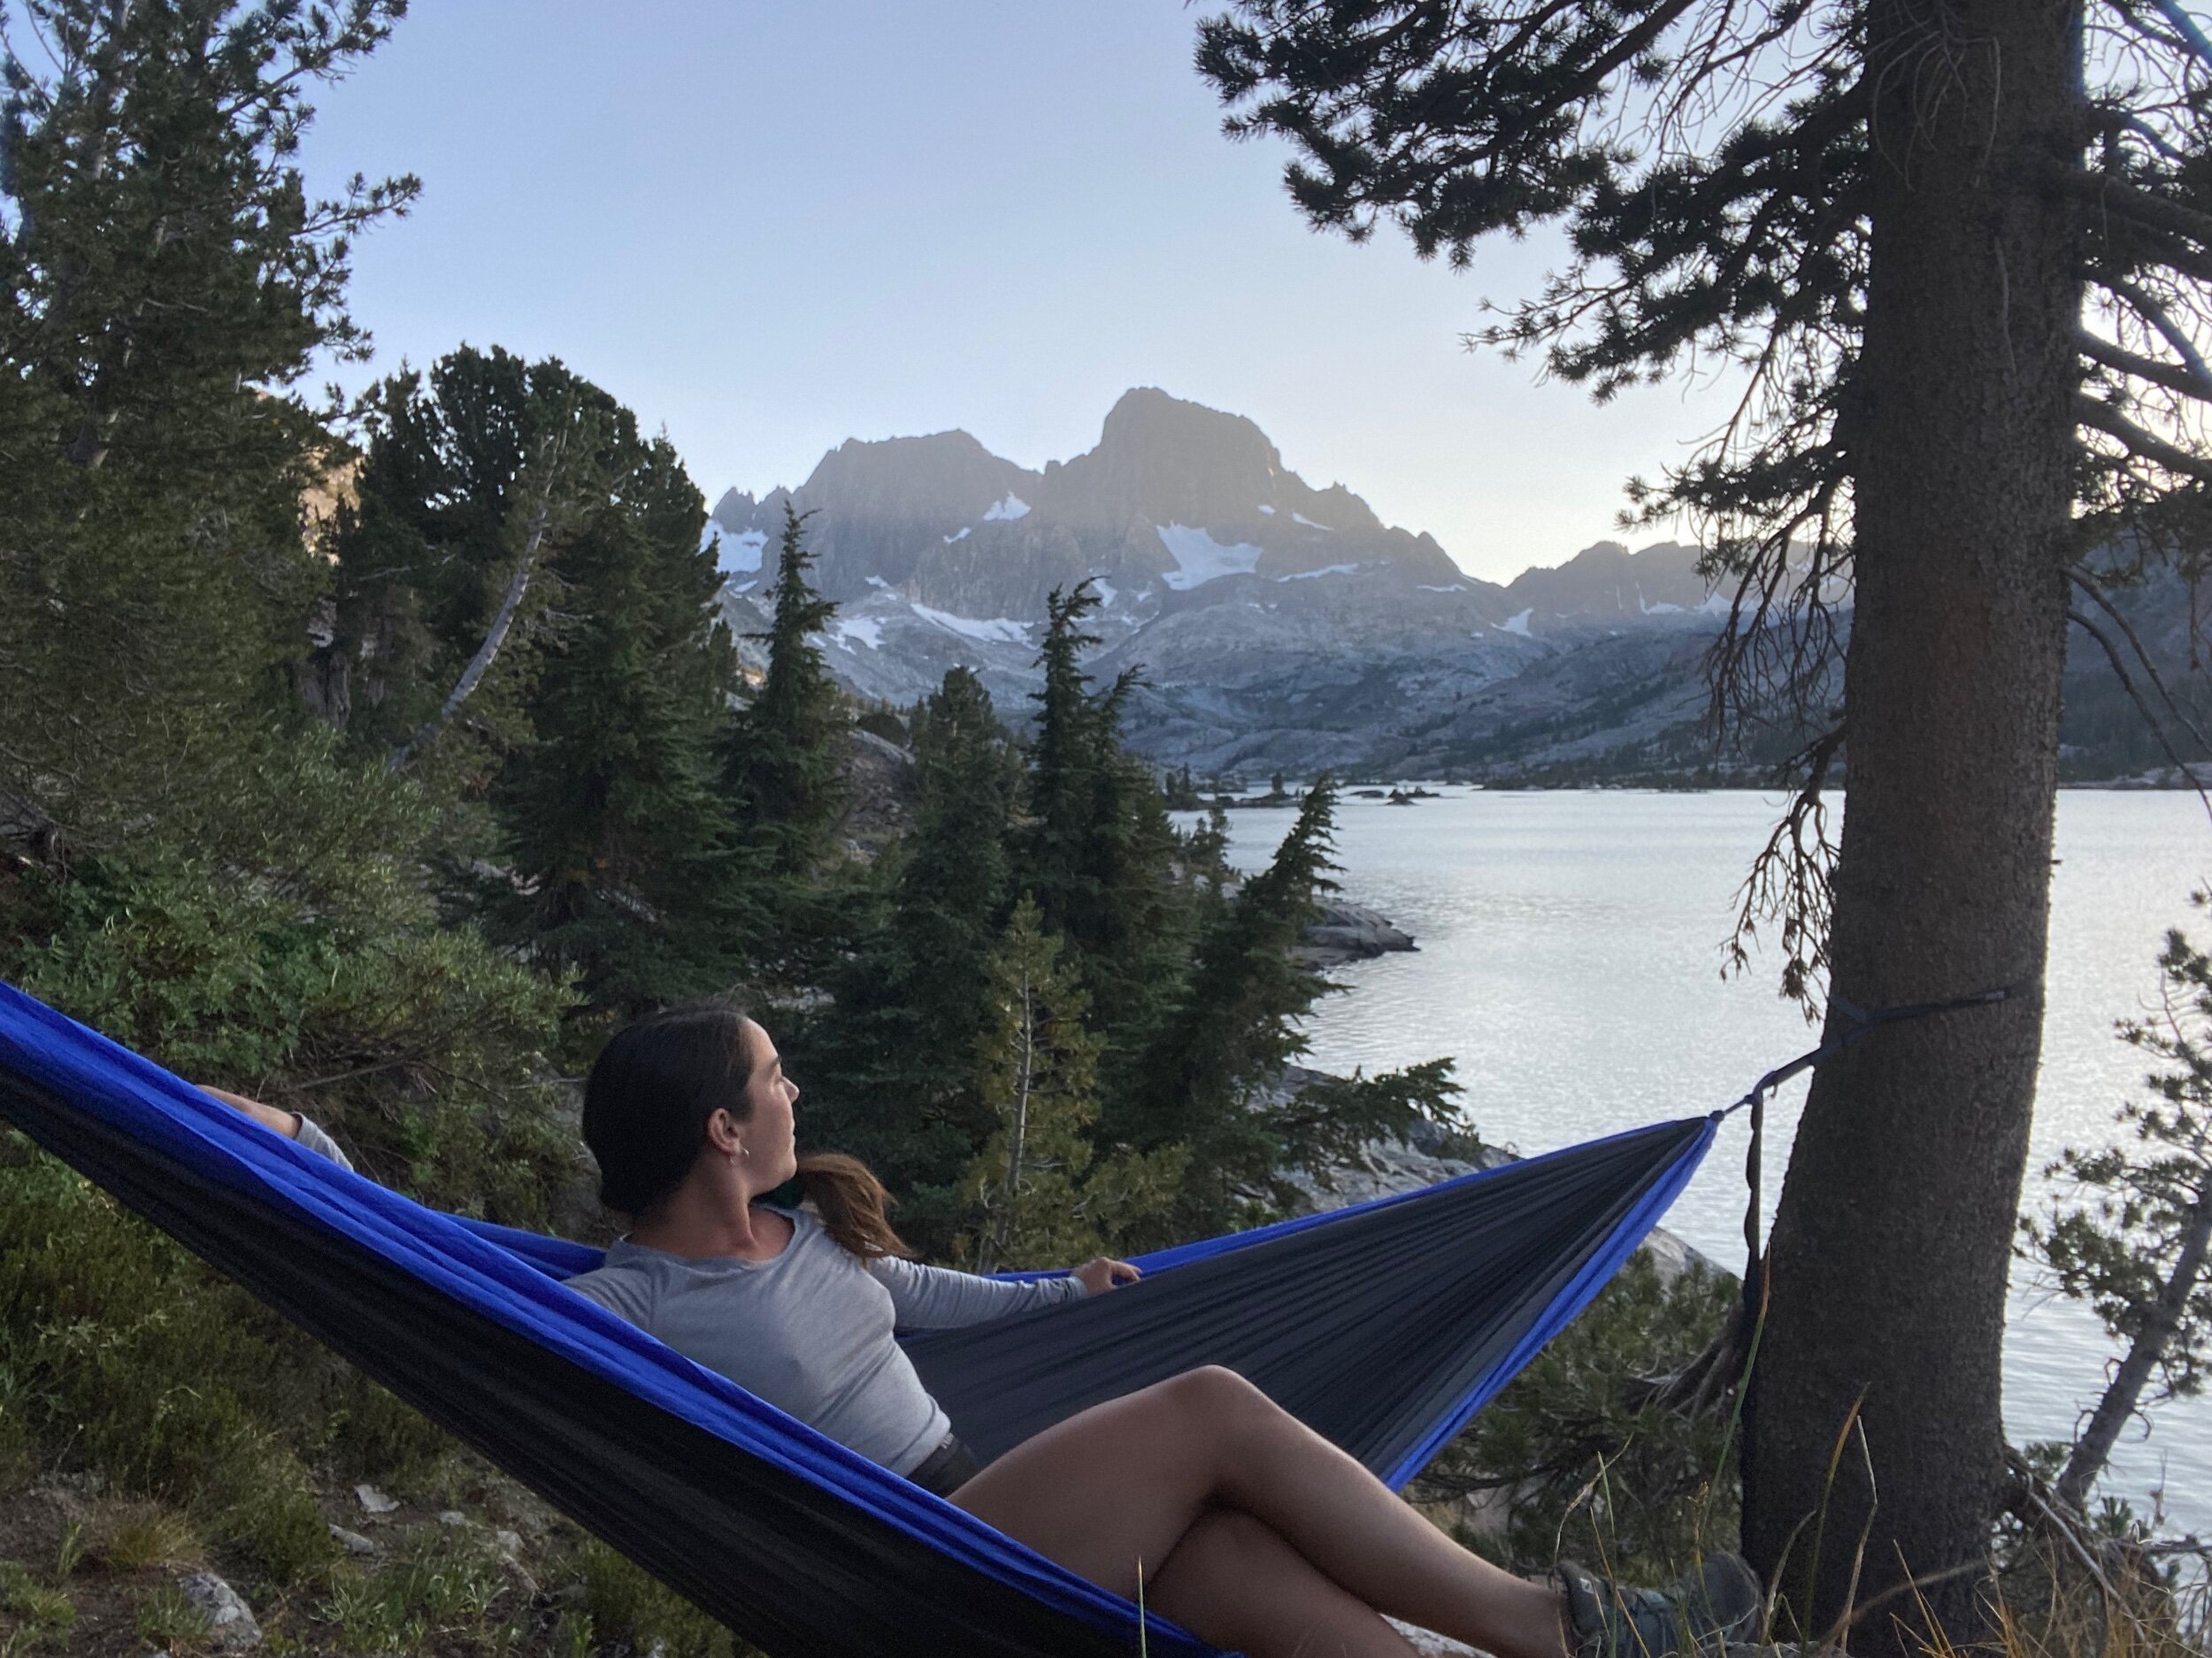
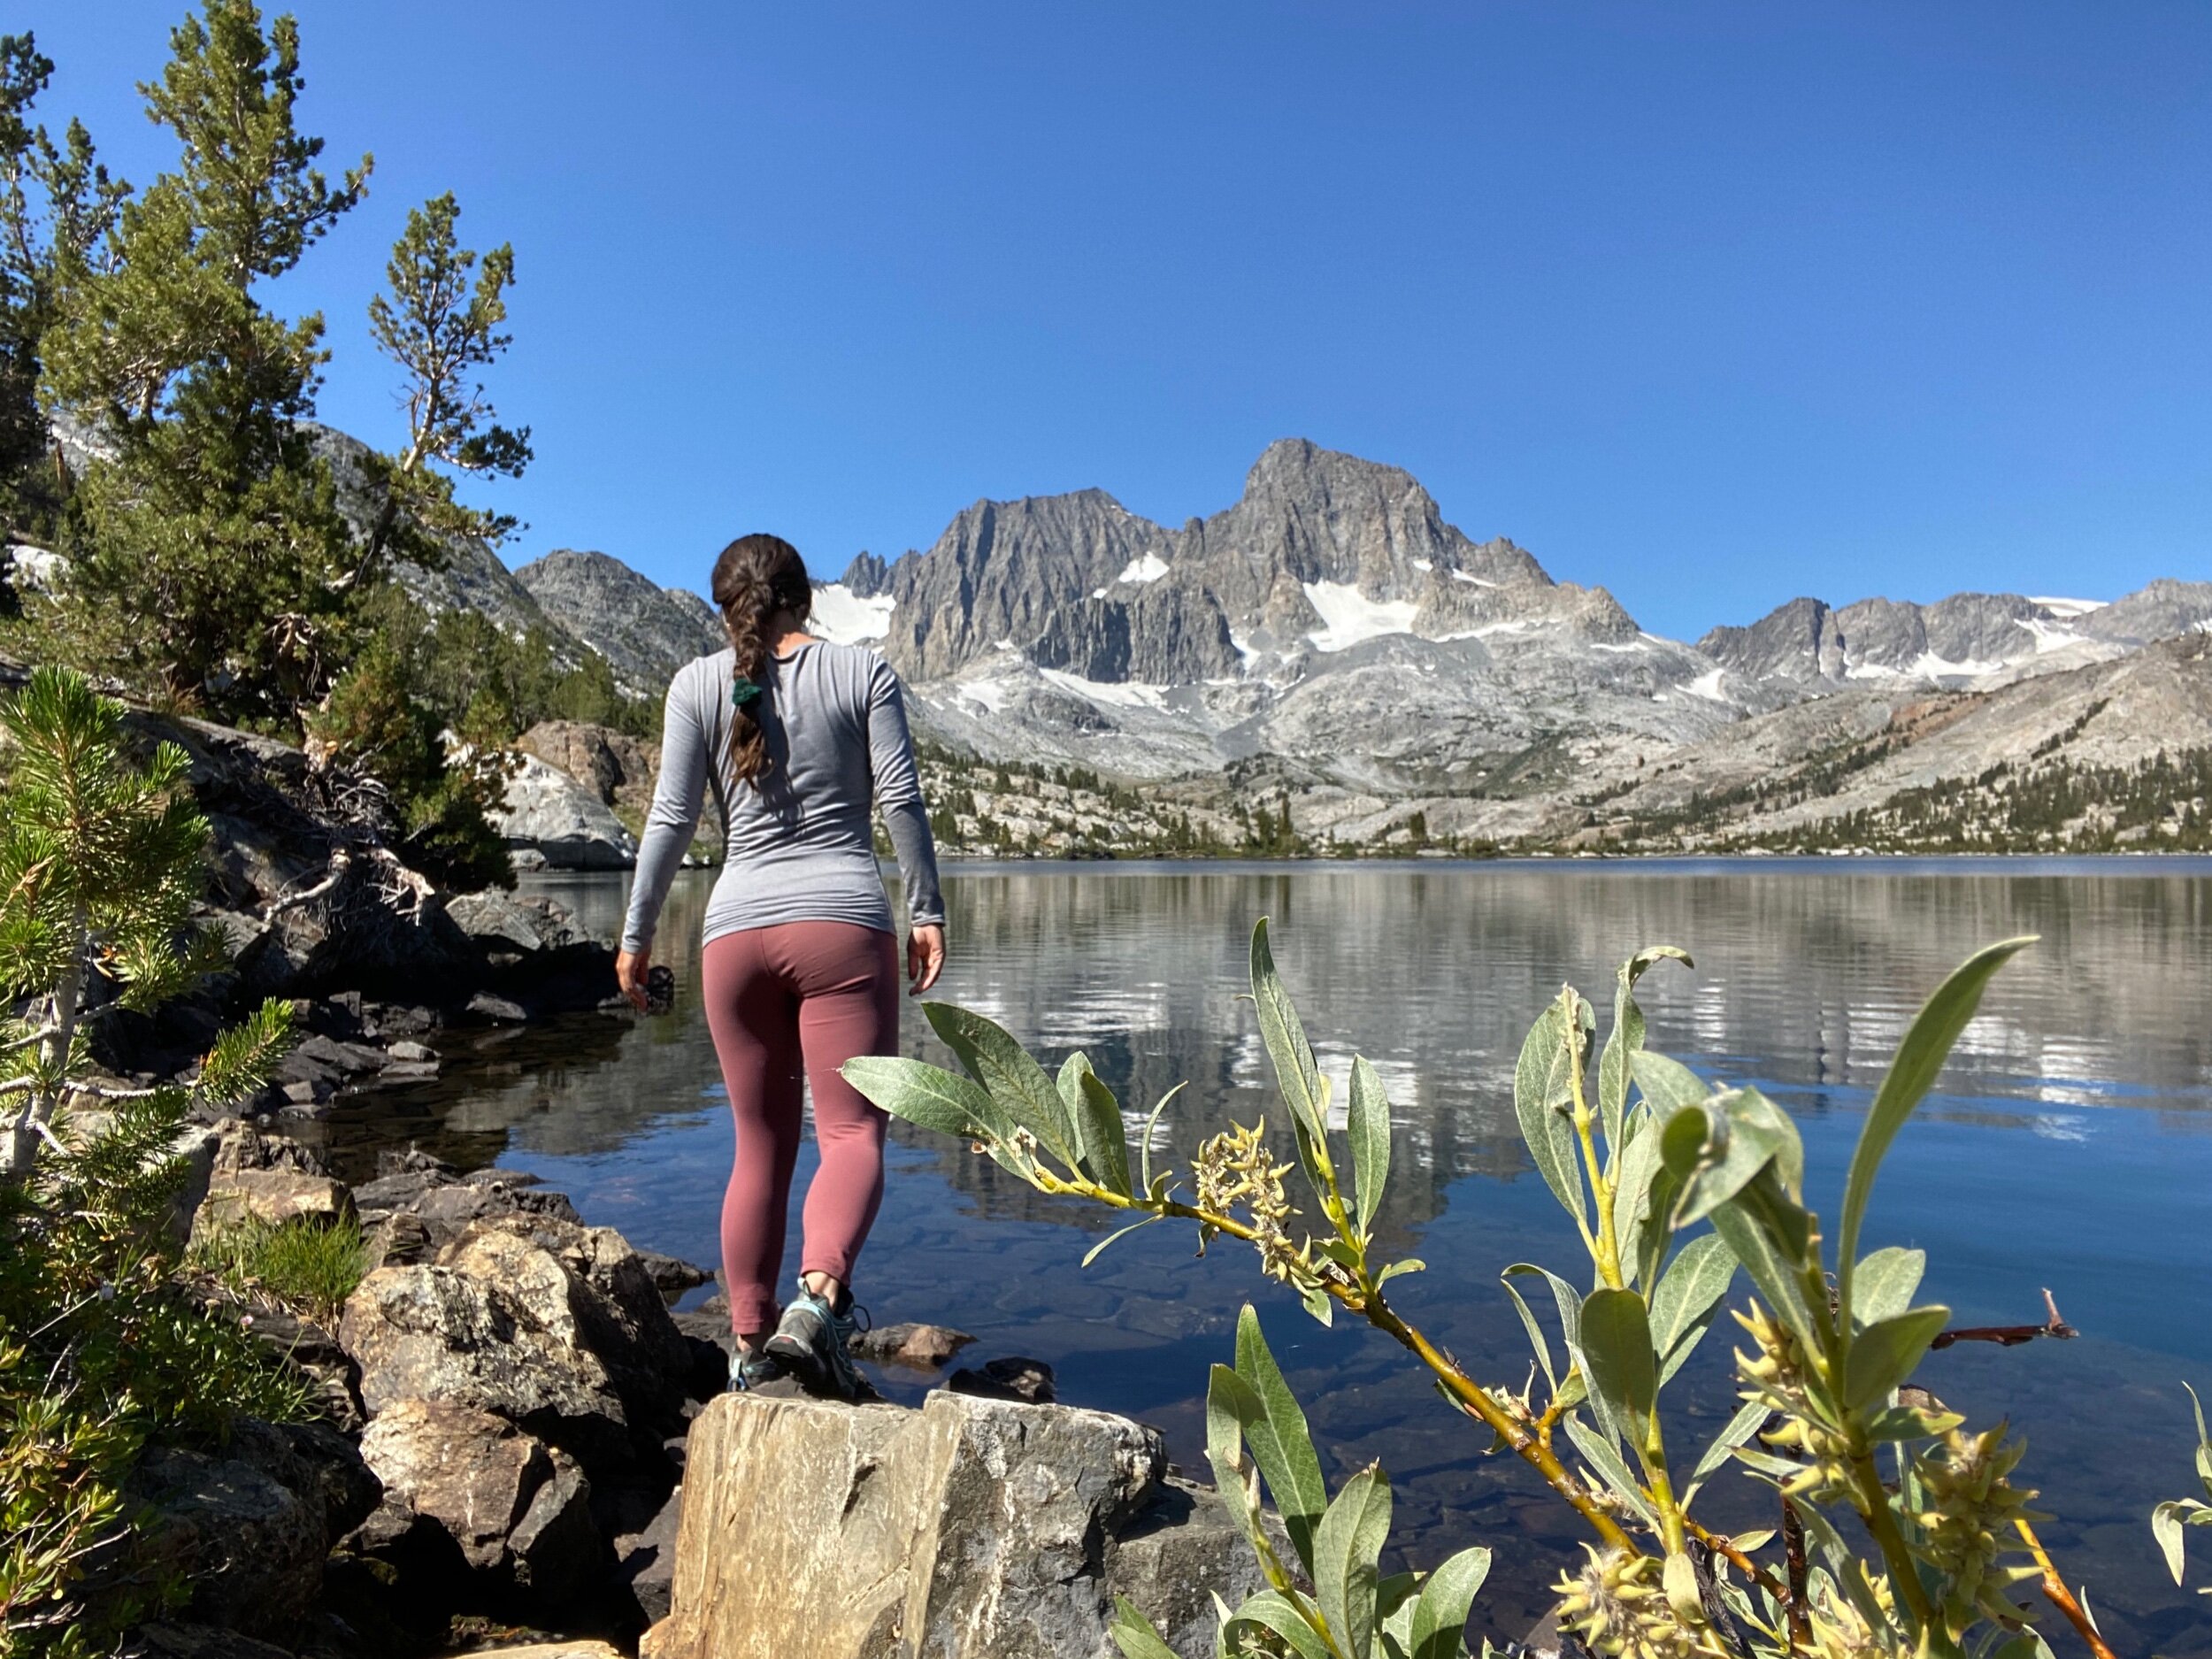
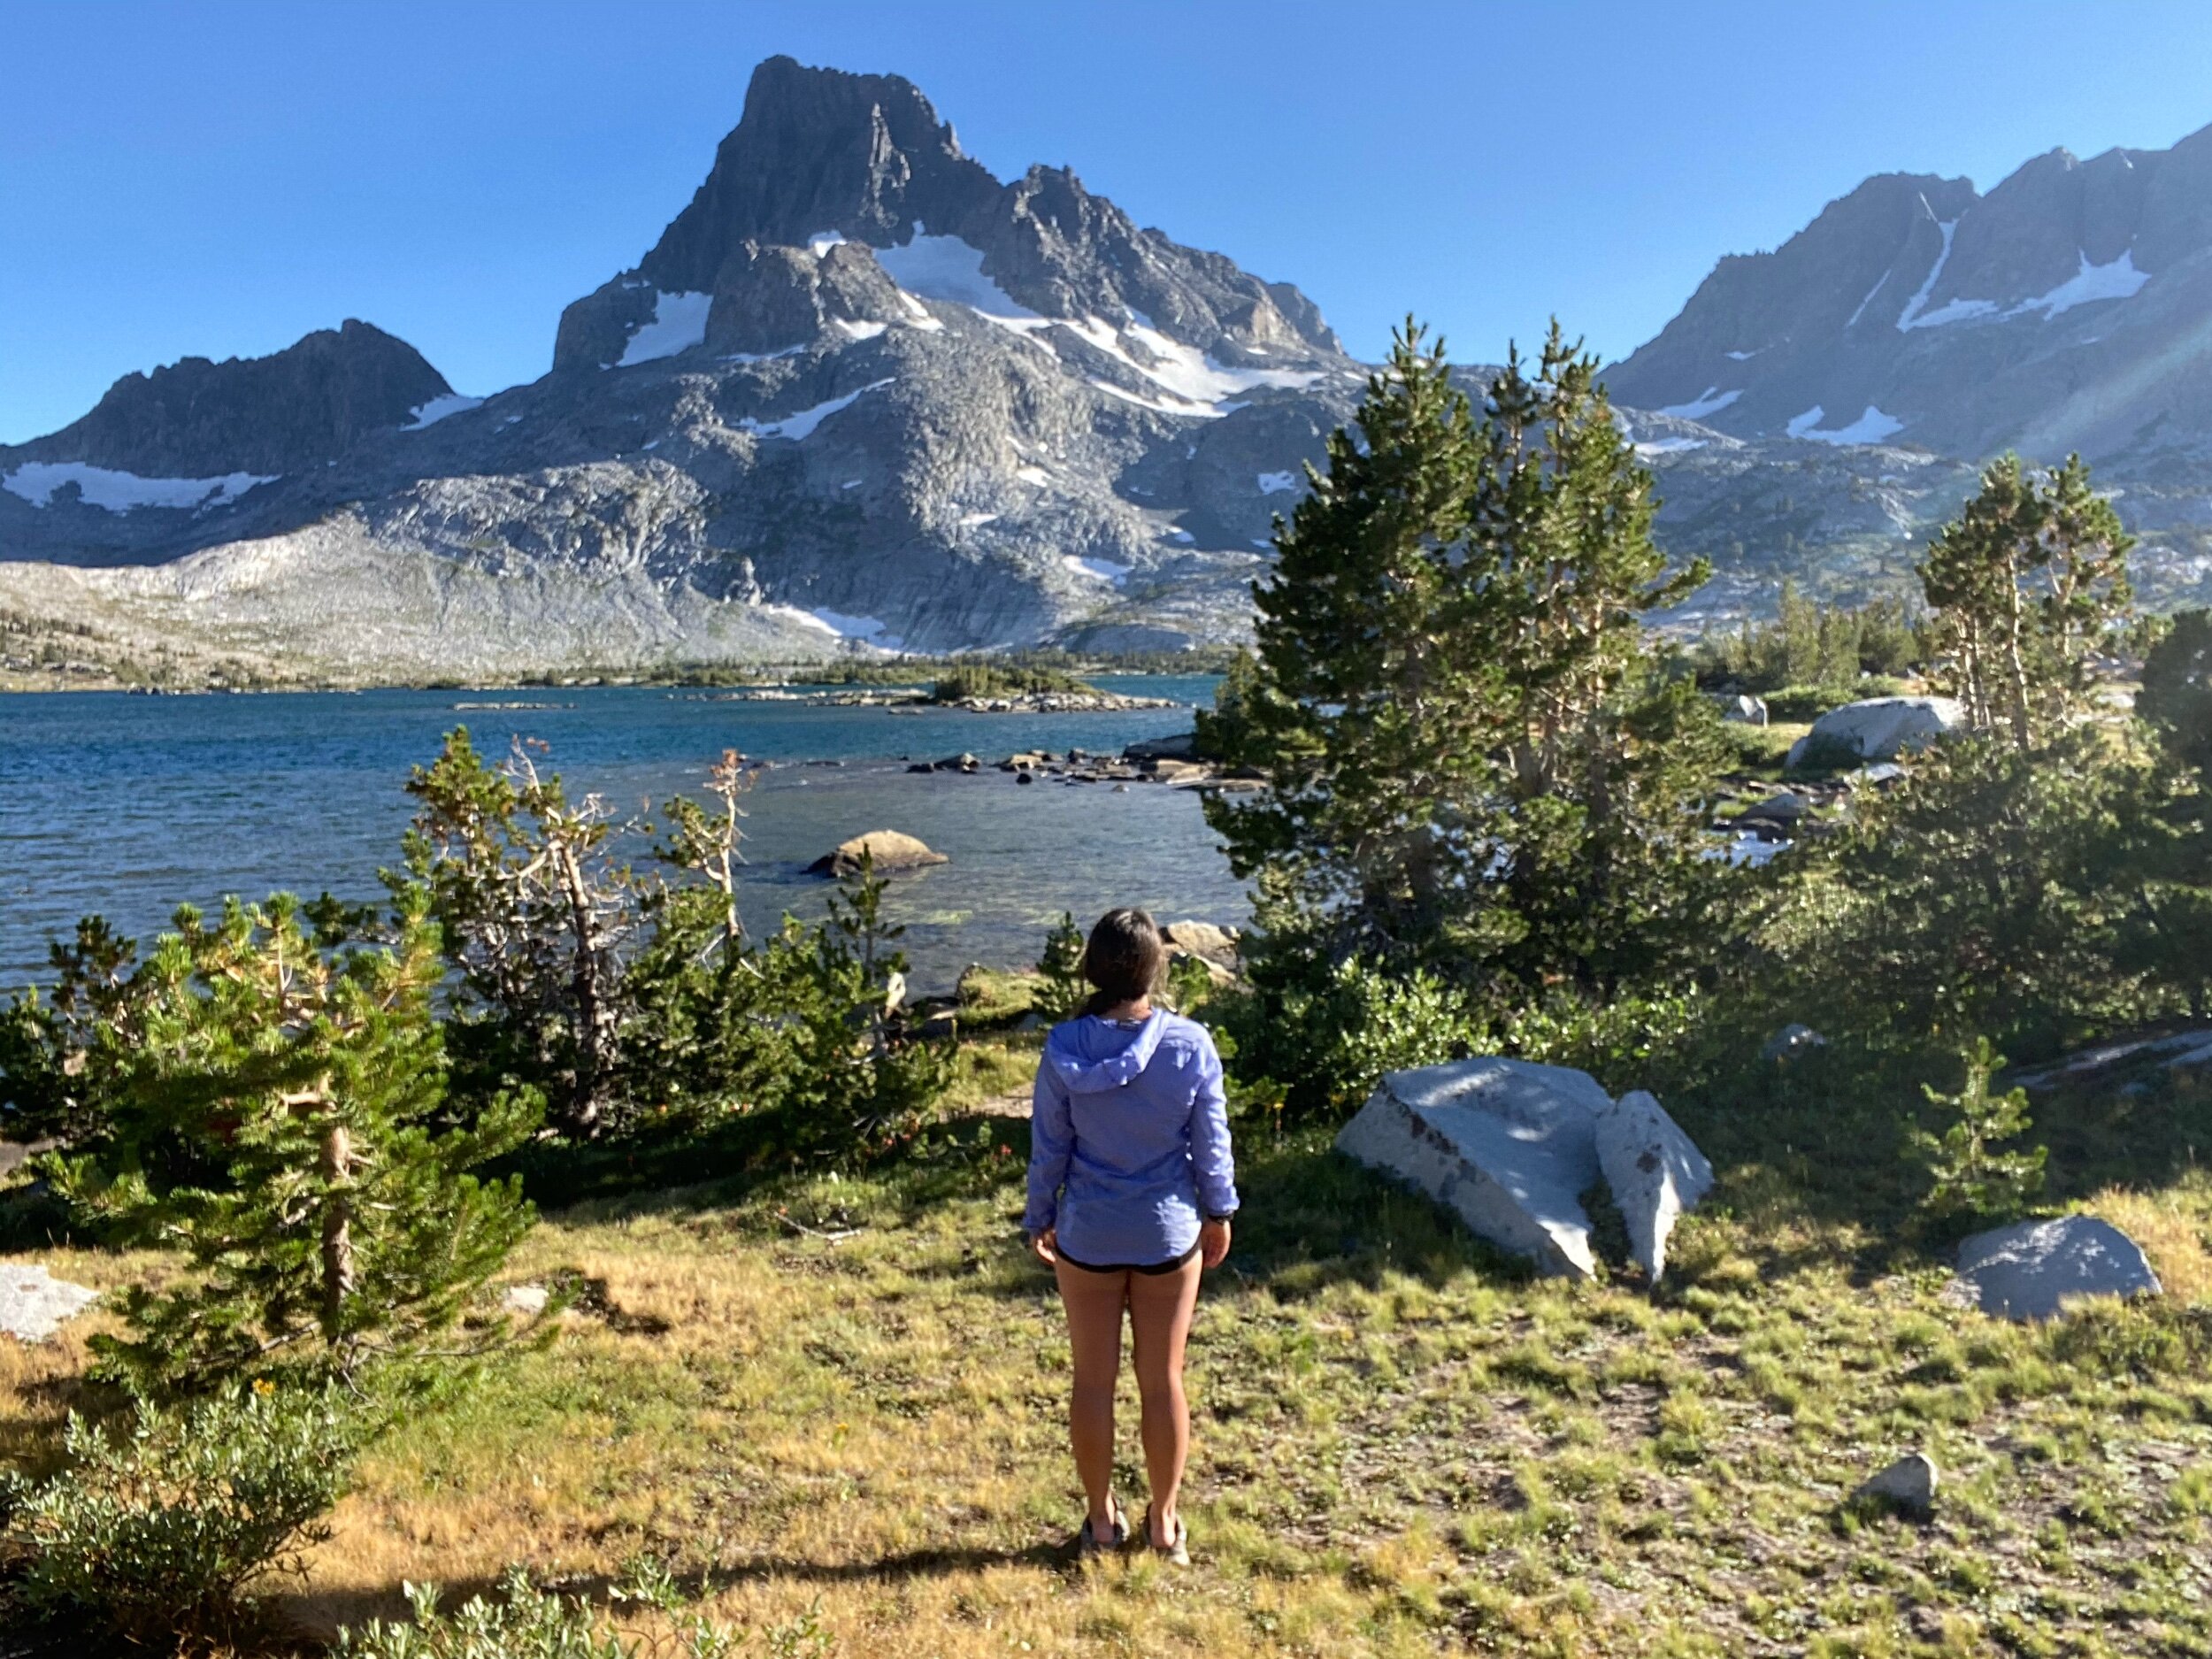
Your last day must start at sunrise to experience the magical alpenglow of Thousand Island Lake. When the water is most still in the early morning, Banner peak creates perfectly mirrored reflections in the water. It’s truly worth the early morning wake up and the main reason I believe a day hike isn’t enough to experience the beauty that can be found there.
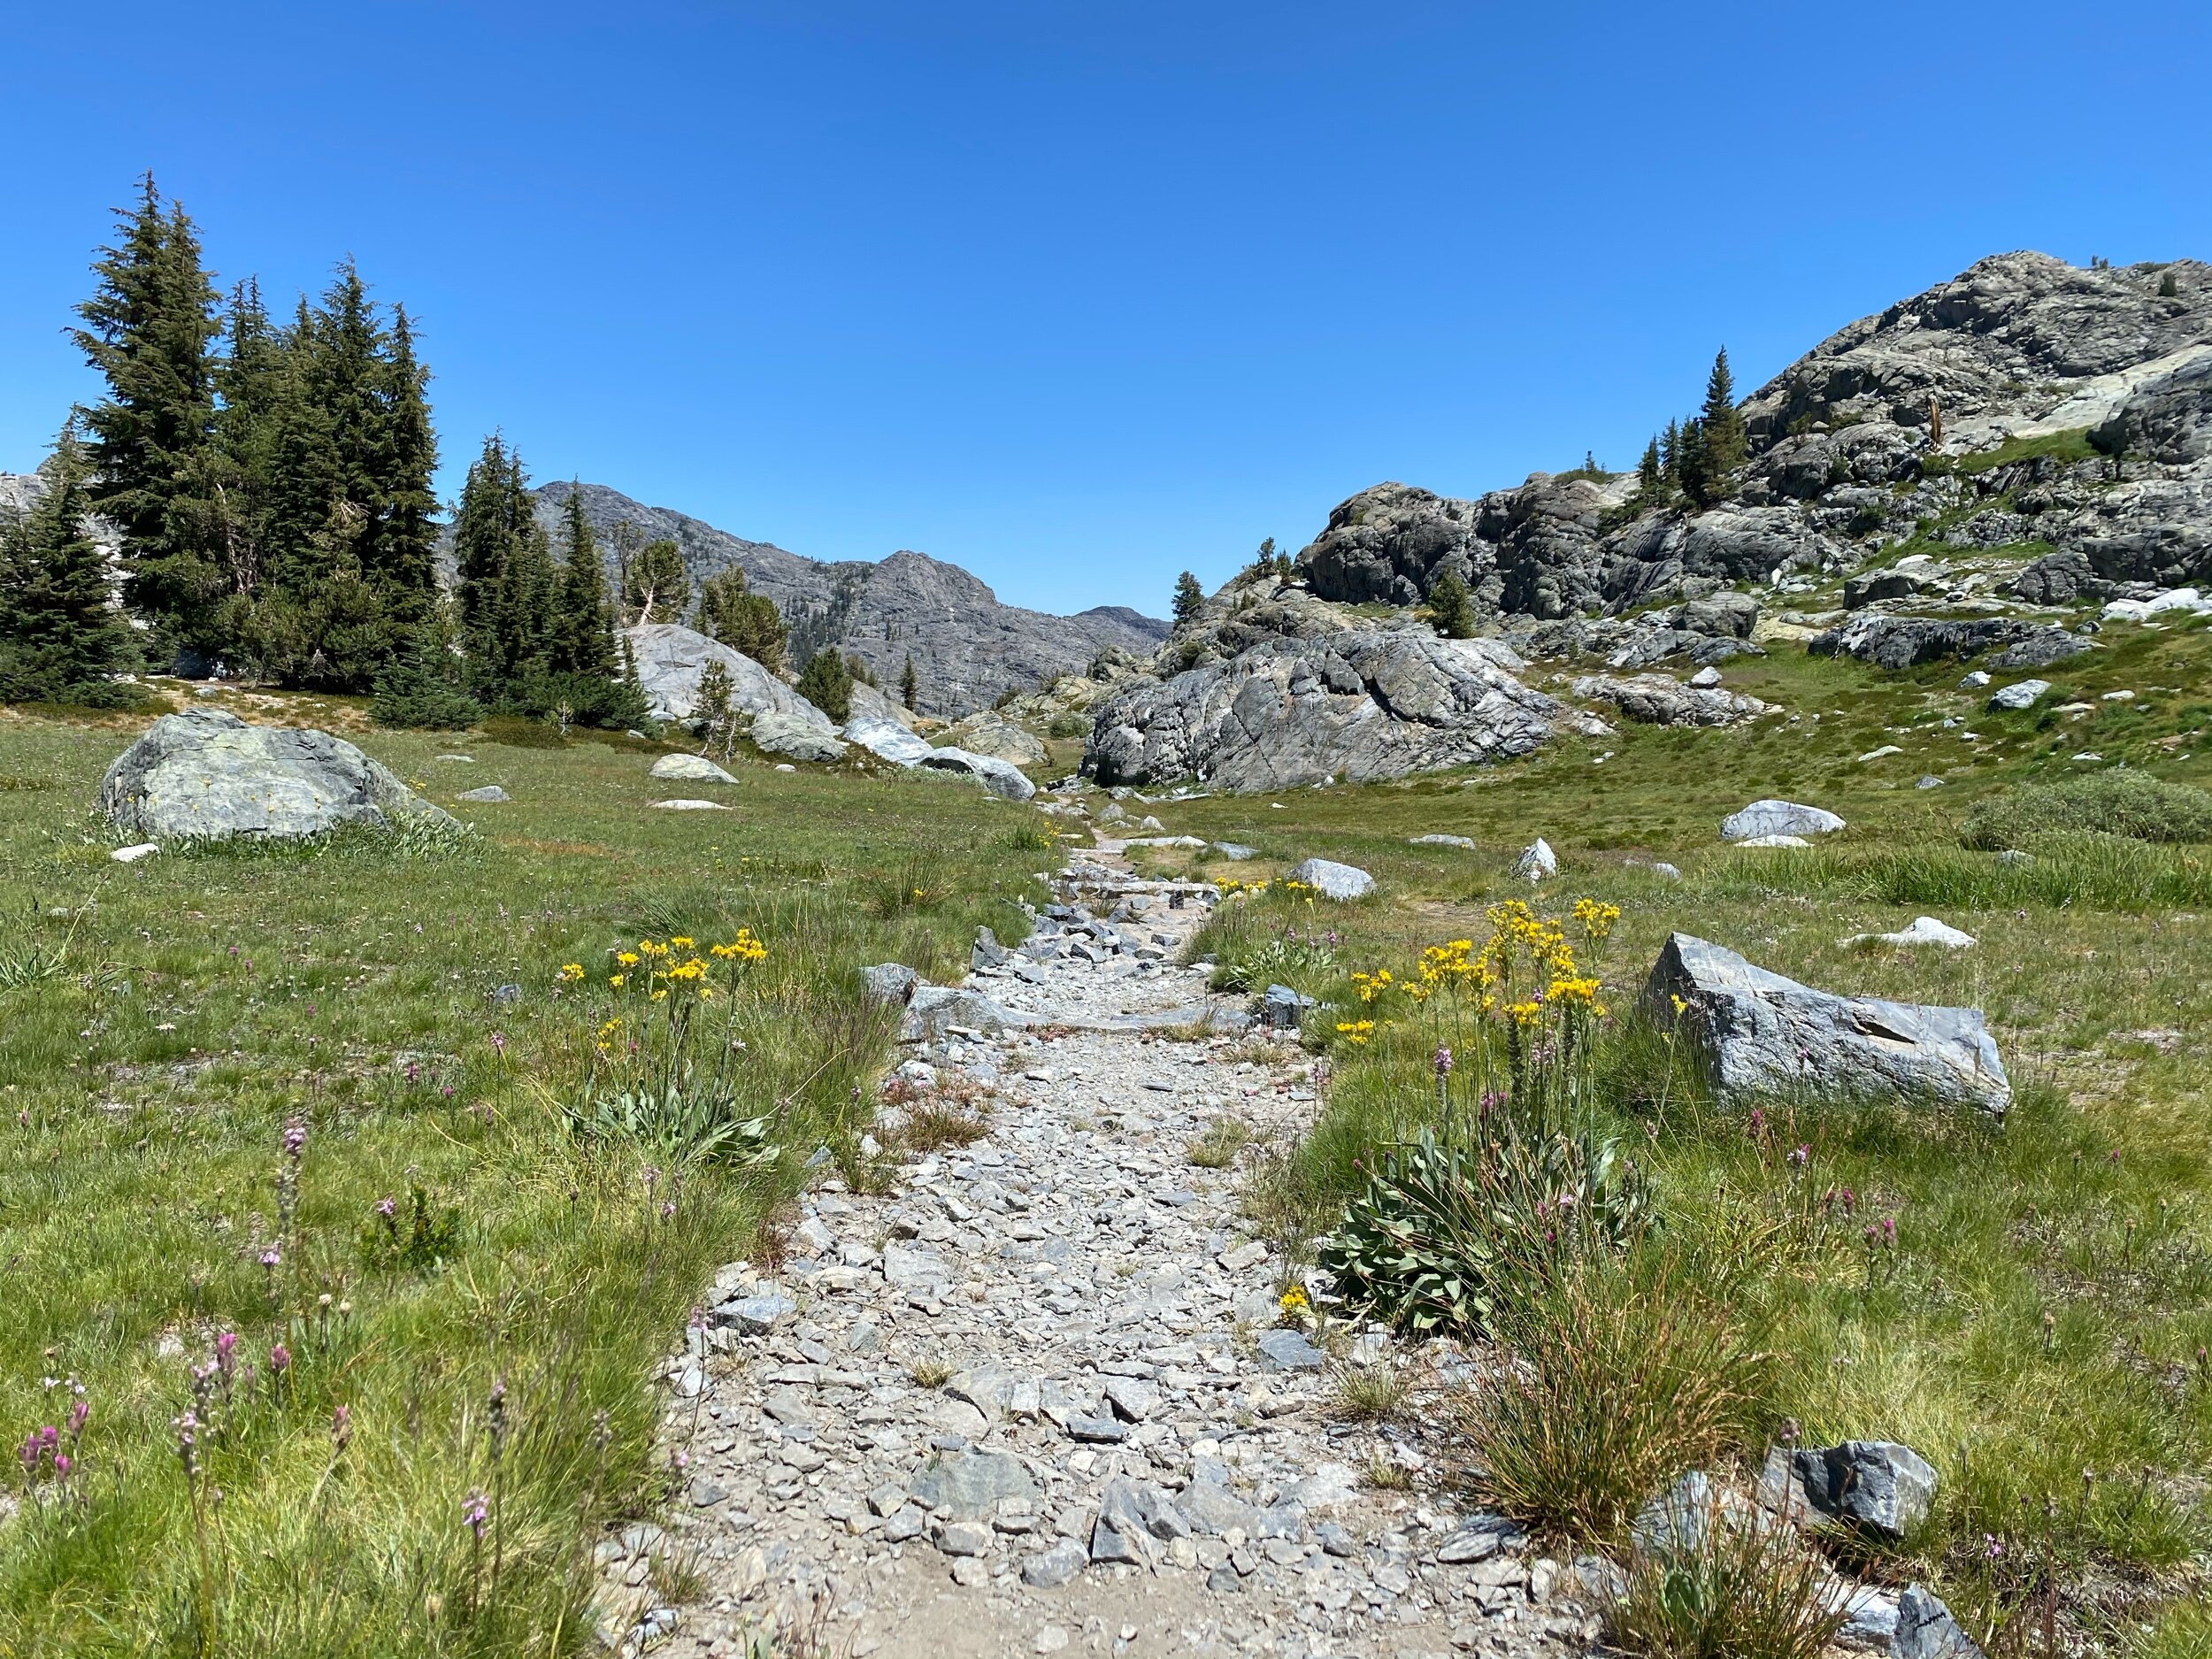
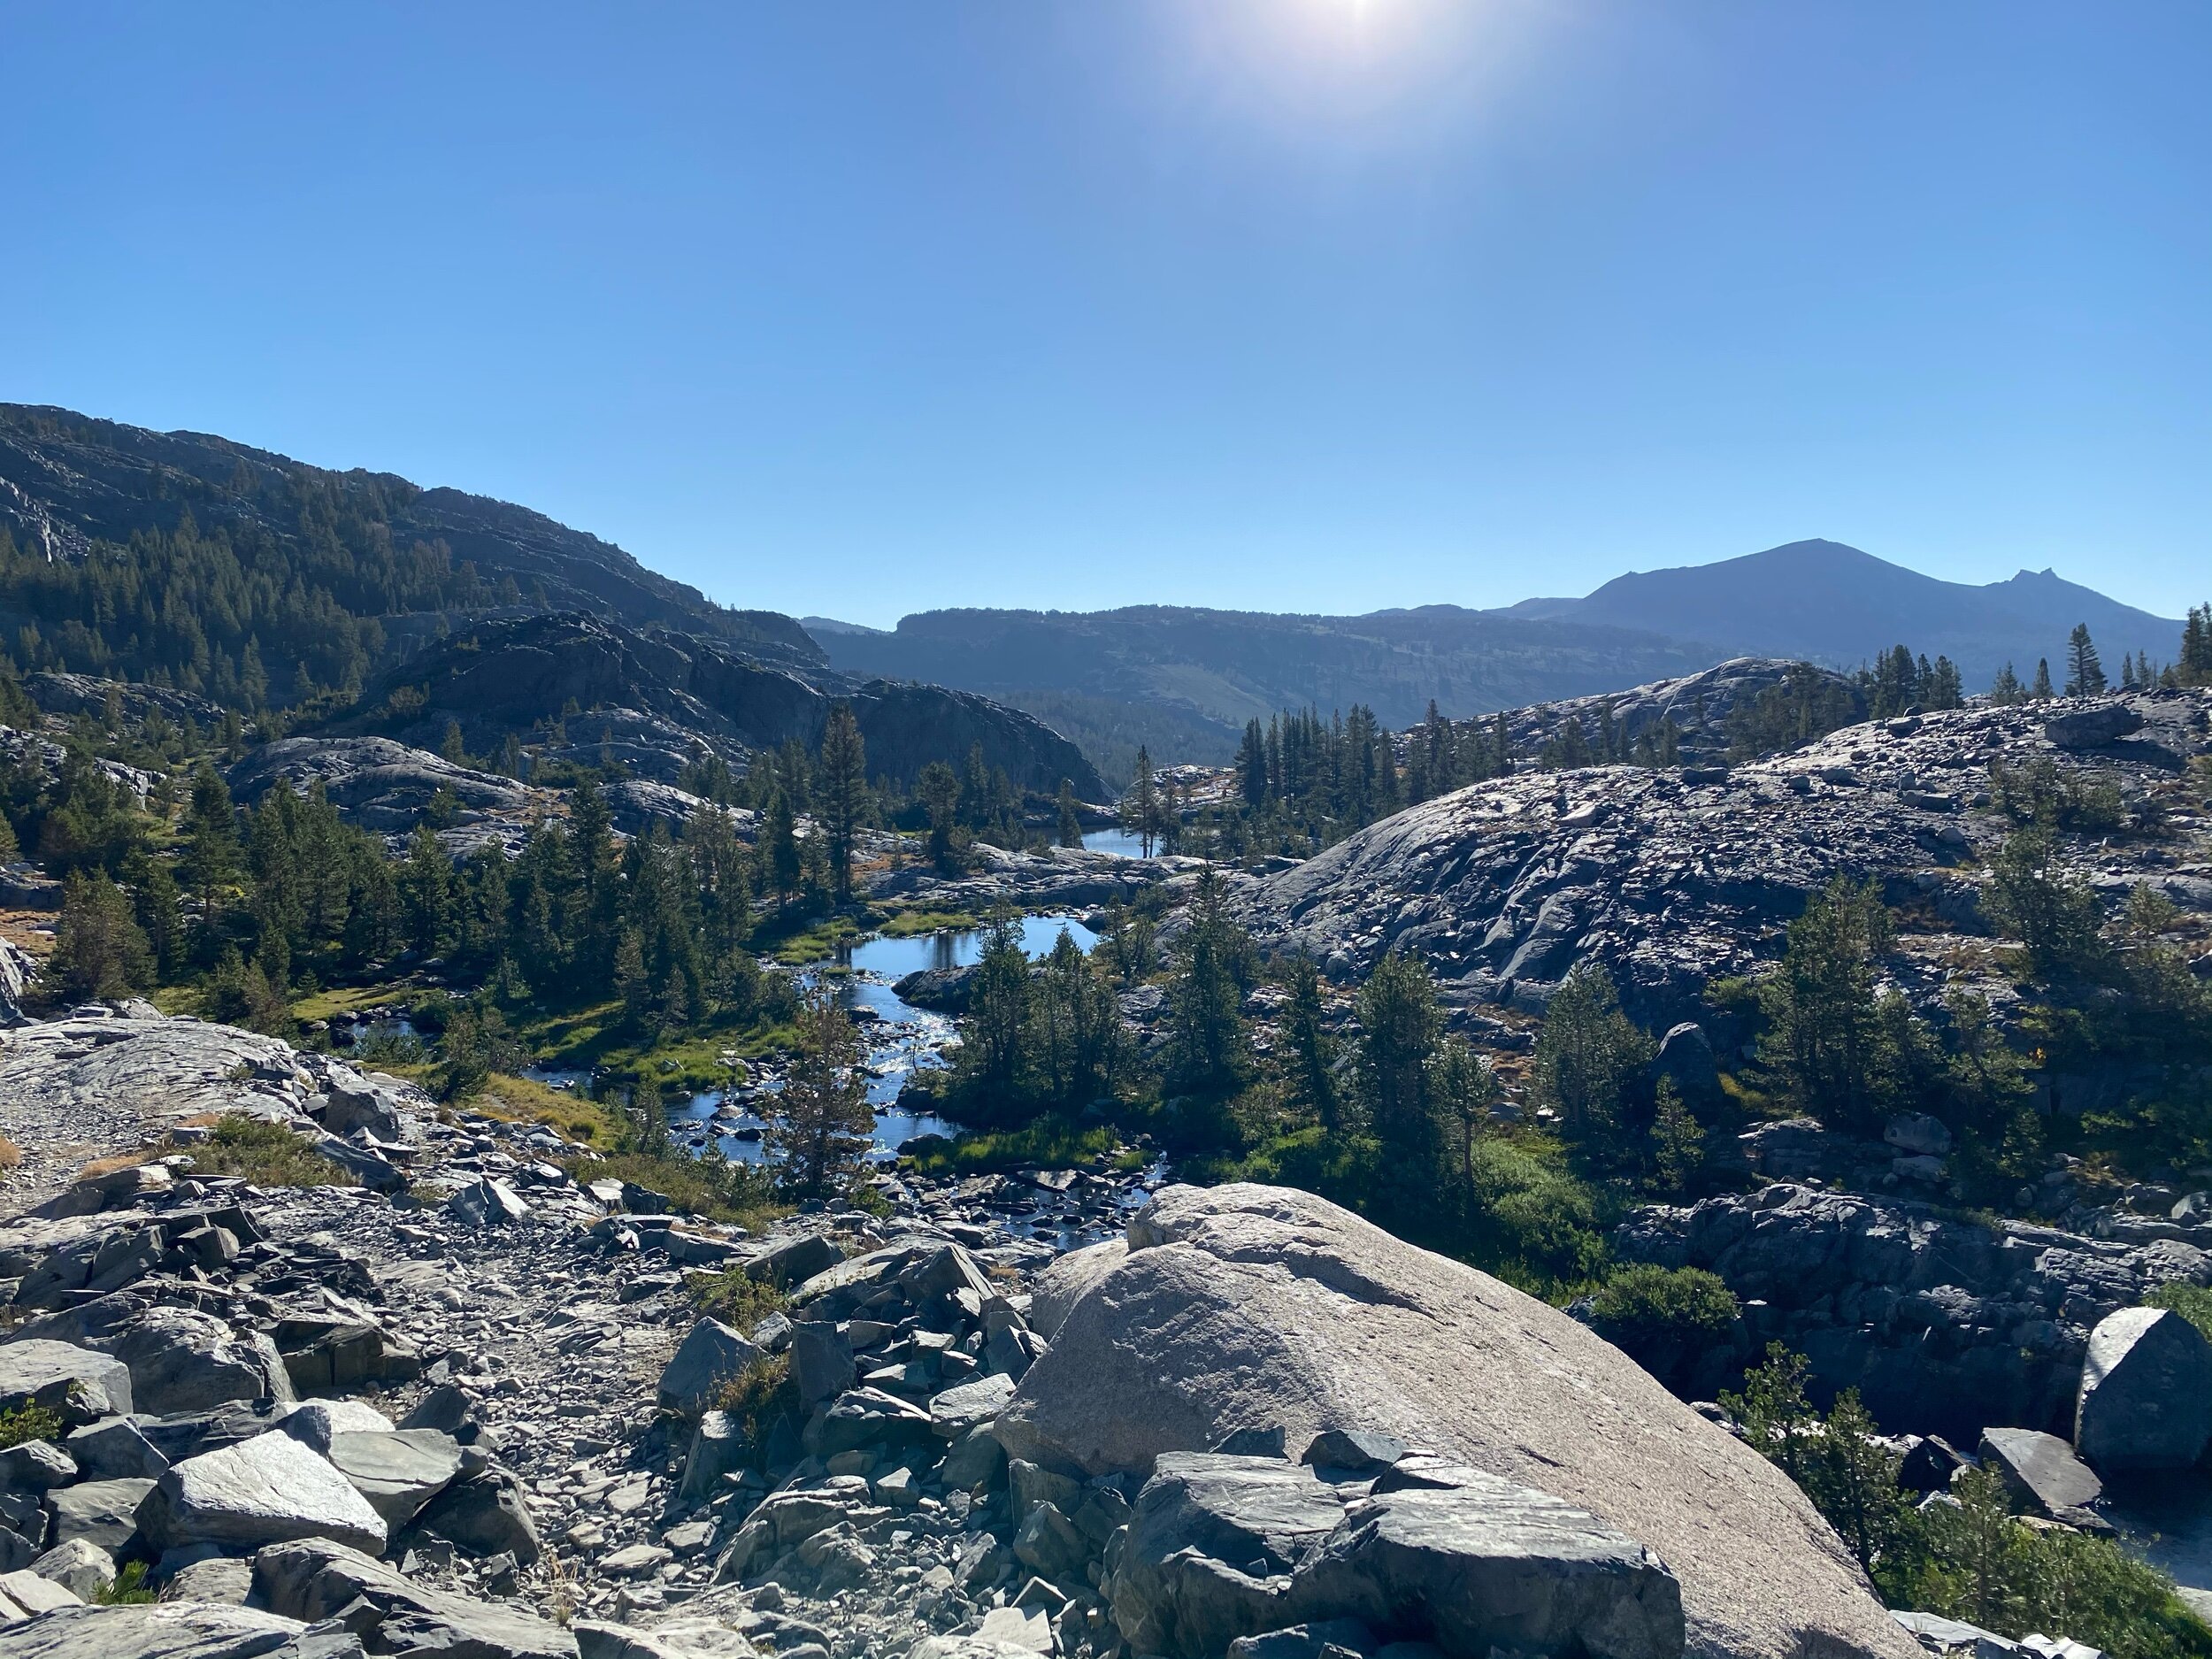
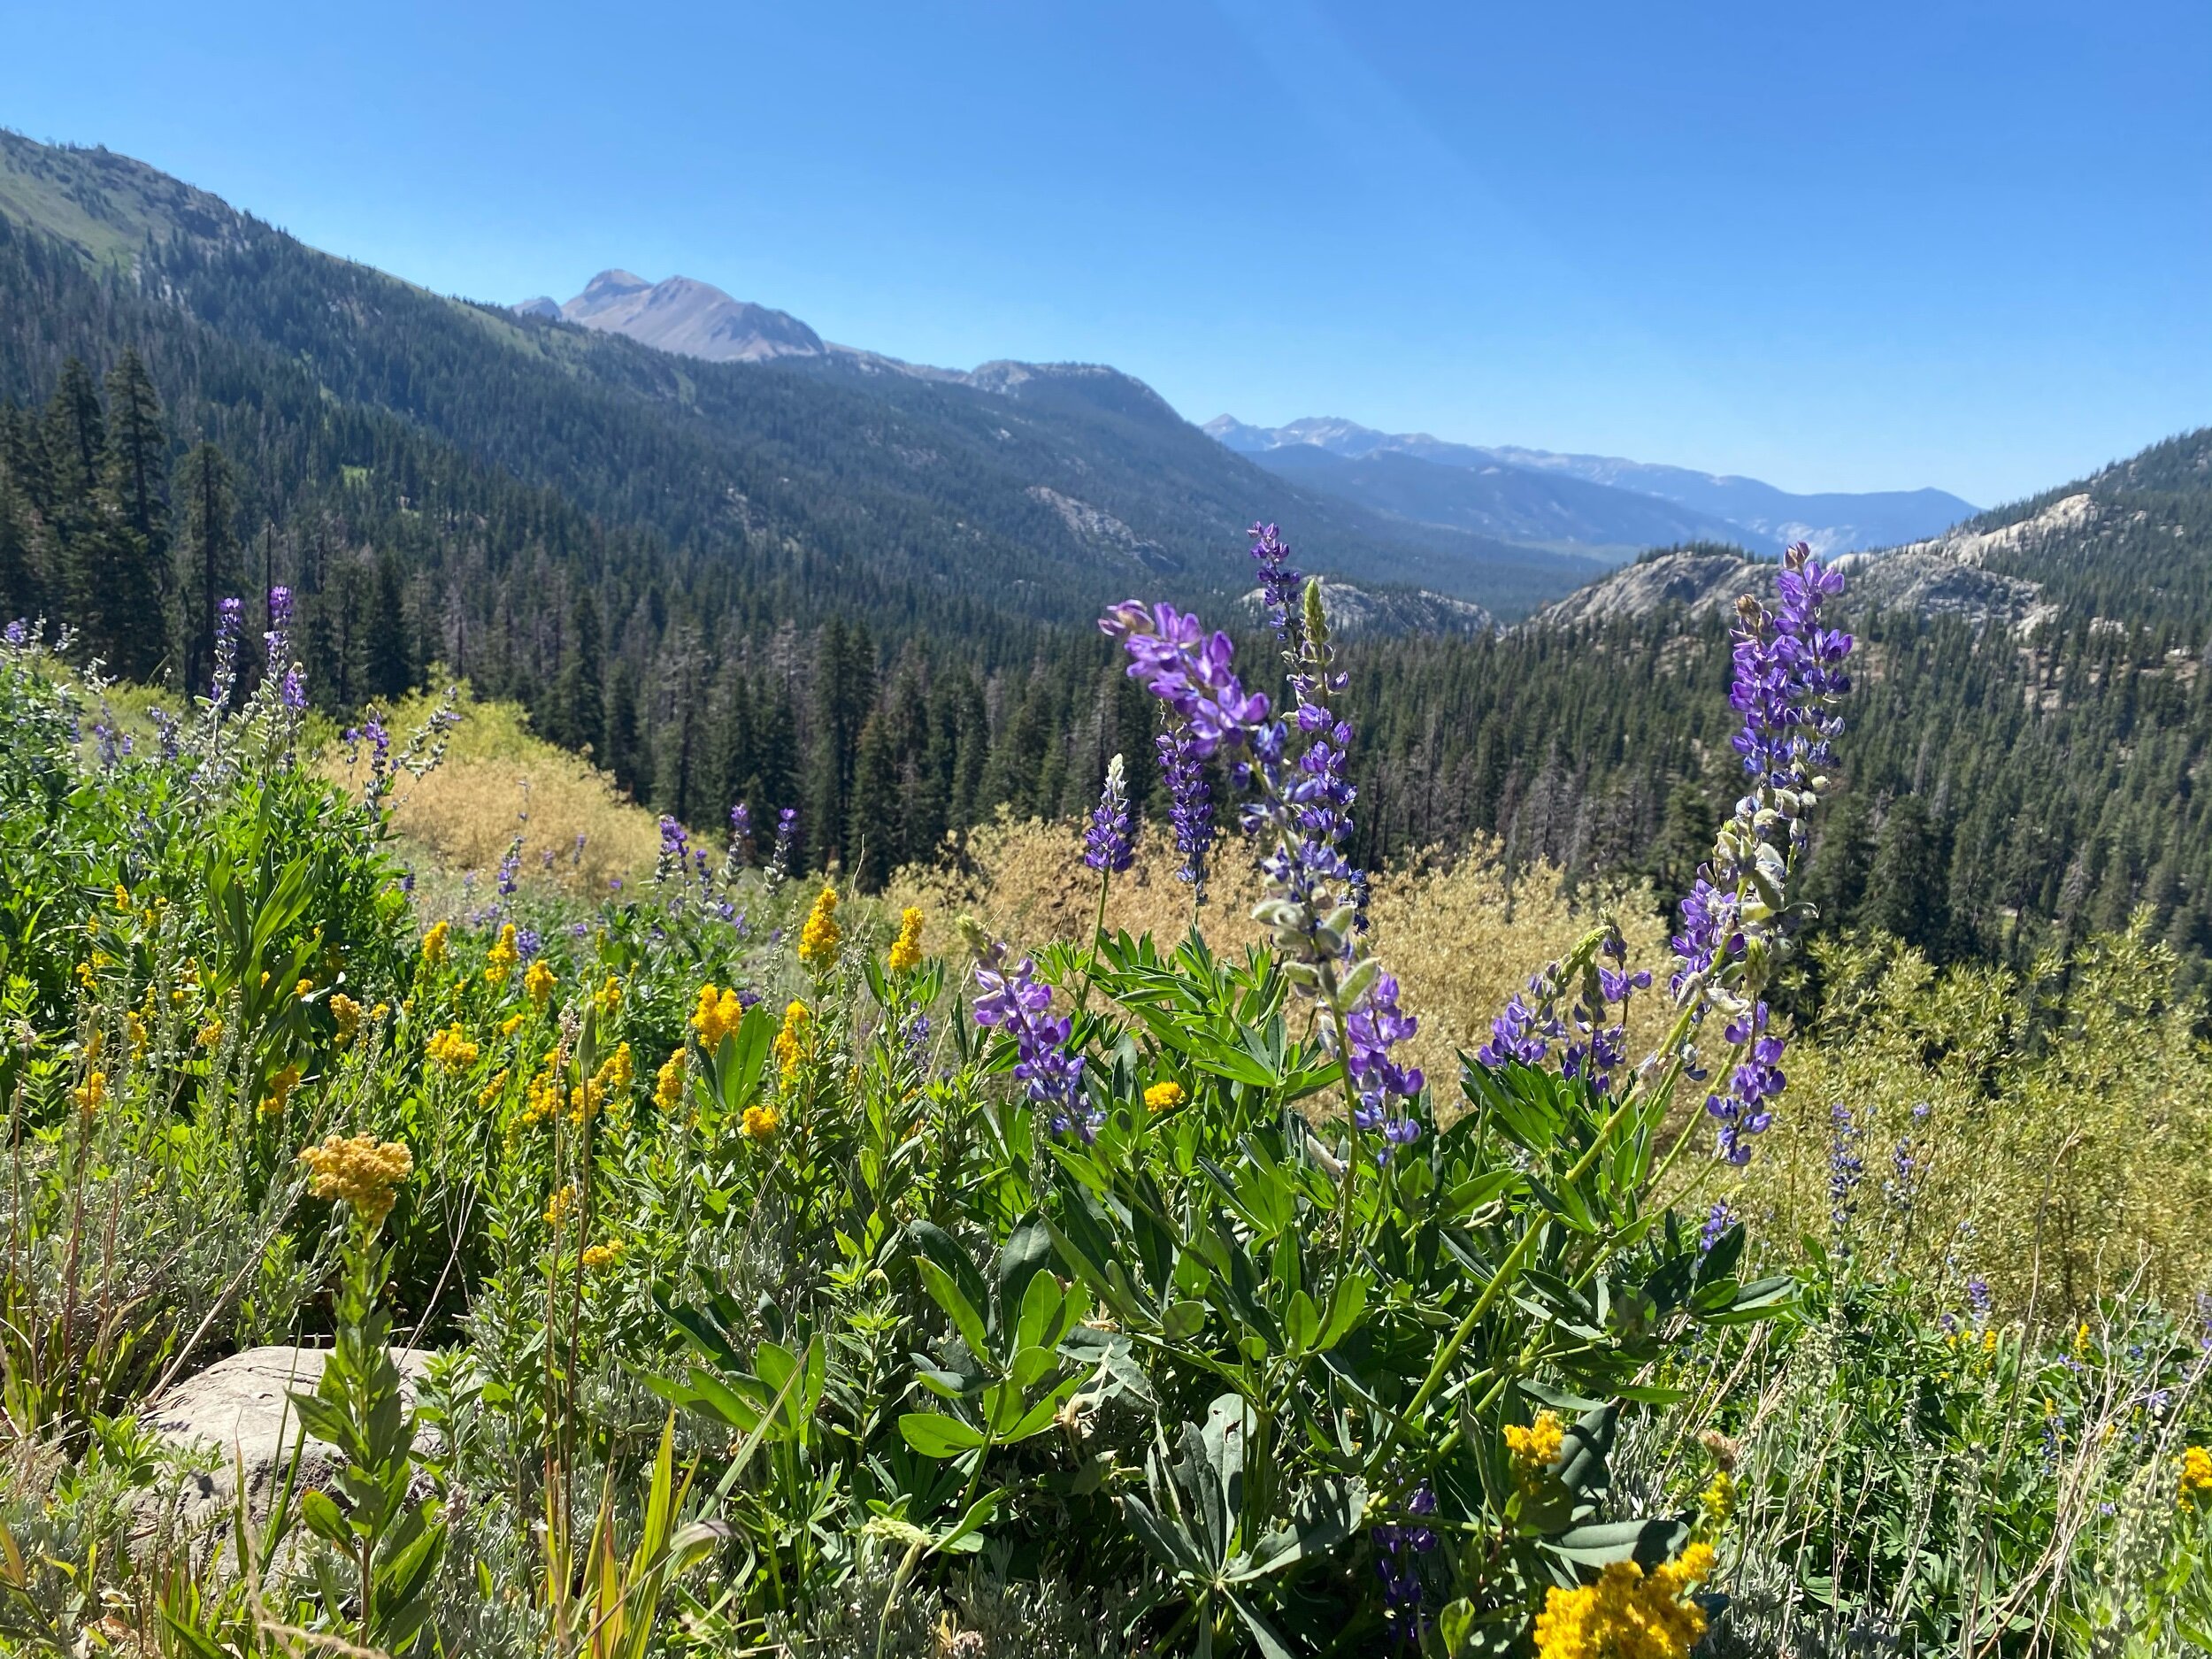
After taking in the sunrise and eating breakfast, you’ll retrace your steps along the lakeside trail back to the JMT/PCT junction. At this junction, you’ll follow the eastbound PCT/High Trail back to Agnew Meadows. There isn’t much shade on trail, and you won’t want to leave the trail for water, so make sure you have at least 2 L when departing Thousand Island Lake. Along this trail you’ll pass the junction for the River Trail and three different routes to Clark Lakes, you’ll stay straight on the High Trail at each of these junctions.
The High Trail gives sweeping views of the lakes you traversed over the last few days. Make sure to look to your right for views of Shadow Lake and Banner Peak in the distance.
Eventually, you’ll get stunning views of Mammoth Mountain and the trail will drop back down into Agnew Meadows. From here, you will either pick up your car or return back to the Mammoth Adventure Center via the shuttle bus.
This backpacking loop is one of the best in the Sierra Nevada range, and I can’t recommend it enough. As always, if you have any questions about this trip, feel free to leave me a comment below!