
Let’s Talk Tents: A Guide to Backpacking Tents
A tent is your home on the trail. The best part is home is wherever you choose!
A backpacking tent is one item I truly believe in spending the money on. It’s one of the most important pieces of gear you’ll carry with you, and is one of the first items you should get when purchasing your backpacking gear. There are lots of great backpacking tents on the market, which is both great and overwhelming.

In this blog post, I’ll cover everything you should consider when purchasing a backpacking tent and give my recommendations for a one and two person backpacking tent. I’ll also cover how to set up your tent, pick out a backcountry campsite, and how to care for your tent on and off the trail!
This blog will cover the following topics:
(click on any of the links to jump to that section)

Things to Consider When Buying a Tent
When researching and purchasing a backpacking tent, there are a few major things you’ll want to consider.
This includes:
Capacity: number of people that can sleep in the tent
Seasonality: how many seasons you can use the tent; 3-seasons or 4-seasons
Weight: how many ounces is the tent; remember you’ll be carrying it
Design: interior space, ease of access, ease of setup, and more
Other things to look for and consider when buying a tent include:
Whether it’s freestanding or not
Ventilation of the tent
The number of doors on the tent (two is desirable)
Tent vestibules
Freestanding tents: A tent will either be freestanding or semi-freestanding. Freestanding tents stand up on their own while semi-freestanding tents need to be staked down and they typically need a trekking pole to stand up. My advice is to look for a tent is that it is free-standing because they are significantly easier to set up and they don’t necessarily need to be staked down completely. Freestanding tents make it easy to set up your tent when you don't have a lot of options for staking down. Freestanding tents also tent to have better designs, with more interior space. Semi-freestanding tents often sacrifice good designs for less weight
How to tell if a tent has good ventilation: A tent with more mesh material will be more breathable and is better for preventing moisture in your tent. Collapsable windows also give more ventilation. Further, you want a tent with a lot of guy lines so you can tightly secure the tent and rain fly. Guy lines are cords that attach the tent to the ground. A tent with good ventilation will maximize the space between the tent and the rain fly. Everything should securely attach.
Tent Vestibules: A vestibule is an extension of the rainfly, which offers sheltered storage for boots, your backpack, and other gear. This is a very useful component of any tent and should factor into your tent research. You want to look for a tent that has solid vestibule to store your gear.

Now that you know what to look for when purchasing a tent, let’s talk about a few backpacking tents I recommend.
Recommended tents:
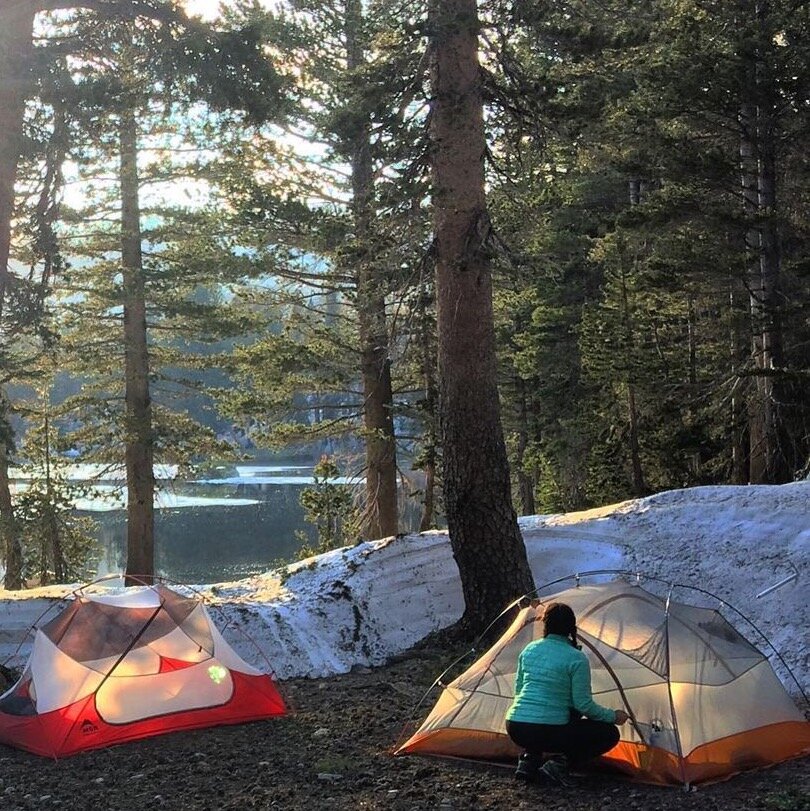
Over the last 5 years, I’ve backpacked thousands of miles and slept in my tent in all sorts of terrain and weather in the mountains, deserts, and along the coastline. I’ve tested and used several tents, including tents by MSR, Kelty, Big Agnes, and Nemo Equipment.
The truth is: lots of tents on the market are great.
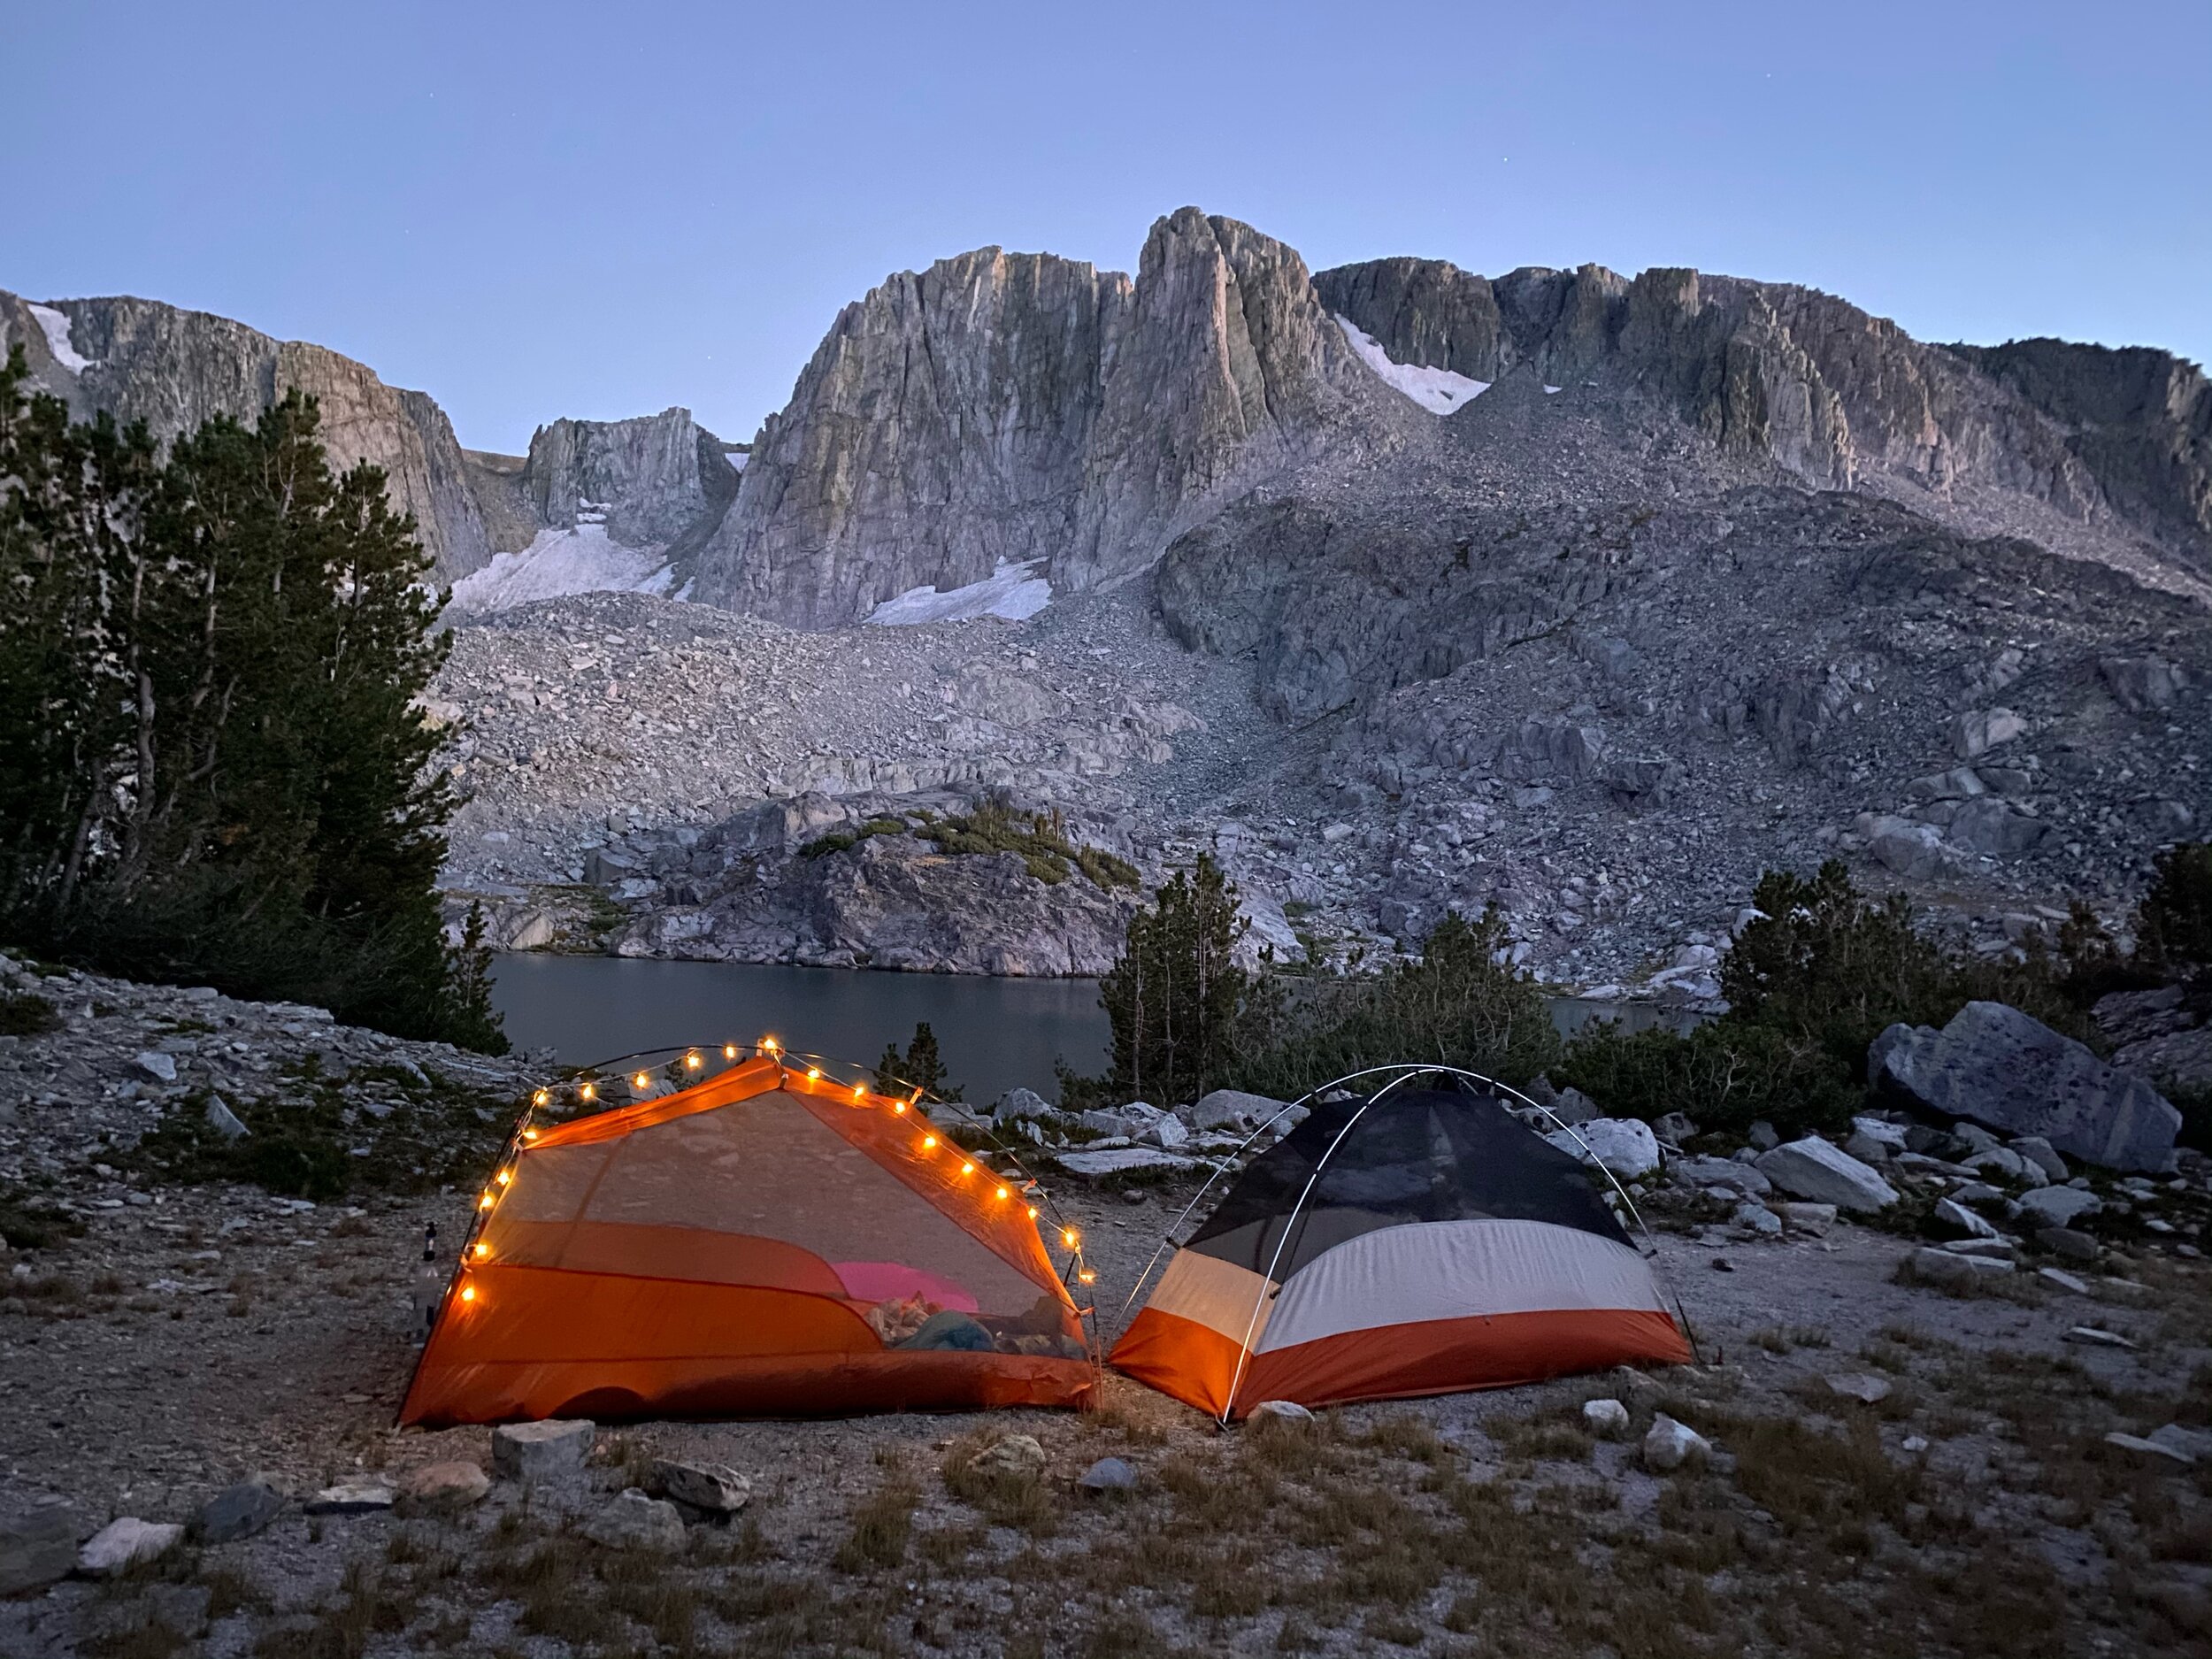
But by far, my favorite tents are by Big Agnes.
I have used their 2-person Copper Spur, 1-person Copper Spur, and 1-person Fly Creek models. The Copper Spur series is my favorite for 1 and 2 person tents!
One Person Tent:

Big Agnes Copper Spur HV UL1
Why buy the Big Agnes Copper Spur HV UL1: The Big Agnes Copper Spur HV UL 1 is a great solo backpacking tent. The tent is freestanding, able to withstand weather, and has a great design with plenty of space.
I also like the Copper Spur HVUL1 in comparison to their other one-person lightweight model, the Fly Creek. While the Fly Creek may save you weight, it doesn’t stand up in storms very well. I also prefer the larger door on the Copper Spur versus the front opening on the fly creek. Ultimately, the Copper Spur HV UL1 feels like a better design.
Two Person Tent:
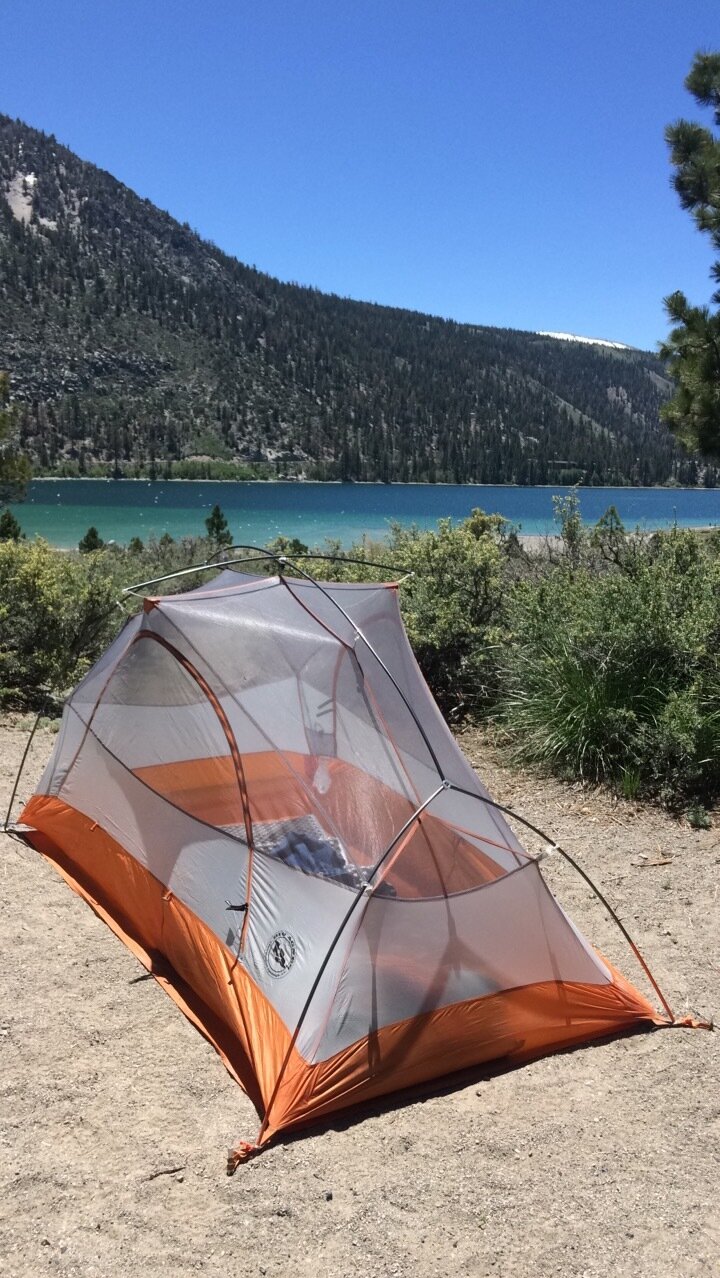
Big Agnes Copper Spur HV UL2
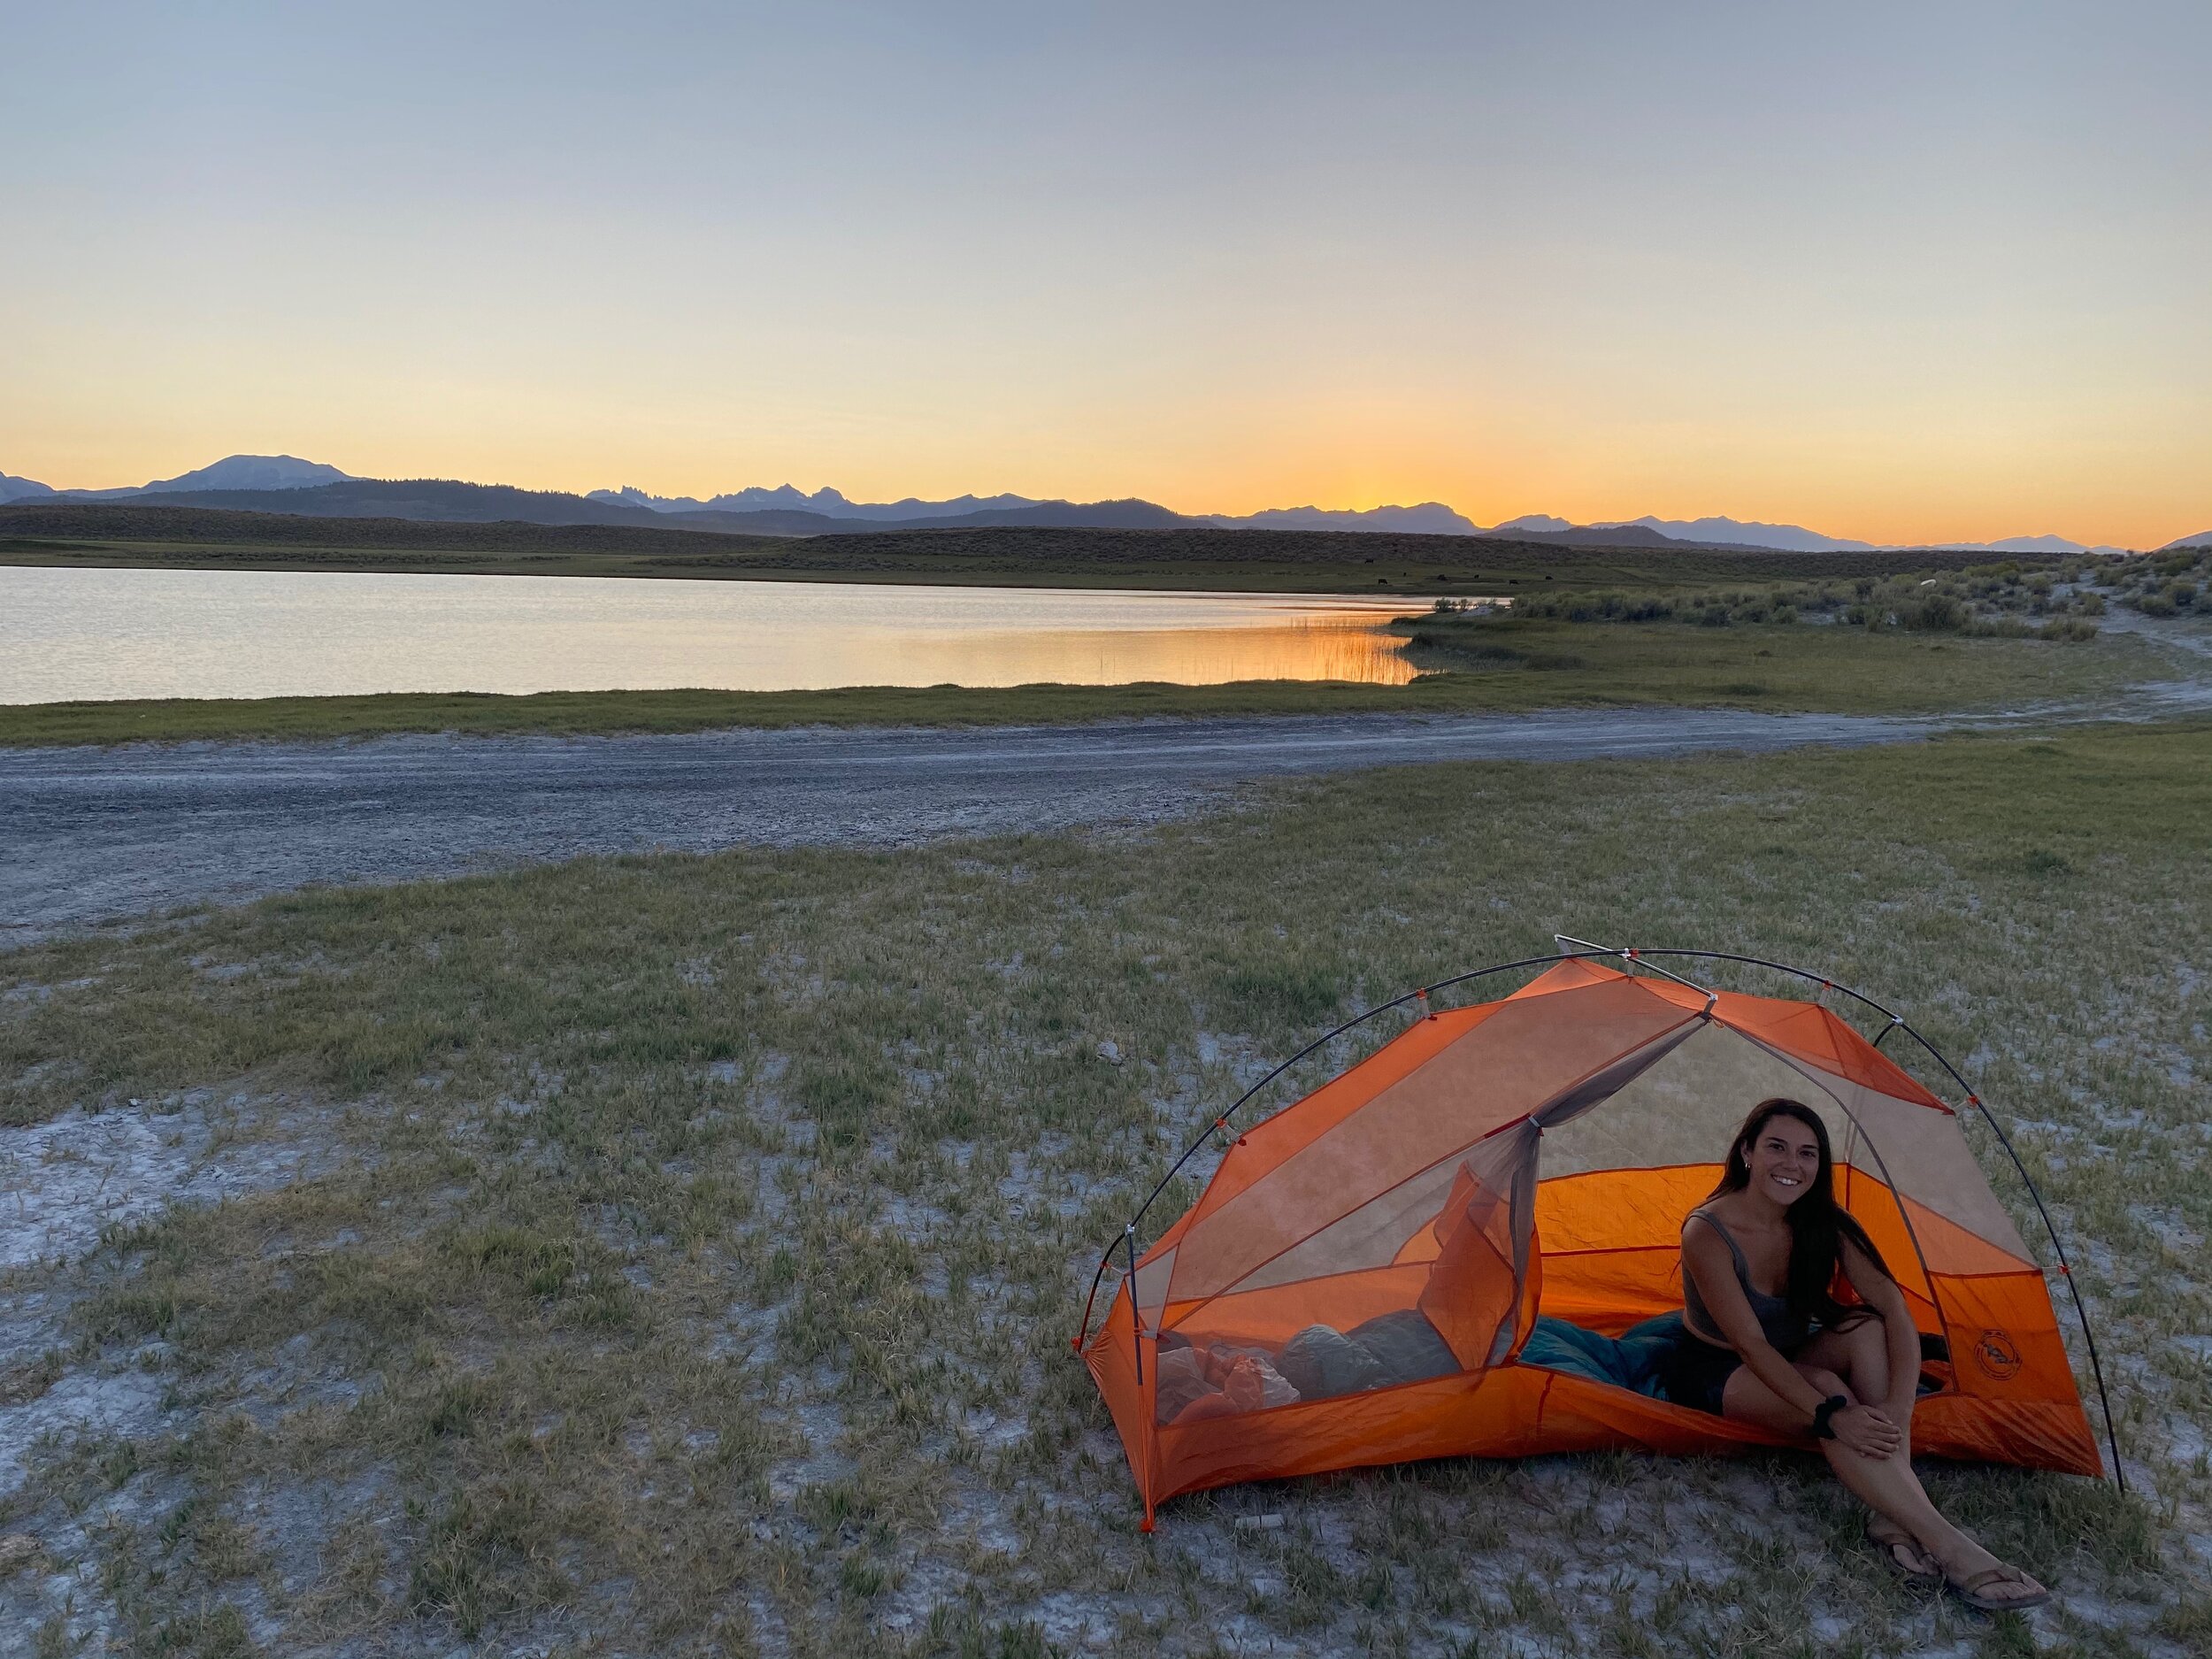
Why buy the Big Agnes Copper Spur HV UL2: The Big Agnes Copper Spur HV UL 2 is a fabulous two-person backpacking tent. Its ease of set-up, smart design, small packing size, and light weight all make it the perfect backpacking tent.
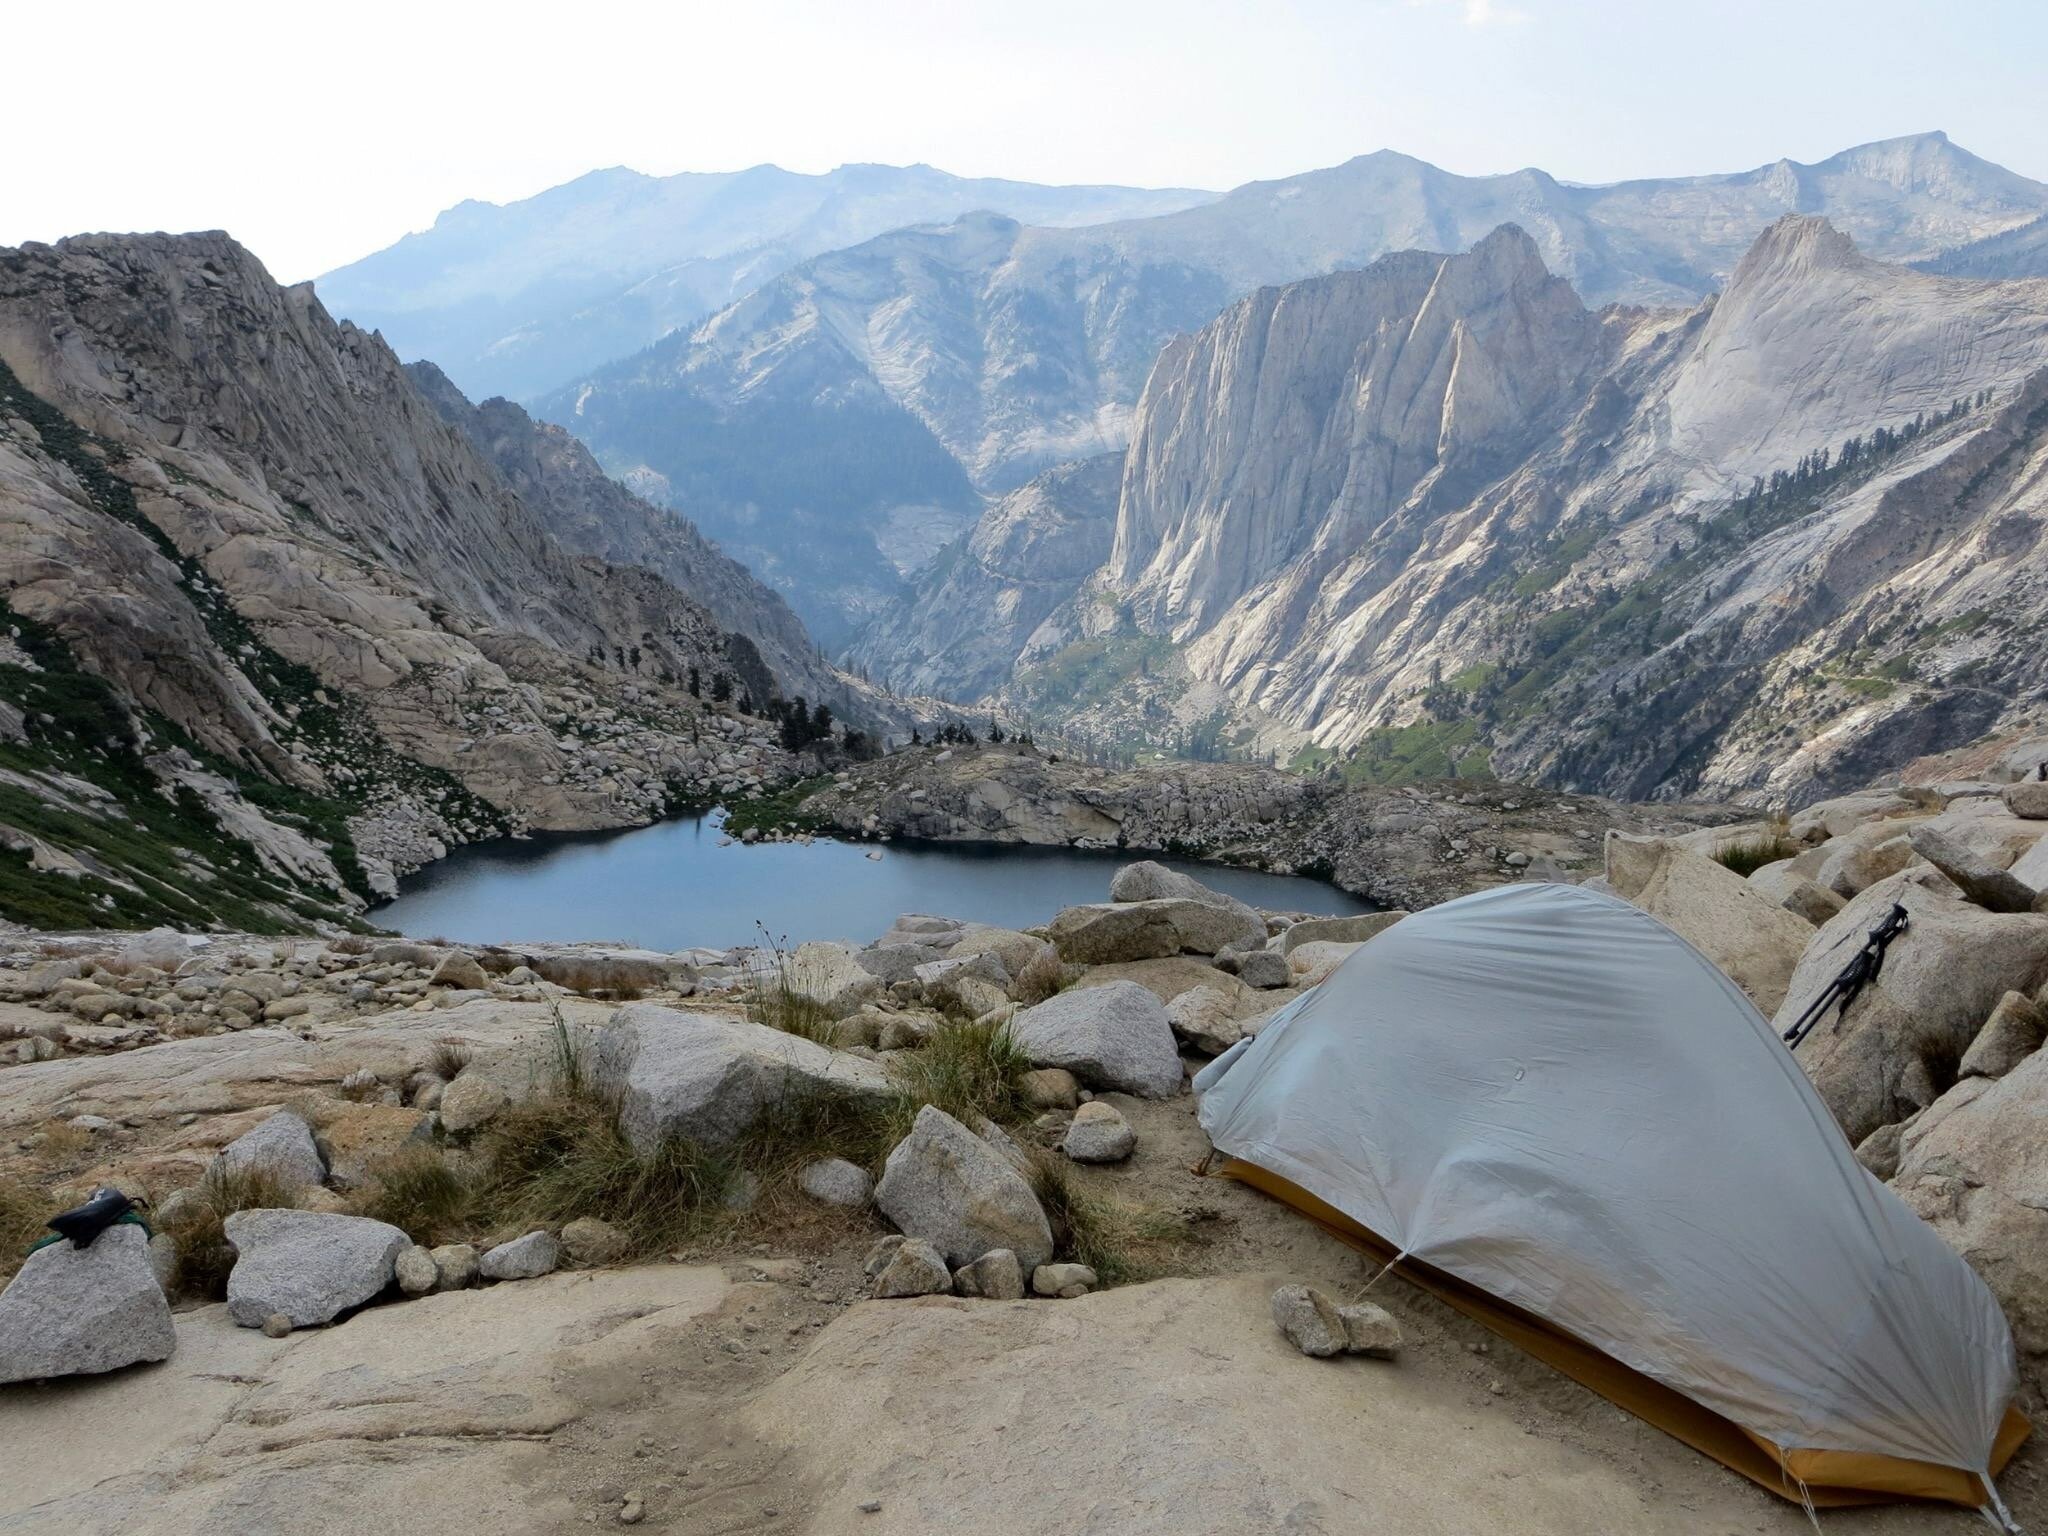
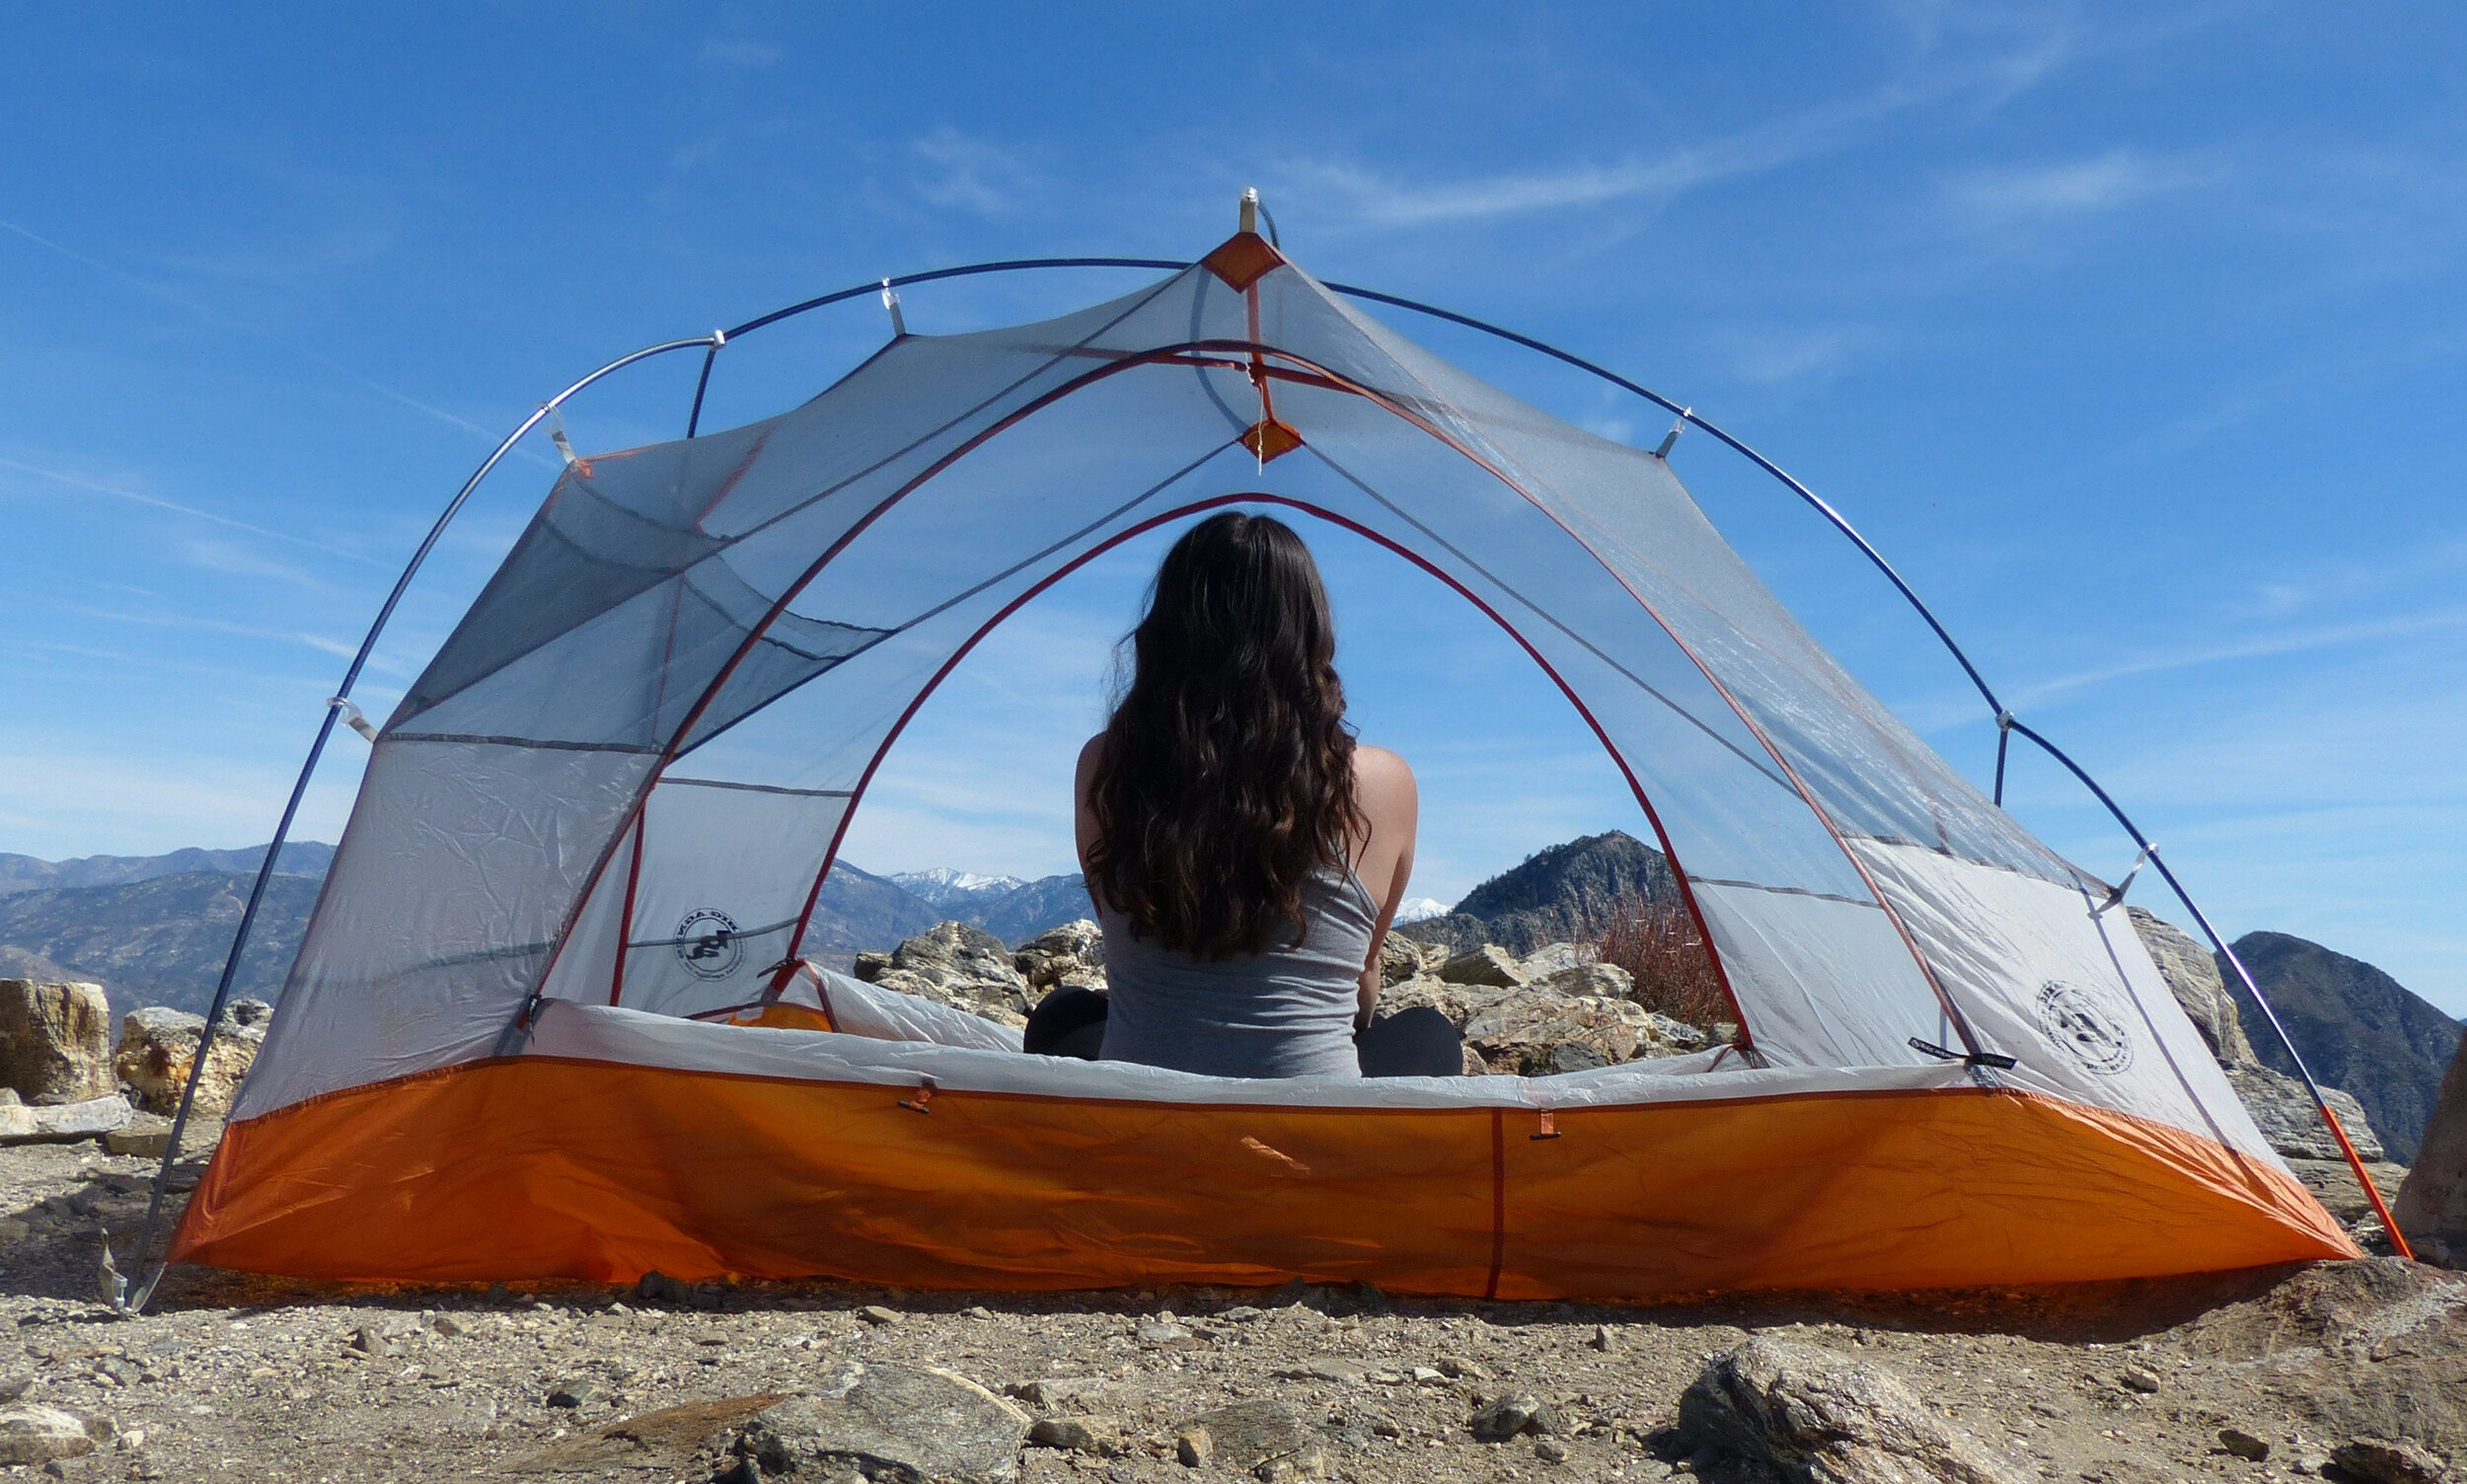
One of the best functions of the Big Agnes Copper Spur is its ability to withstand all sorts of weather. In my time backpacking in mine, it’s withstood some serious Sierra storms. Additionally, it can be used as a minimalist shelter during mid-day heat or sudden downpours by simply setting up the poles and attaching the rainfly.
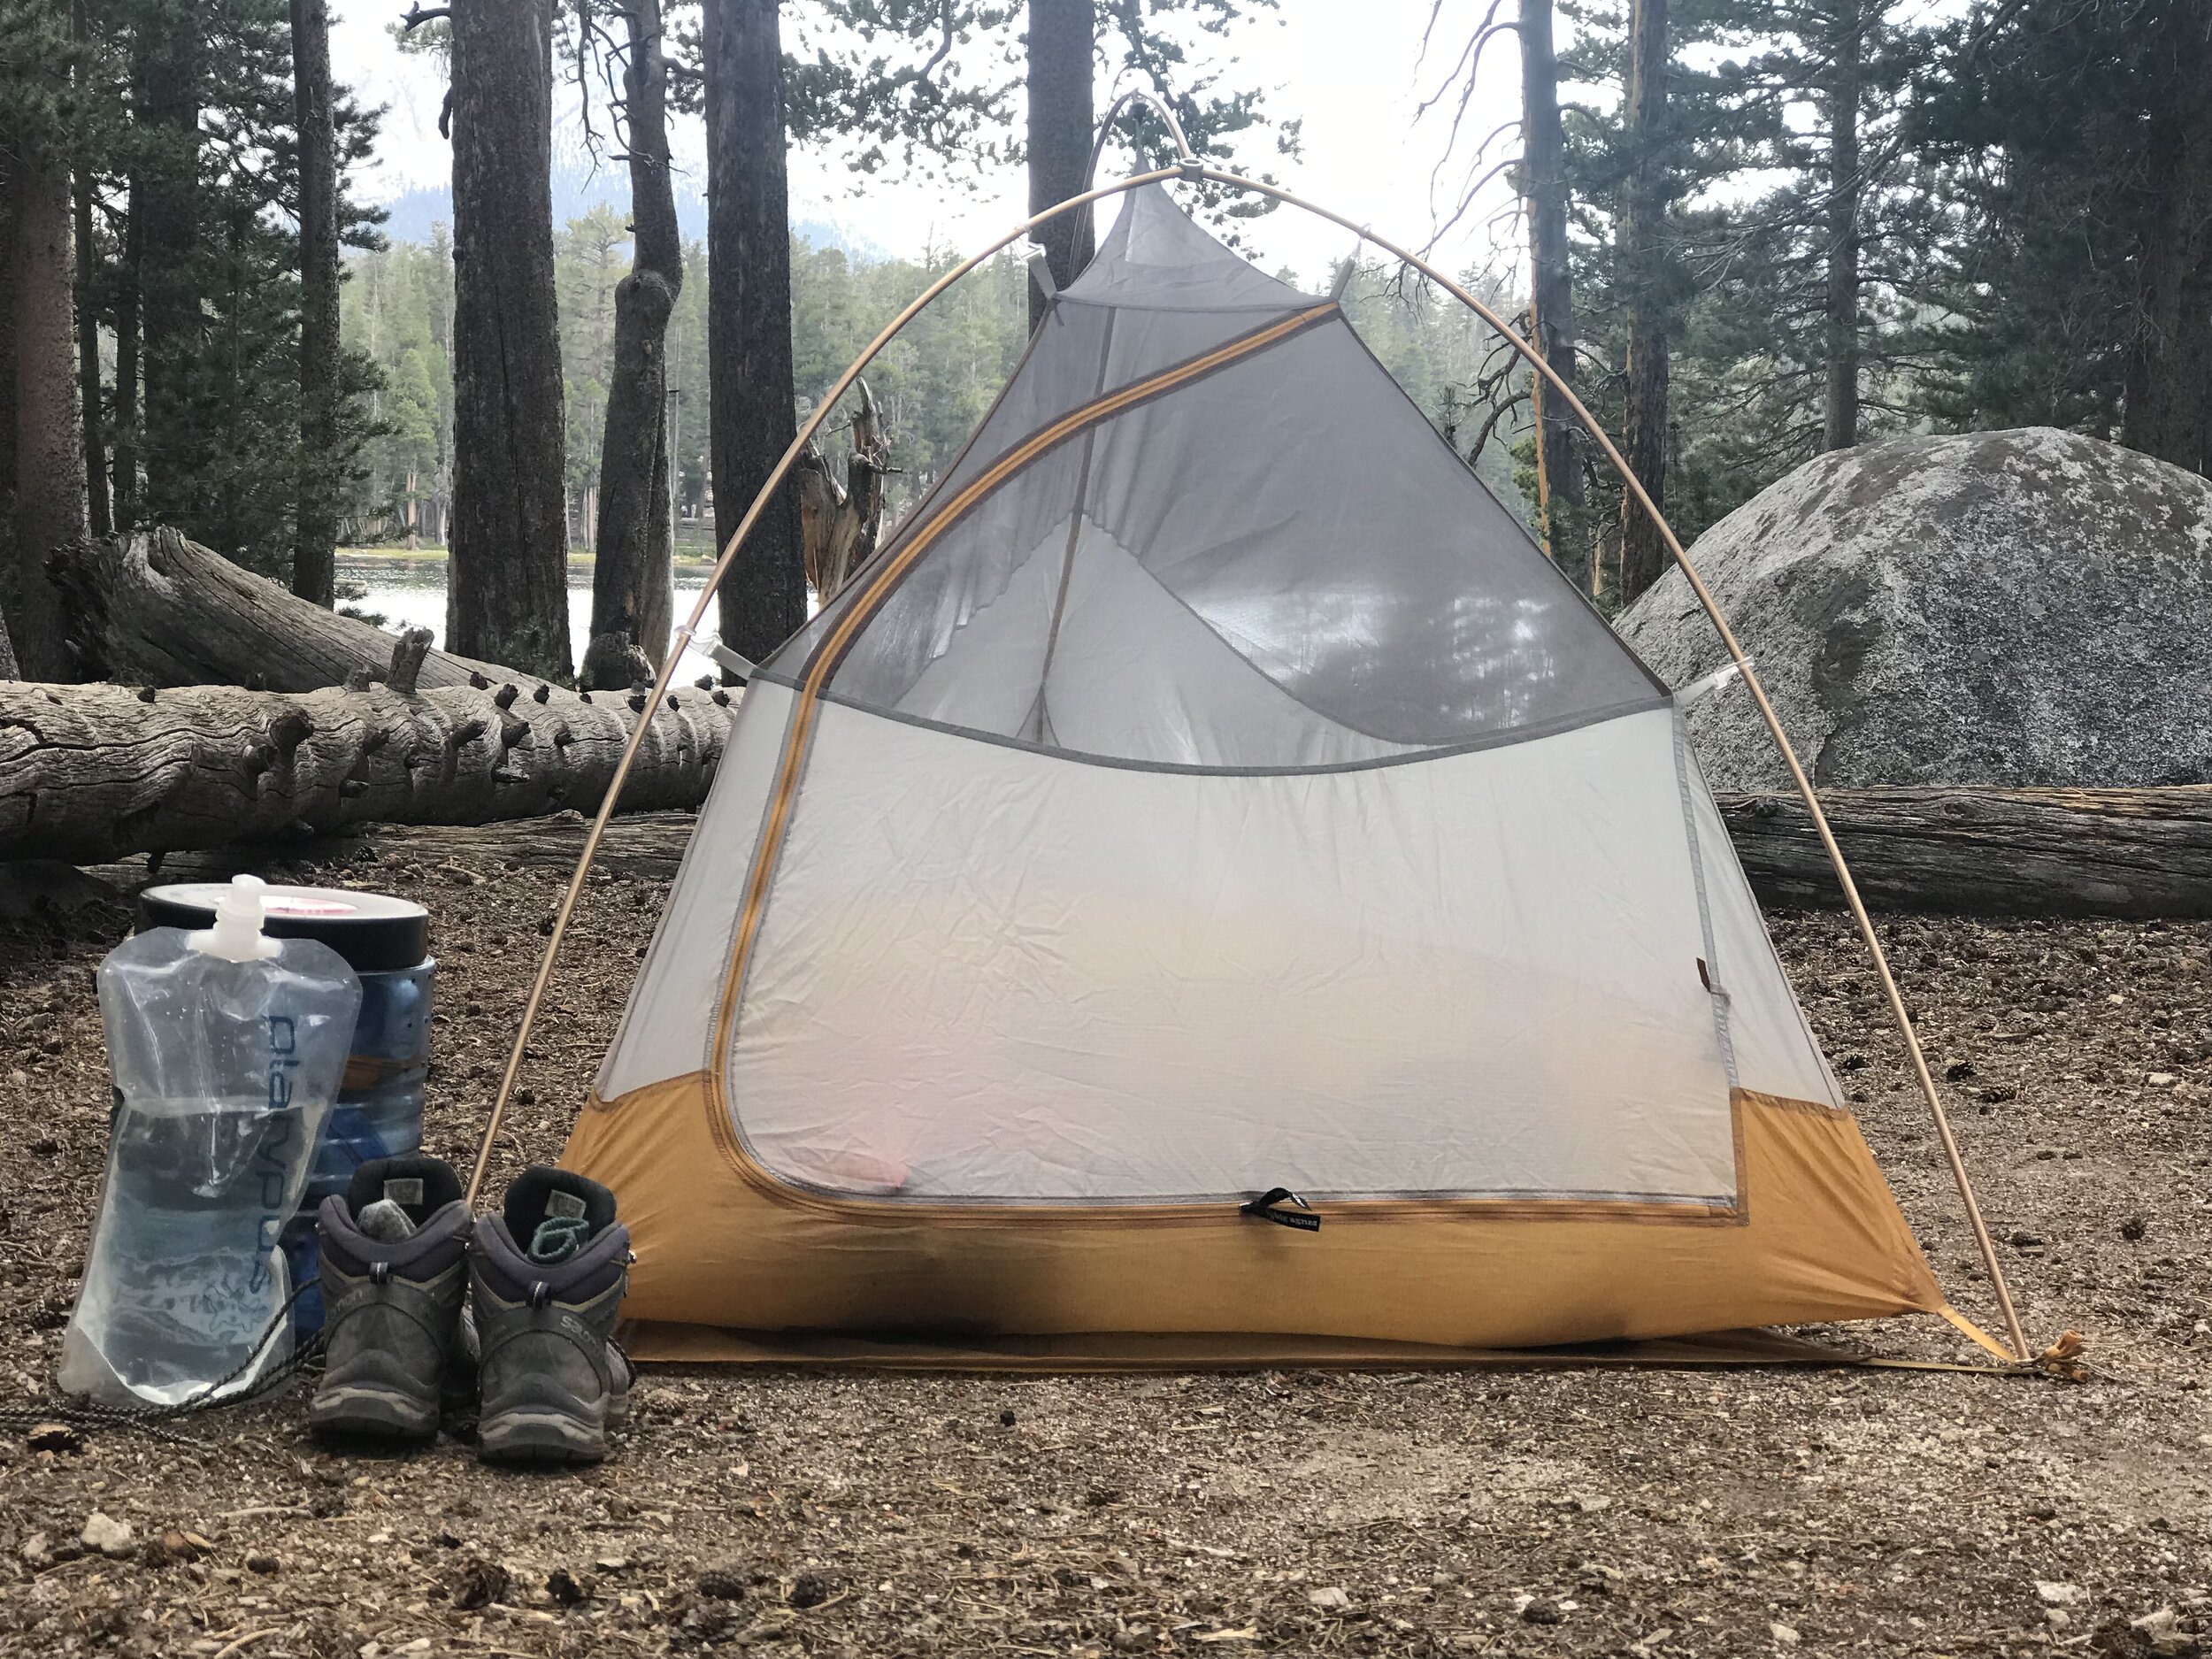
The ventilation in the Big Agnes Copper spur is great. It has collapsable windows, a lot of guy lines, and dries extremely fast.
The smart design also makes it a great tent. This backpacking tent has a great shape that fits two people comfortably. It has two doors, giving easy access on either side. Additionally, when the rain fly is attached to the tent, there is enough space outside of the tent to store your pack and shoes under the rain fly vestibule.
Other honorable mentions for backpacking tents:
MSR Hubba Hubba, REI Half Dome
For more advice on comparing backpacking tents, check out this article by Outdoor Gear Lab.
Once you’ve purchased your dream backpacking tent, and you’ve planned your backpacking trip, you’ll want to keep reading to learn more about how to choose a campsite while on trail, how to set up your tent, and tips for how take care of your tent.
How to Choose a Backcountry Campsite:
Start your research at home.
When planning your backpacking trip, utilize guidebooks, blog posts, trip reports, and maps to find good camp locations and learn more about regulations regarding camping along your intended route. Sometimes your route will have camping restrictions.
Look for previously used backpacking sites.
People have been living and recreating in all outdoor spaces forever. While they aren’t as obvious as a labeled campground, previous use sites have been established along most trails.
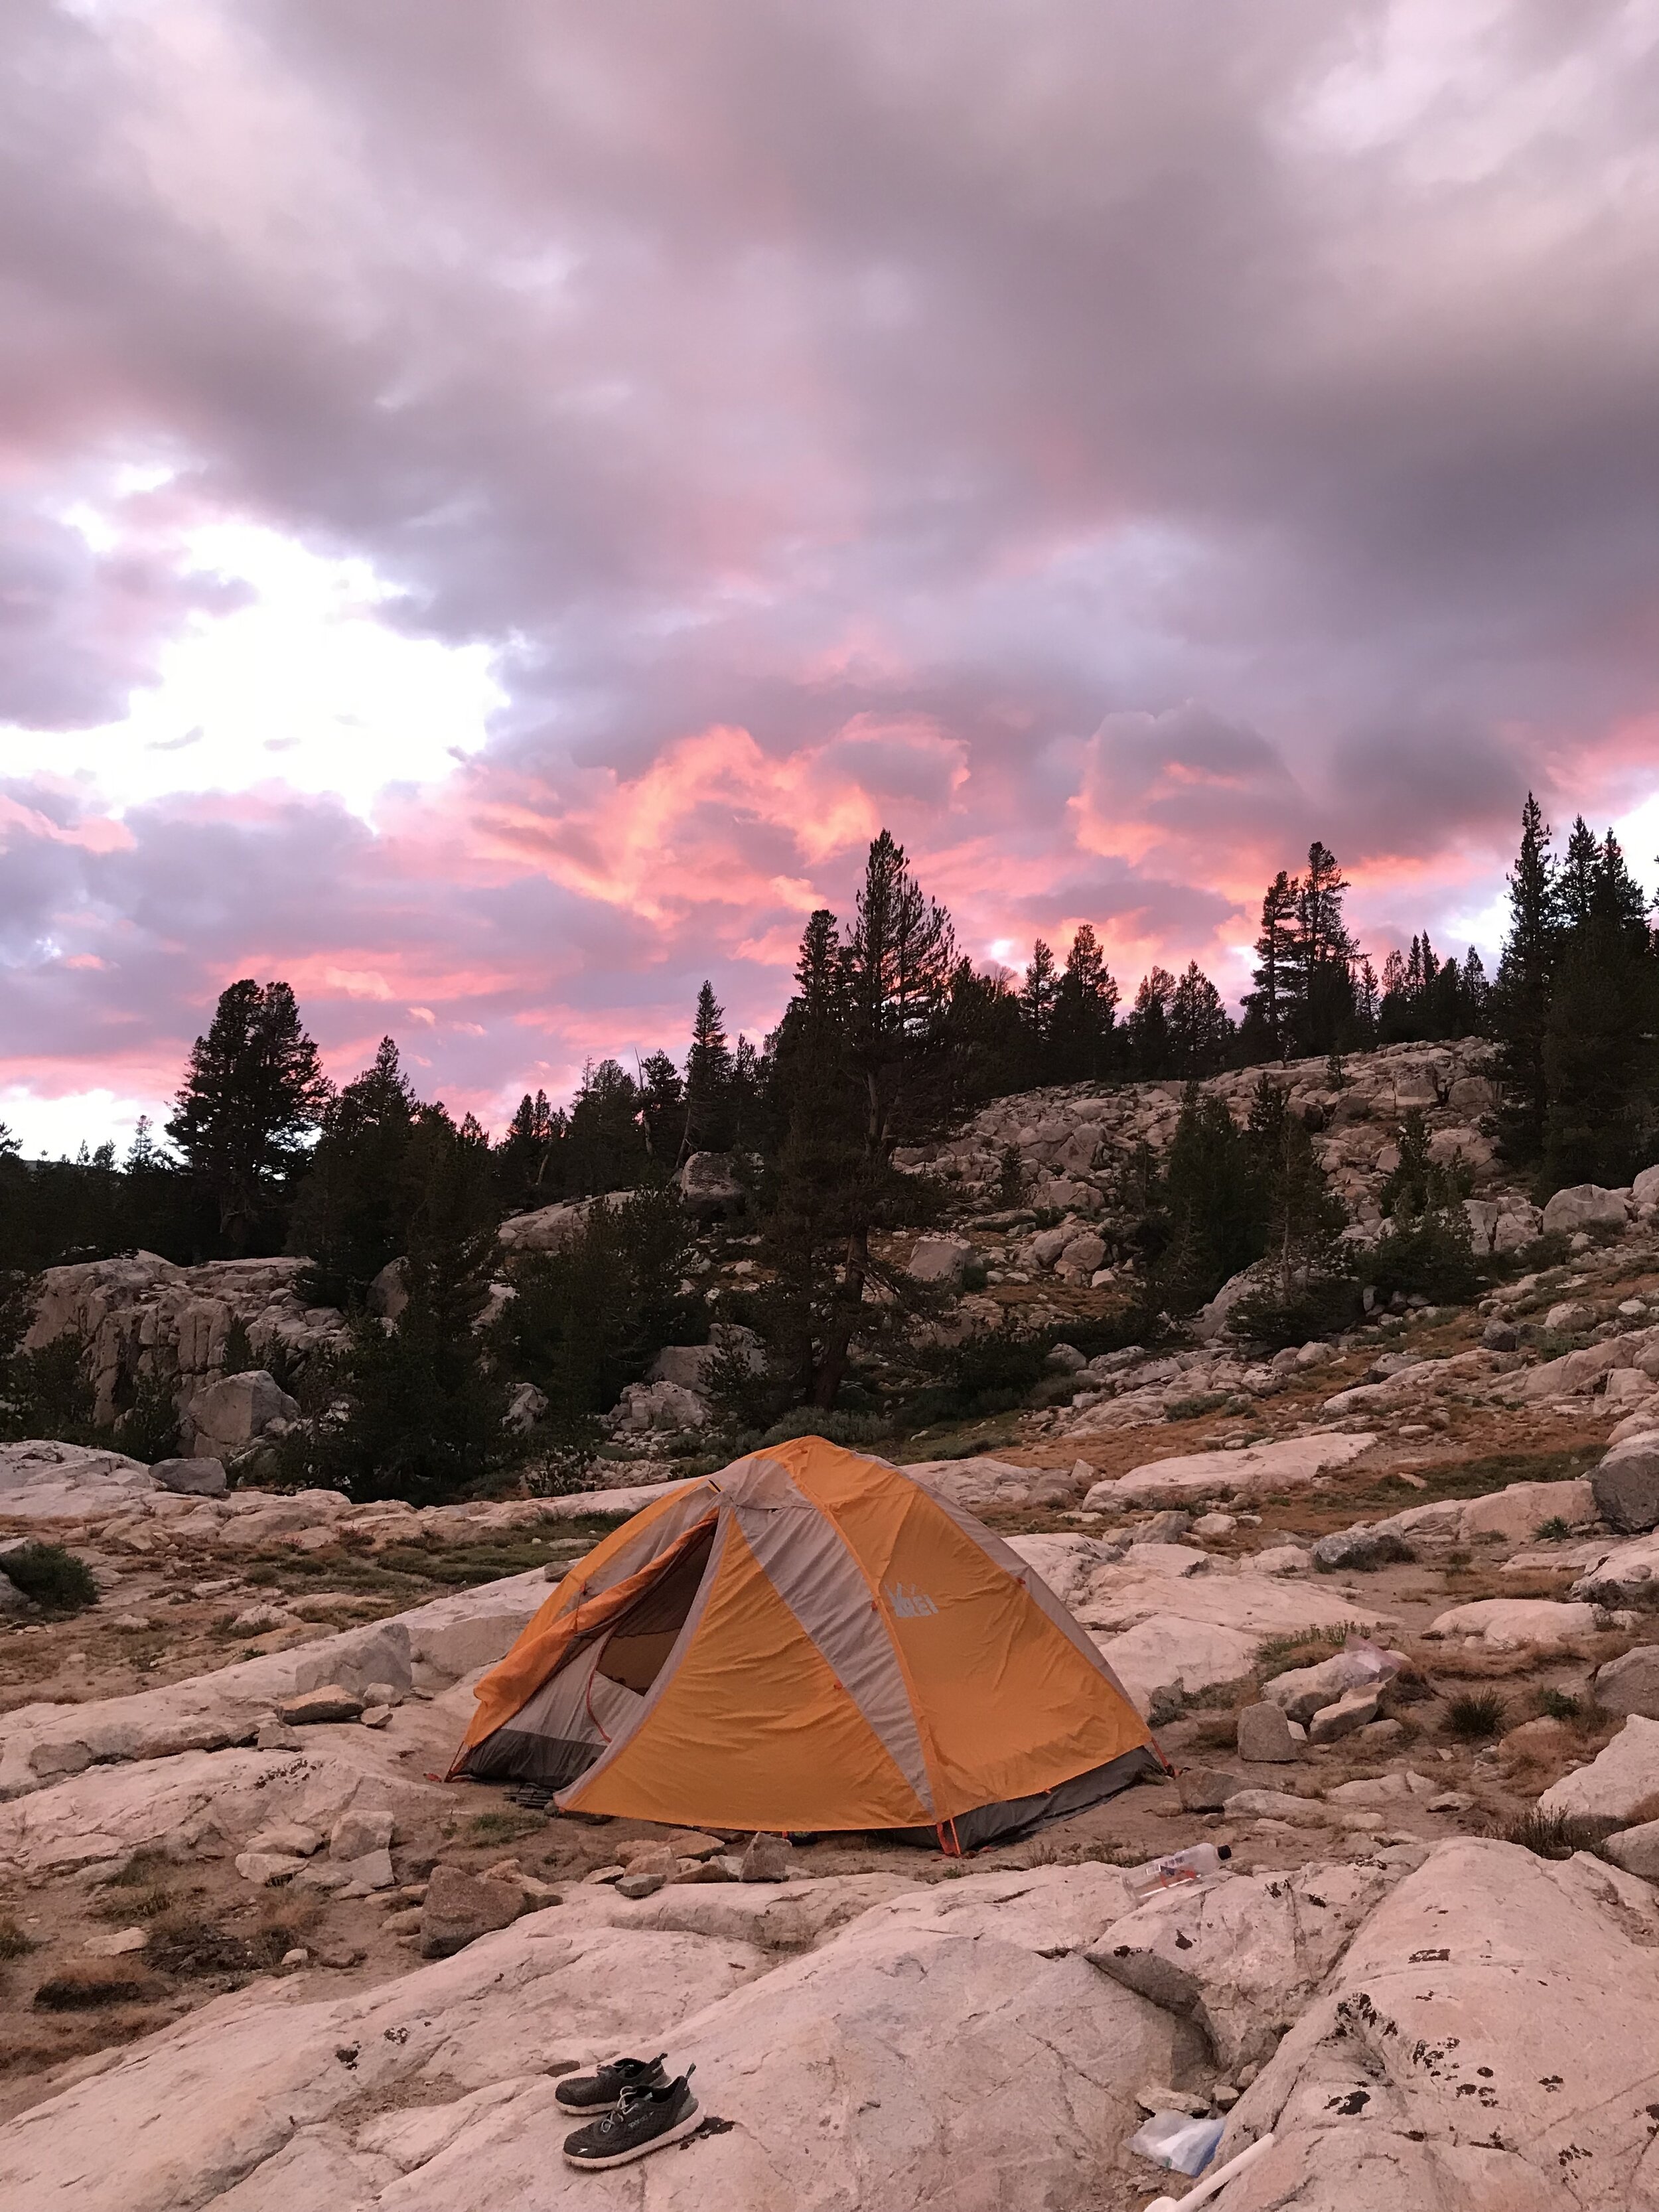
Choose a flat, durable surface.
Durable surfaces include compact dirt, sand, rock, or snow. Avoid camping in fragile ecosystems, such as meadows. Before setting up your entire tent, do a test to see how flat the area is by placing your footprint or sleeping badly on the ground and laying on it.
Stay 200 feet from water and 100 feet from the trail.
When picking a campsite, you’ll want to be close to a water source. However, please ensure you’re protecting the water source by camping at least 200 feet away from it. It’s also best to camp at least 100 feet from the trail to ensure your privacy and the privacy of others.
Look up and around.
Make sure you aren’t camping directly under trees. While they provide good shade during the day, they’re susceptible to fall during a serious storm. Also, make sure not to camp in an area where potential rainwater turns into streams or rivers.

Now that you know how to find your perfect tent spot, you’ll want to set up your tent.
How To Set Up Your Tent:
After you’ve found a good campsite, you’ll want to set up your tent and do camp chores.
A few tips about setting up your tent:
Always check to make sure you have all parts of your tent before leaving on your trip. This includes your tent body, footprint, stakes, poles, and rainfly.
When setting up your tent on trail, try not to set it up too early in the day or leave it in direct sunlight too long as this can break down the tent fabric over time.
Store your tent in the outside or middle of your backpack so you don’t have to take everything out of your backpack prior to setting up.
Once you’re ready to set up your tent, lay the tent flat on the ground with the footprint on the bottom and the tent body on the top. Make sure the opening of your tent is facing the direction you’d like. If you’d like to see the sunrise from your tent in the morning, make sure your door is facing east.
Next, grab your poles and connect them. After your poles are all connected, slide one of the poles into a corner pocket, aka the grommet, of your tent. Your tent should either have clips or sleeves you’d slide the poles through. Connect or weave your first pole through the body of the tent.
Then, on the adjacent end of the tent, slide in the other pole in the grommet. Follow the same instructions as the previous pole and clip or slide your pole through the body of the tent. Then, gently bend the poles to connect each pole into the other grommets.
Once your tent poles are in place and your tent has popped up, place a few heavy items in your tent to hold it down and stake down your tent in place.
You may choose to attach the rainfly or not, depending on weather, and privacy preferences.
One final note about tents is to take care of them, so your purchase lasts a long time!
Tent Care:
Before your trip: Make sure you have all the parts of your tent before heading out on the trail. This includes your tent, tent storage bag, footprint, poles, pole storage bag, stakes, and rainfly.
During a trip: When choosing a campsite, try to use a previously used site. Avoid setting your tent up under any trees. Before setting up your tent, clear your intended campsite of any rocks or sticks using your foot. Use a footprint with your tent. You can even cut a piece of Tyvek to size instead of purchasing an expensive footprint. Unless you need to set up for shelter, set up your tent as close to the end of the day— as sunlight will eventually damage the materials of the tent. Shake out your tent before packing it back in your backpack.
After a trip: Make sure to clean off your tent after each trip. To clean the inside and outside of my tent, I just use a damp towel to wipe it down and then let it air dry. At the end of the season, I also take clean the zippers on my tent by scrubbing them with a toothbrush and soapy water. Store your tent gently folded up and dry.
For more information on caring for your tent, check out this information by Big Agnes.